
1790s “Amalia” Jacket Tutorial

When I saw this jacket come out I knew that I wanted to make in immediatly. The jacket I am talking about in the Scroop Pattern’s and Virgil’s Fine Goods “Amalia” Jacket. The pattern has an eariler 1760s-1780s options and a late 1780s-early 1790s option. I went with the later. Jackets and gowns in general during the 18th century were made/pleated/draped over a fitted lining, so keep that method of construction in place as we move forward.

I cut out the following pieces from my linen lining fabric:
two shoulder straps
two side pieces
two back pieces
two front pieces

I then cut out all the rest of the pieces from my striped silk taffeta being careful to match the stripe pattern. You’ll notice that that lining pieces end at the waist while the fashion pieces have tails.
two shoulder straps
two under sleeve pieces
two outer sleeve pieces
two backs pieces
two side back pieces
two side pieces
two side front pieces
two upper front pieces
two lower front pieces

Here are all the pieces cut out you’ll notice the side pieces are were the tails end. The 1760s-1770s opinion have the tails extending all the way to the center front of the jacket.

The first step was to seam the lining pieces together. (The shoulder seam will be tackled later on.)

The bottom edge of the lining piece was then folded under by 1/2”.

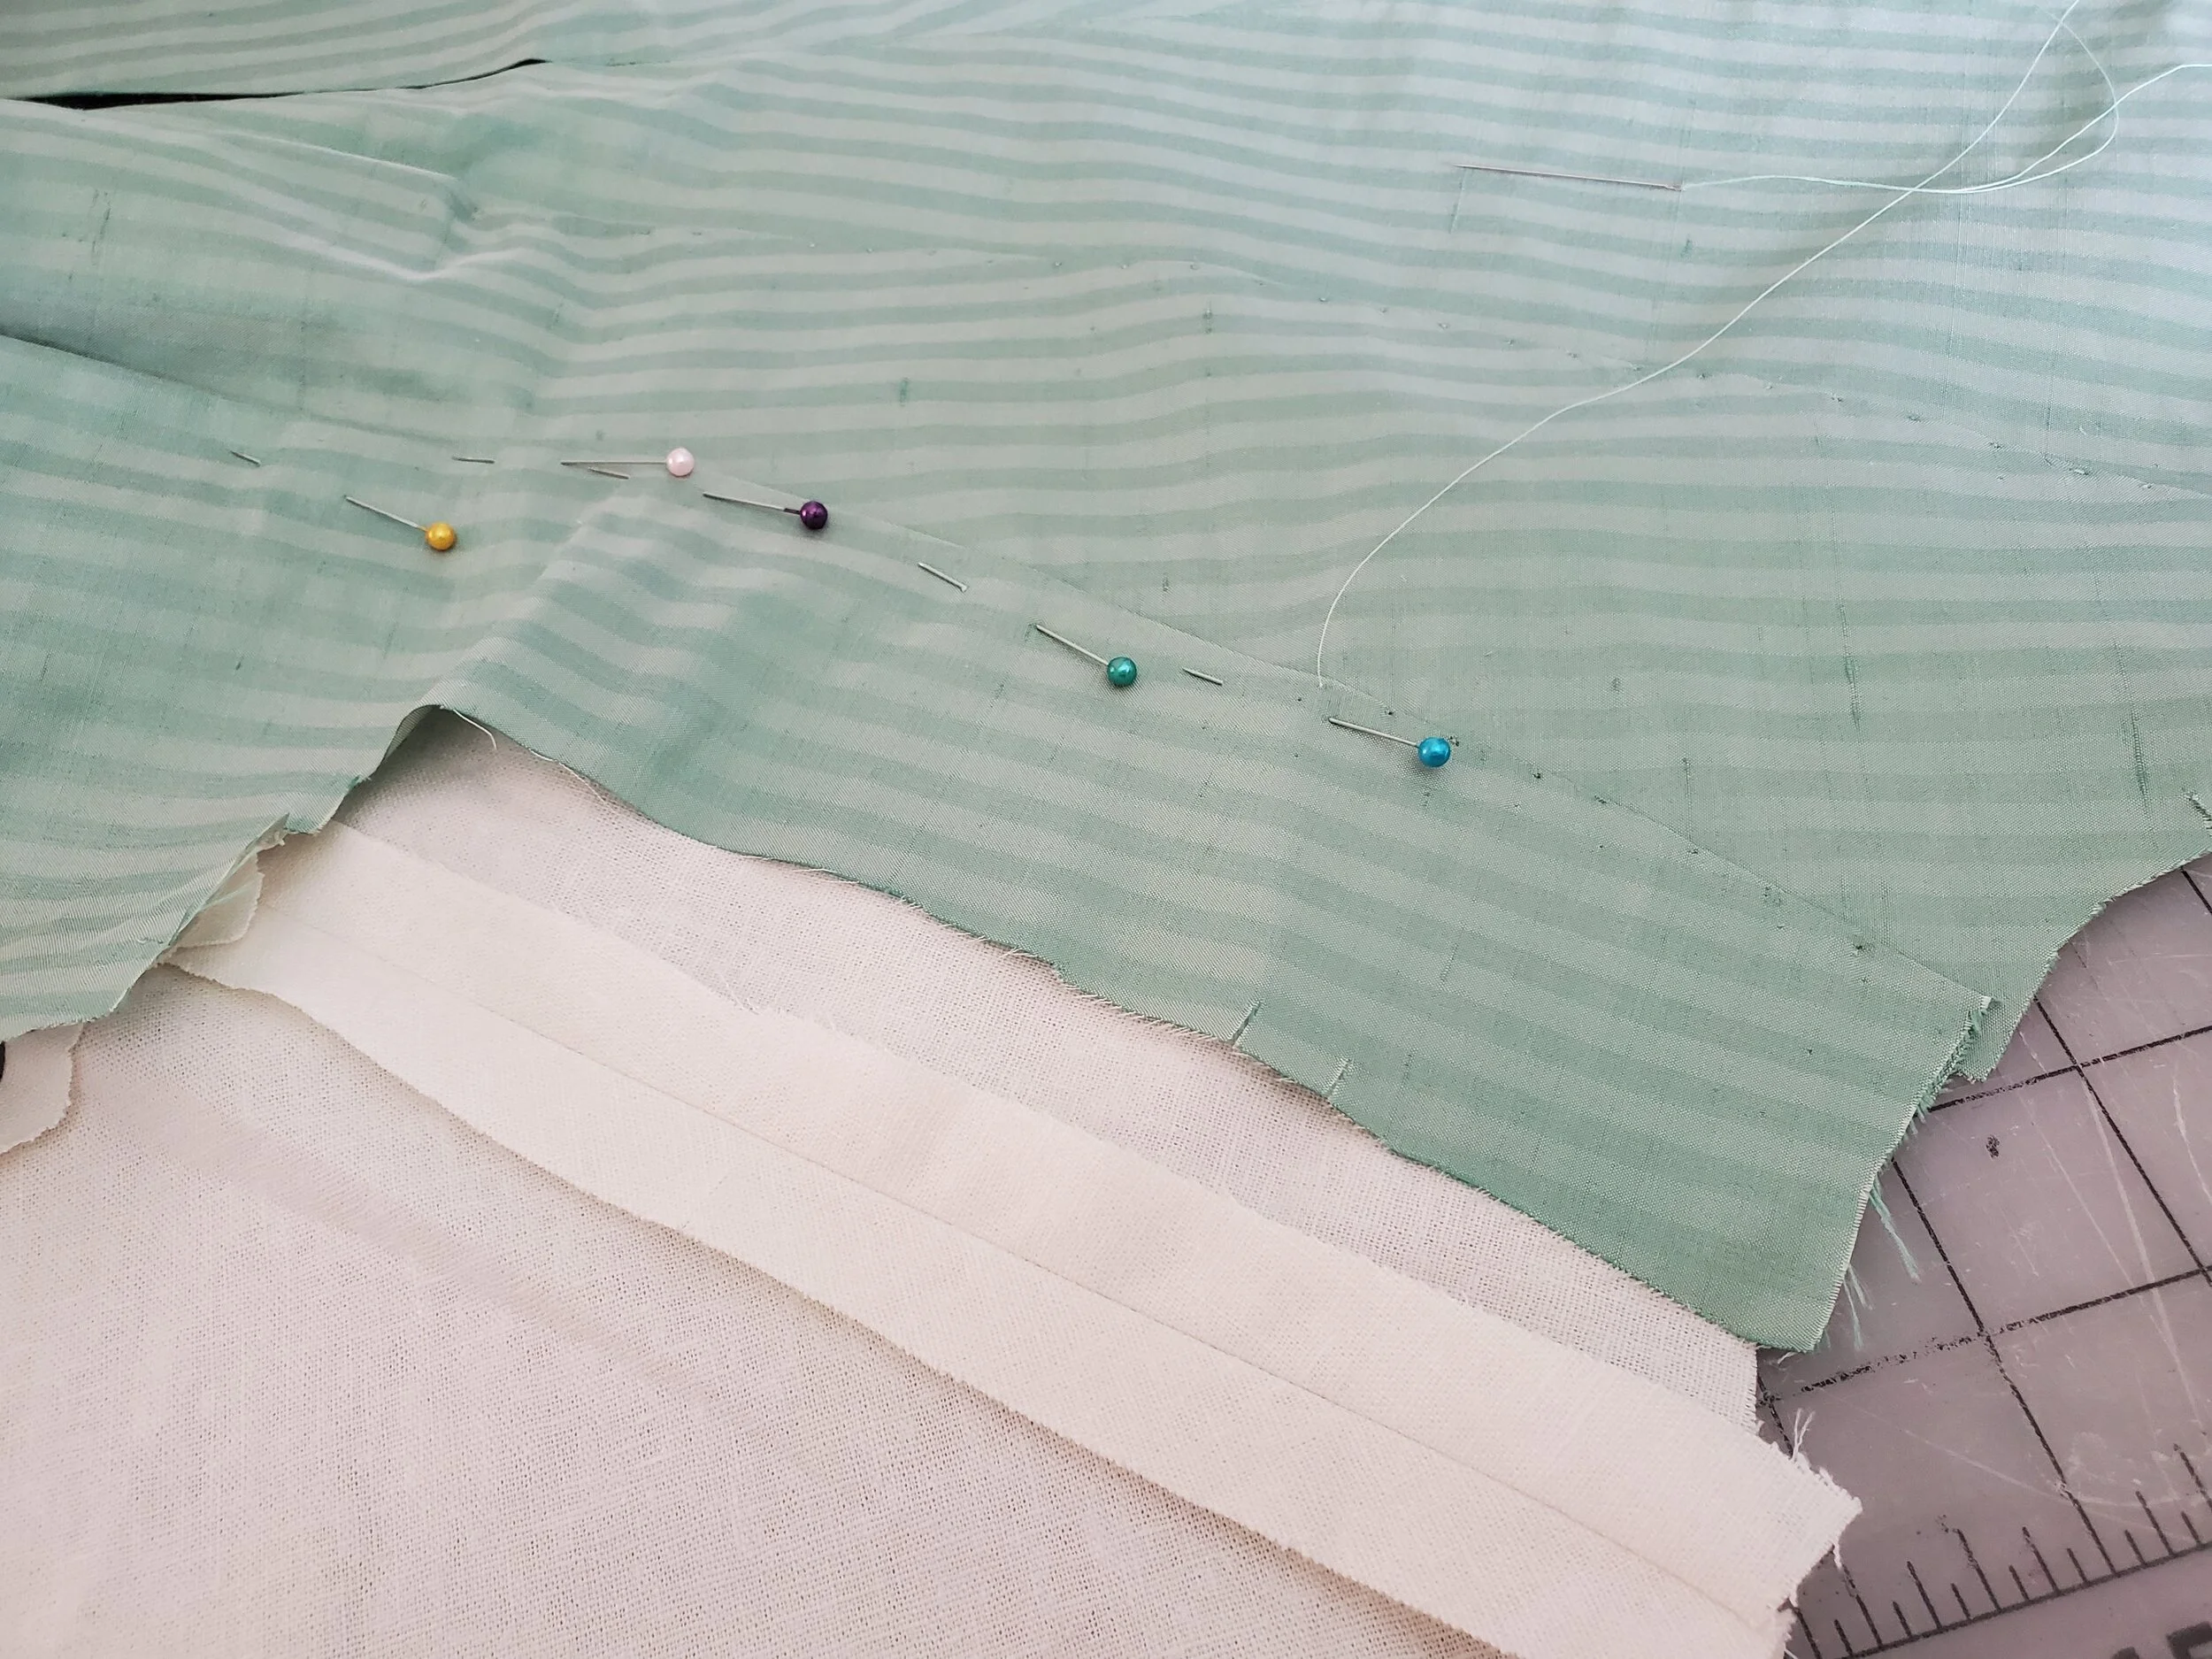
The center back seam of the fashion fabric was sewn including the little tail.

That was then ironed open and pinned, wrong sides to wrong sides, to the center back seam of the lining. It was then stitched in place by hand with the stitches being buried in the seam. The little excess formed a perfect box pleat at the waist.

I then pinned together the tails of the side back pieces with the back pieces

Those were the sewn, ironed open and picked to finish.

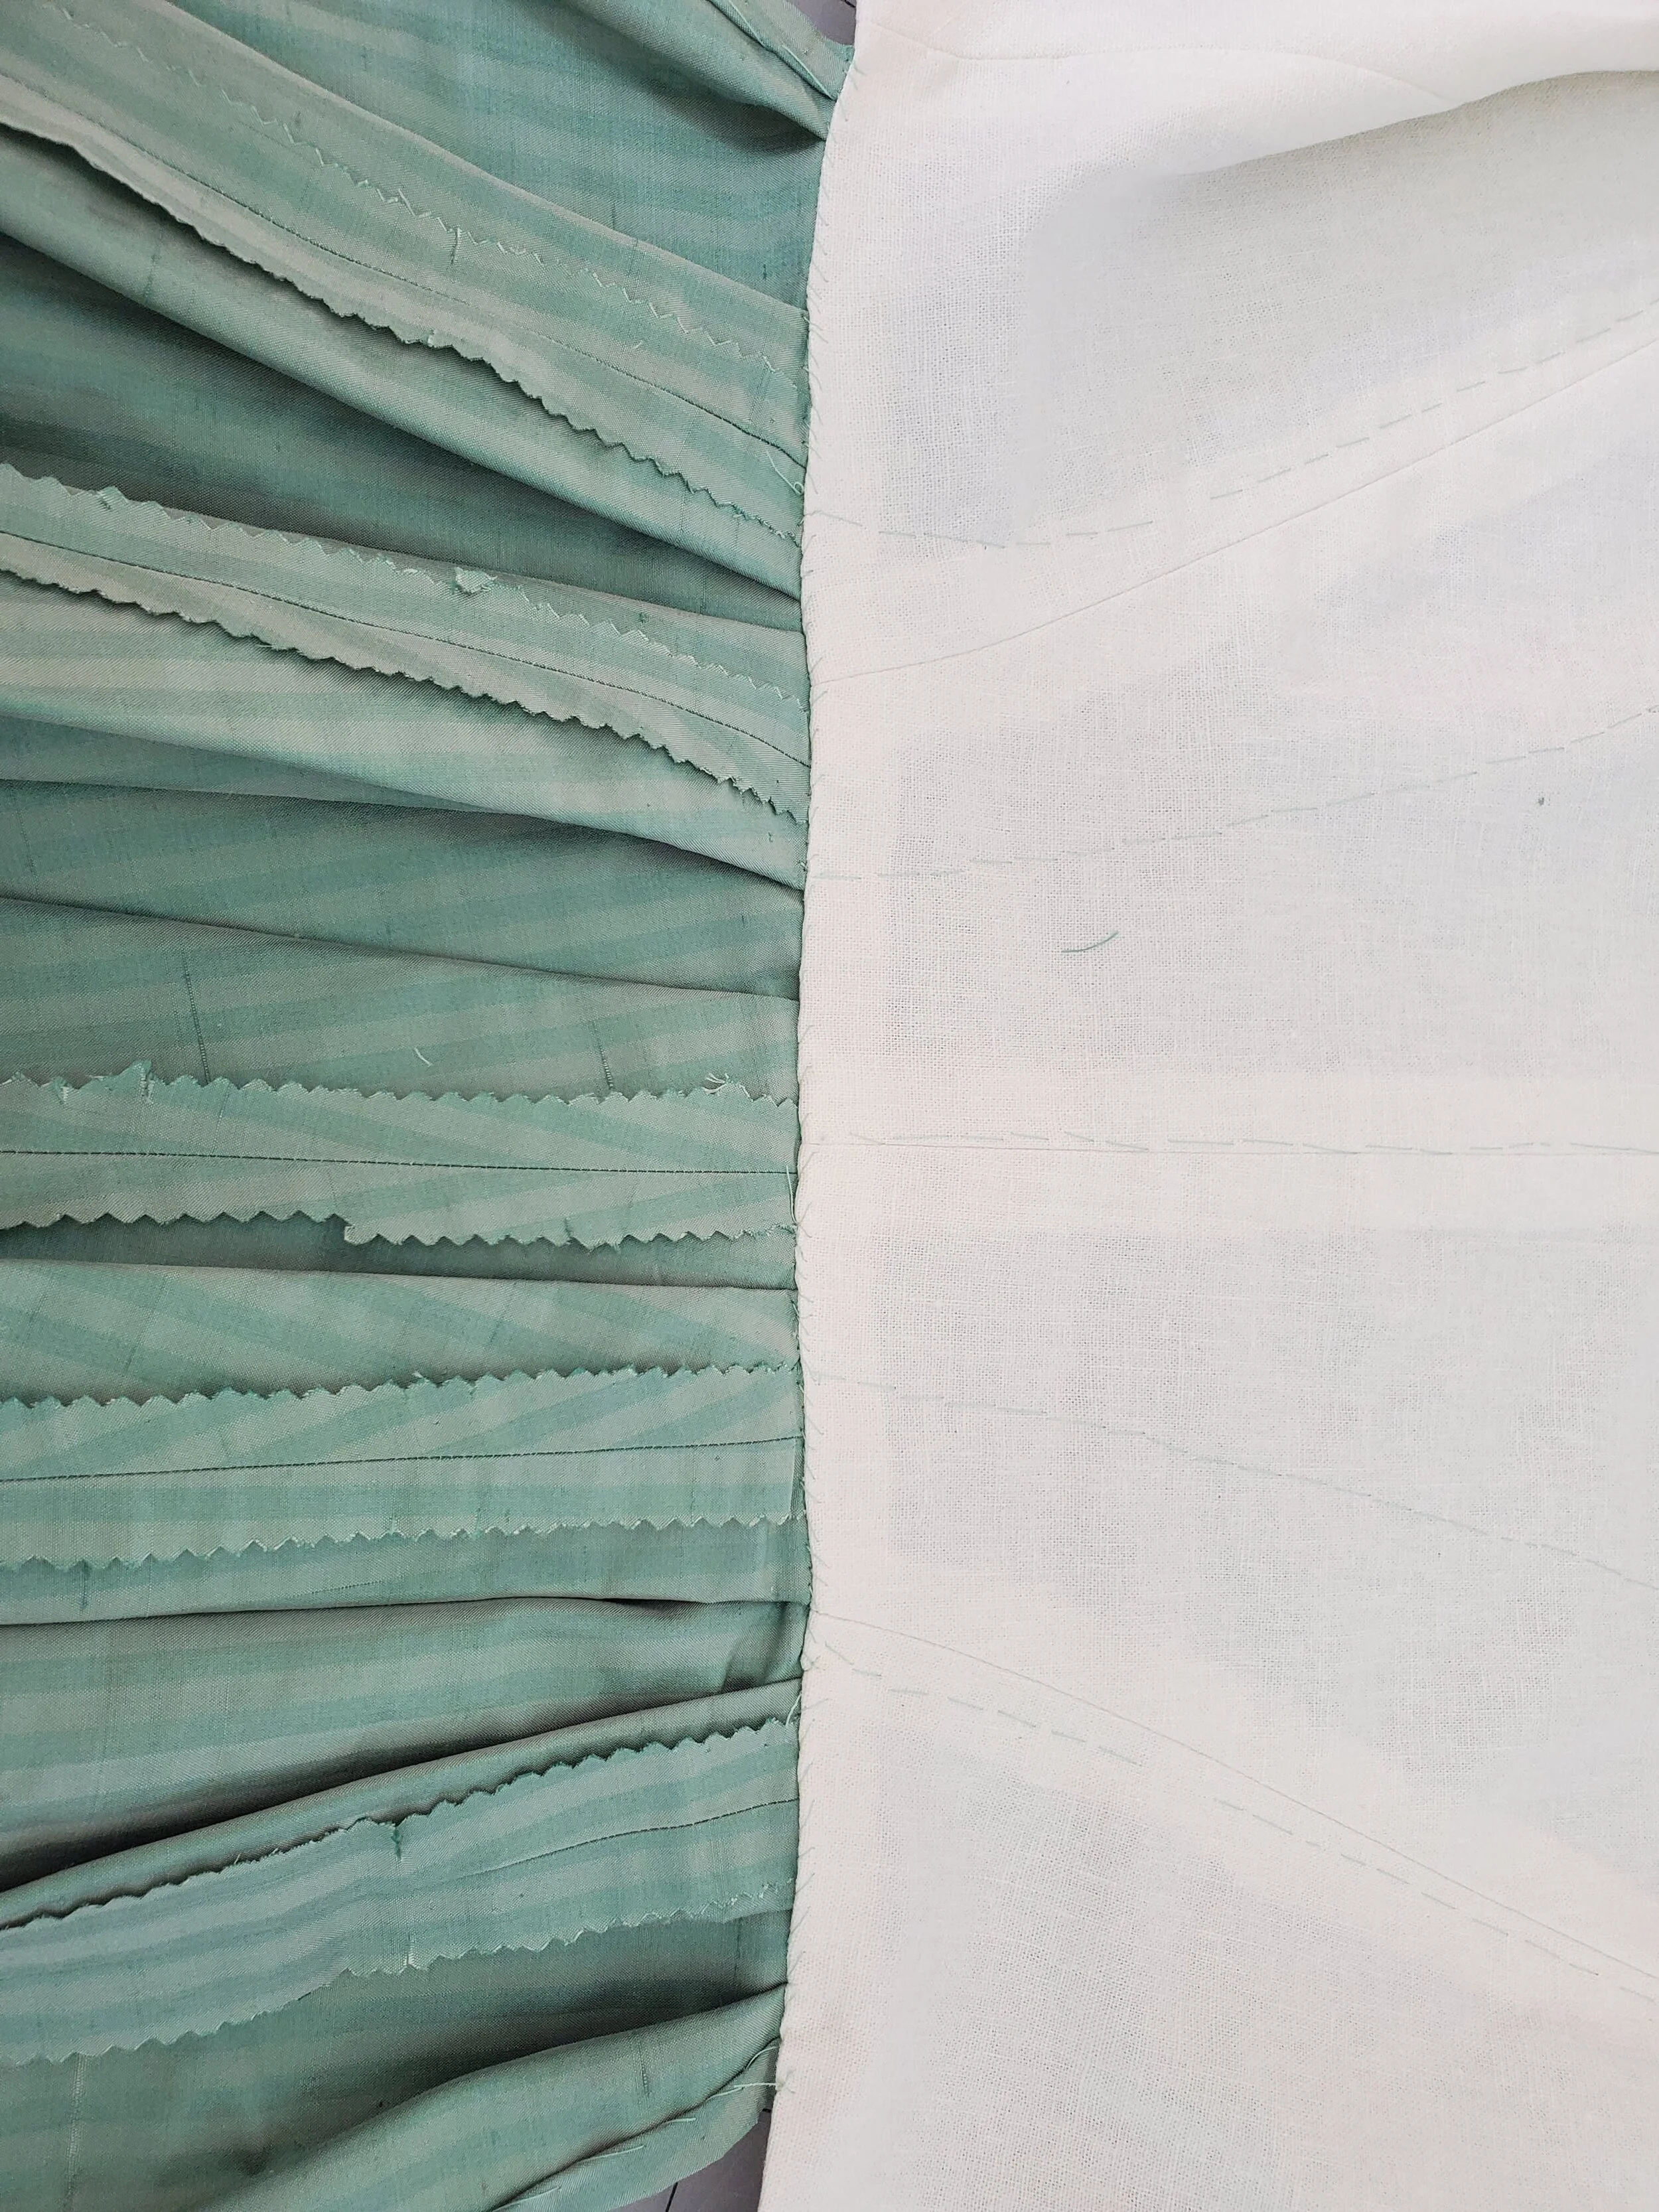
The edges of the side back pieces nearest to the back were then ironed back by 1/2” then laped over the back piece by 1/2” and prick stitched all the way to the waist. The excess tail formed a double box pleat which was partially secured by the prick stitches.

I then pinned the tails of the side pieces to the side back pieces, sewed, and picked.

Here is a closer look of how the pleats look when you lap a piece over another piece.
The side pieces were secured in a similar manner as the side back pieces.

The entire tail piece was then given a narrow 1/2” rolled hem by hand.
The bottom edge of the lining that was folded up eariler now served to finish the waist edge of the jacket from the side seam to the side seam. The bottom edges of the front pieces will be tackled shortly.

The bottom edge and edge closest to the back of side front pieces were ironed under by 1/2”.

The pieces were then laped over the side pieces by 1/2” and prick stitched.
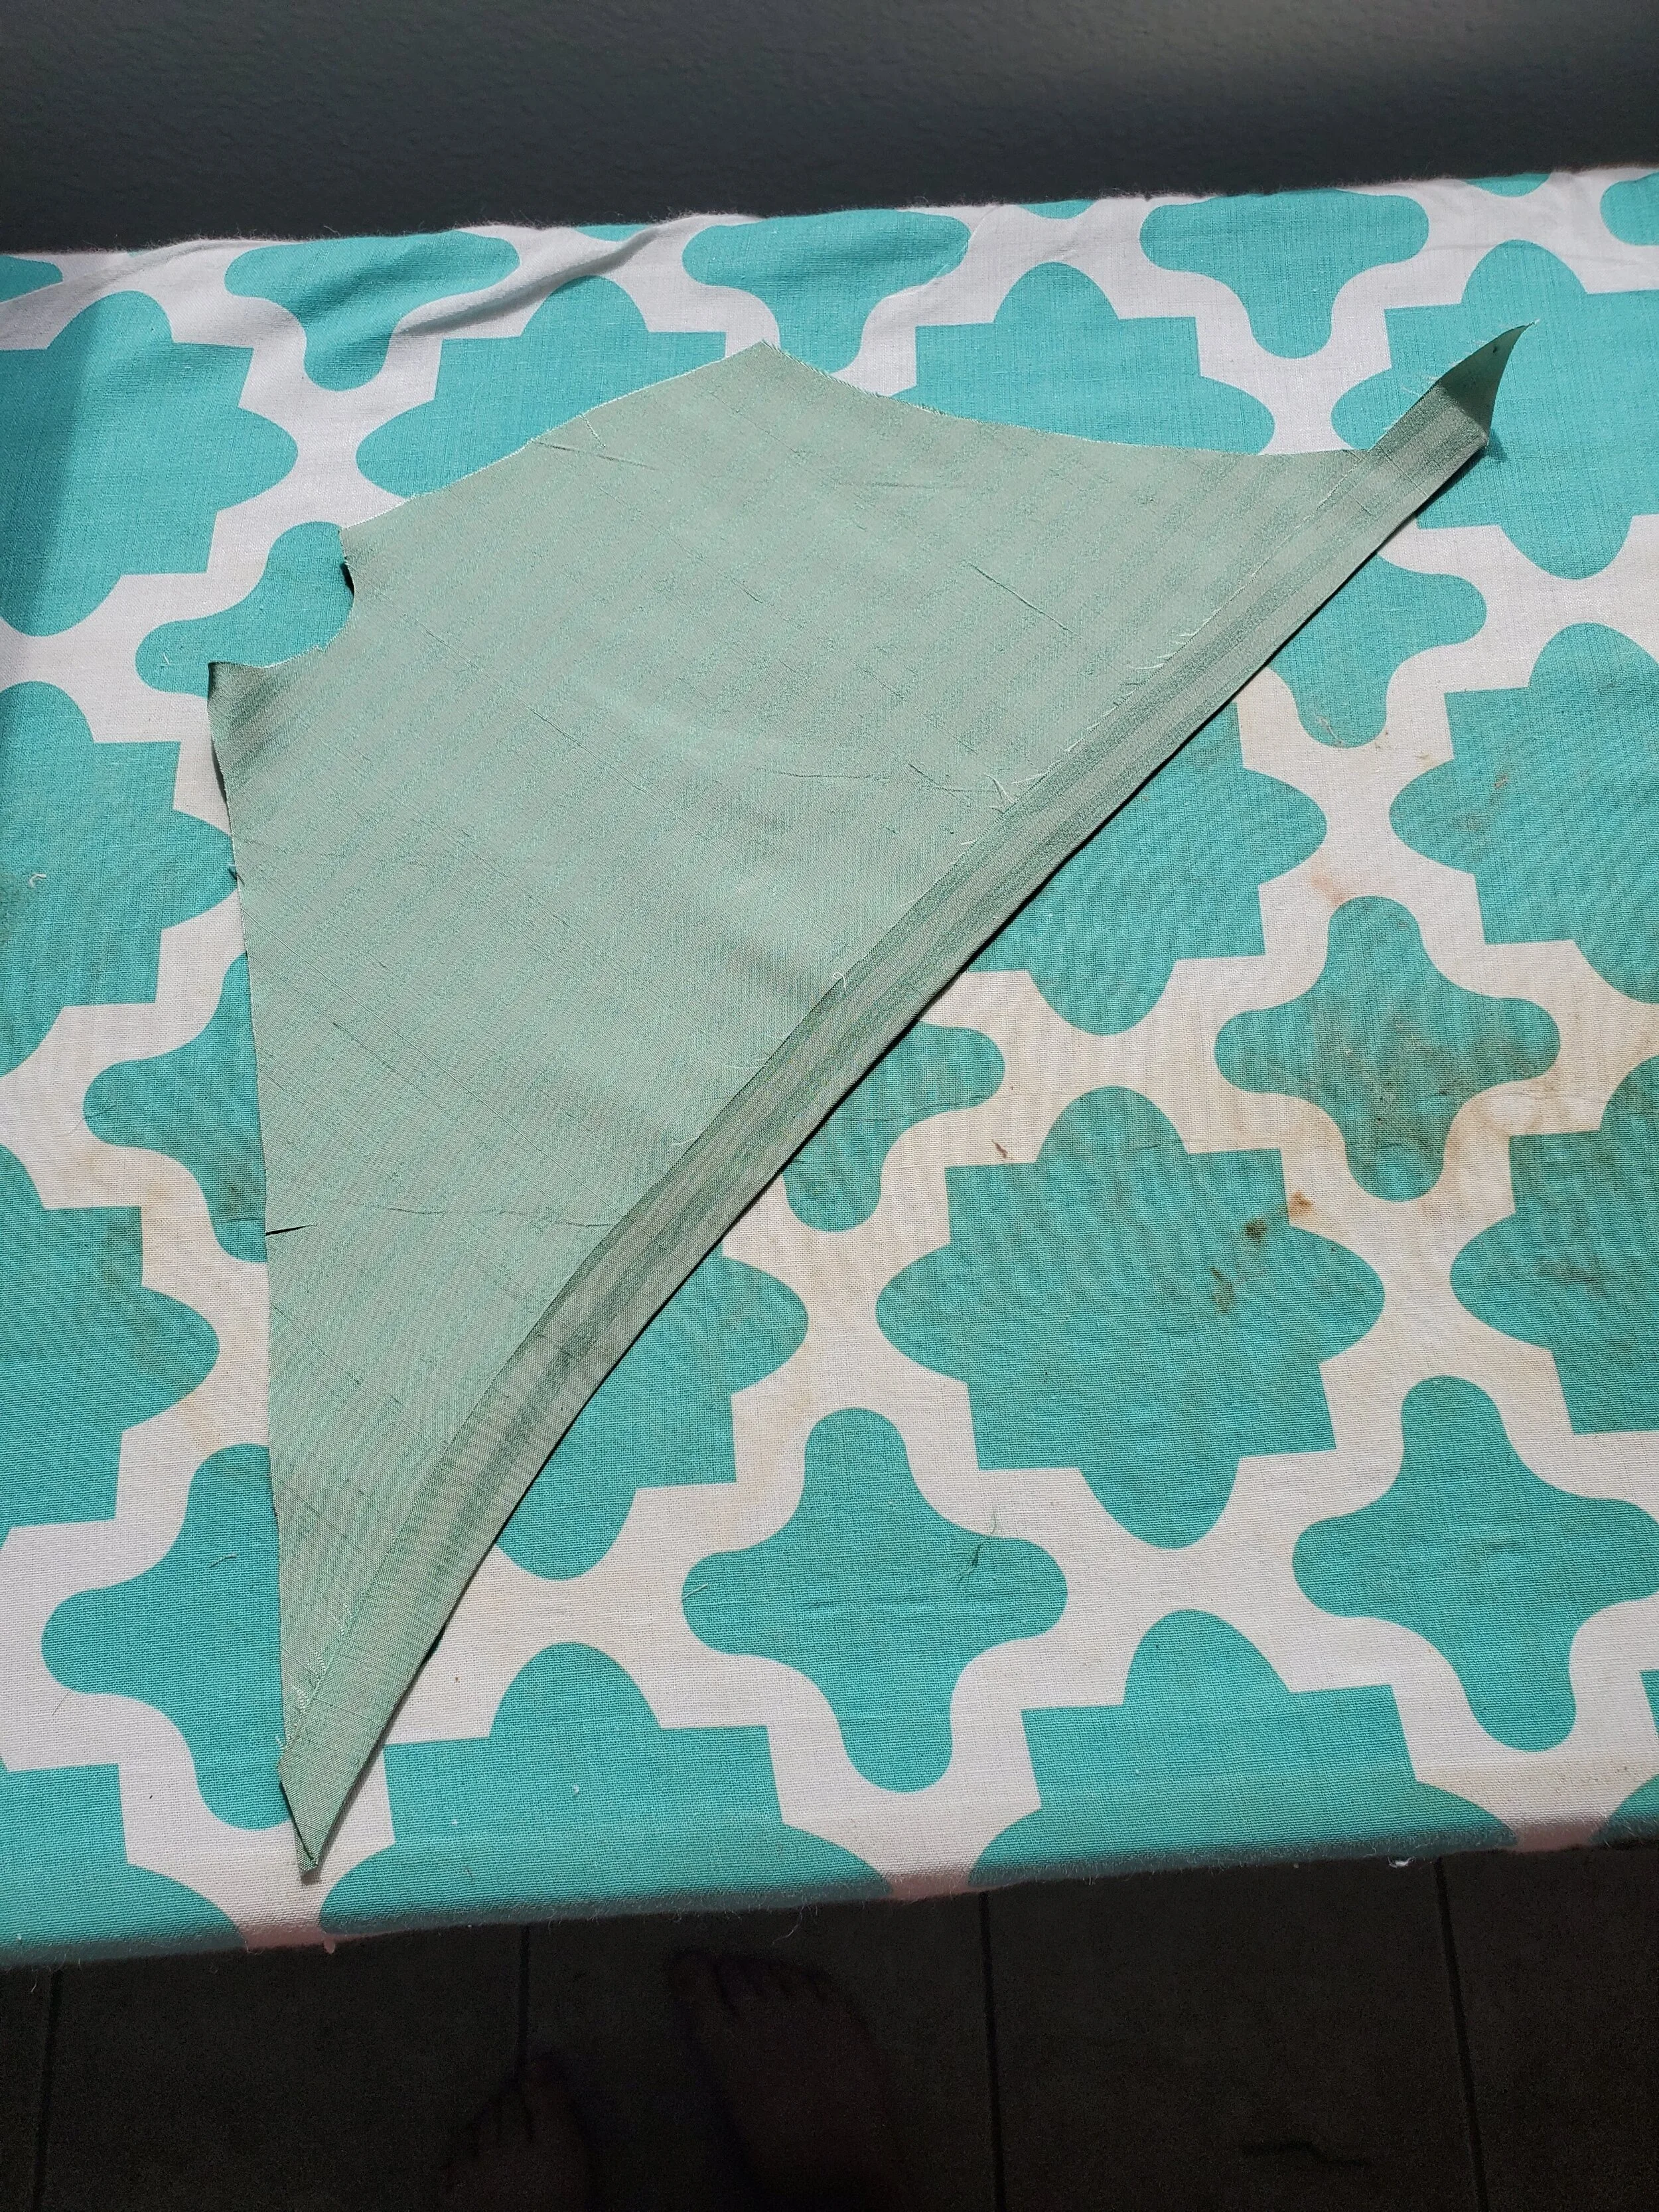
Now the front piece of this late 1780s-early 1790s comes in two parts an upper and a lower piece. I cut by upper piece on the bias and my lower piece on the straight o ultize the stripe pattern for effect. Here you see the bottom edge of the upper piece being turned under by 1/2”.

That was then laped over the lower front piece by 1/2” and prick stitched.

All the edges of the entire front piece (save the shoulder seam) was then ironed under by 1/2”.
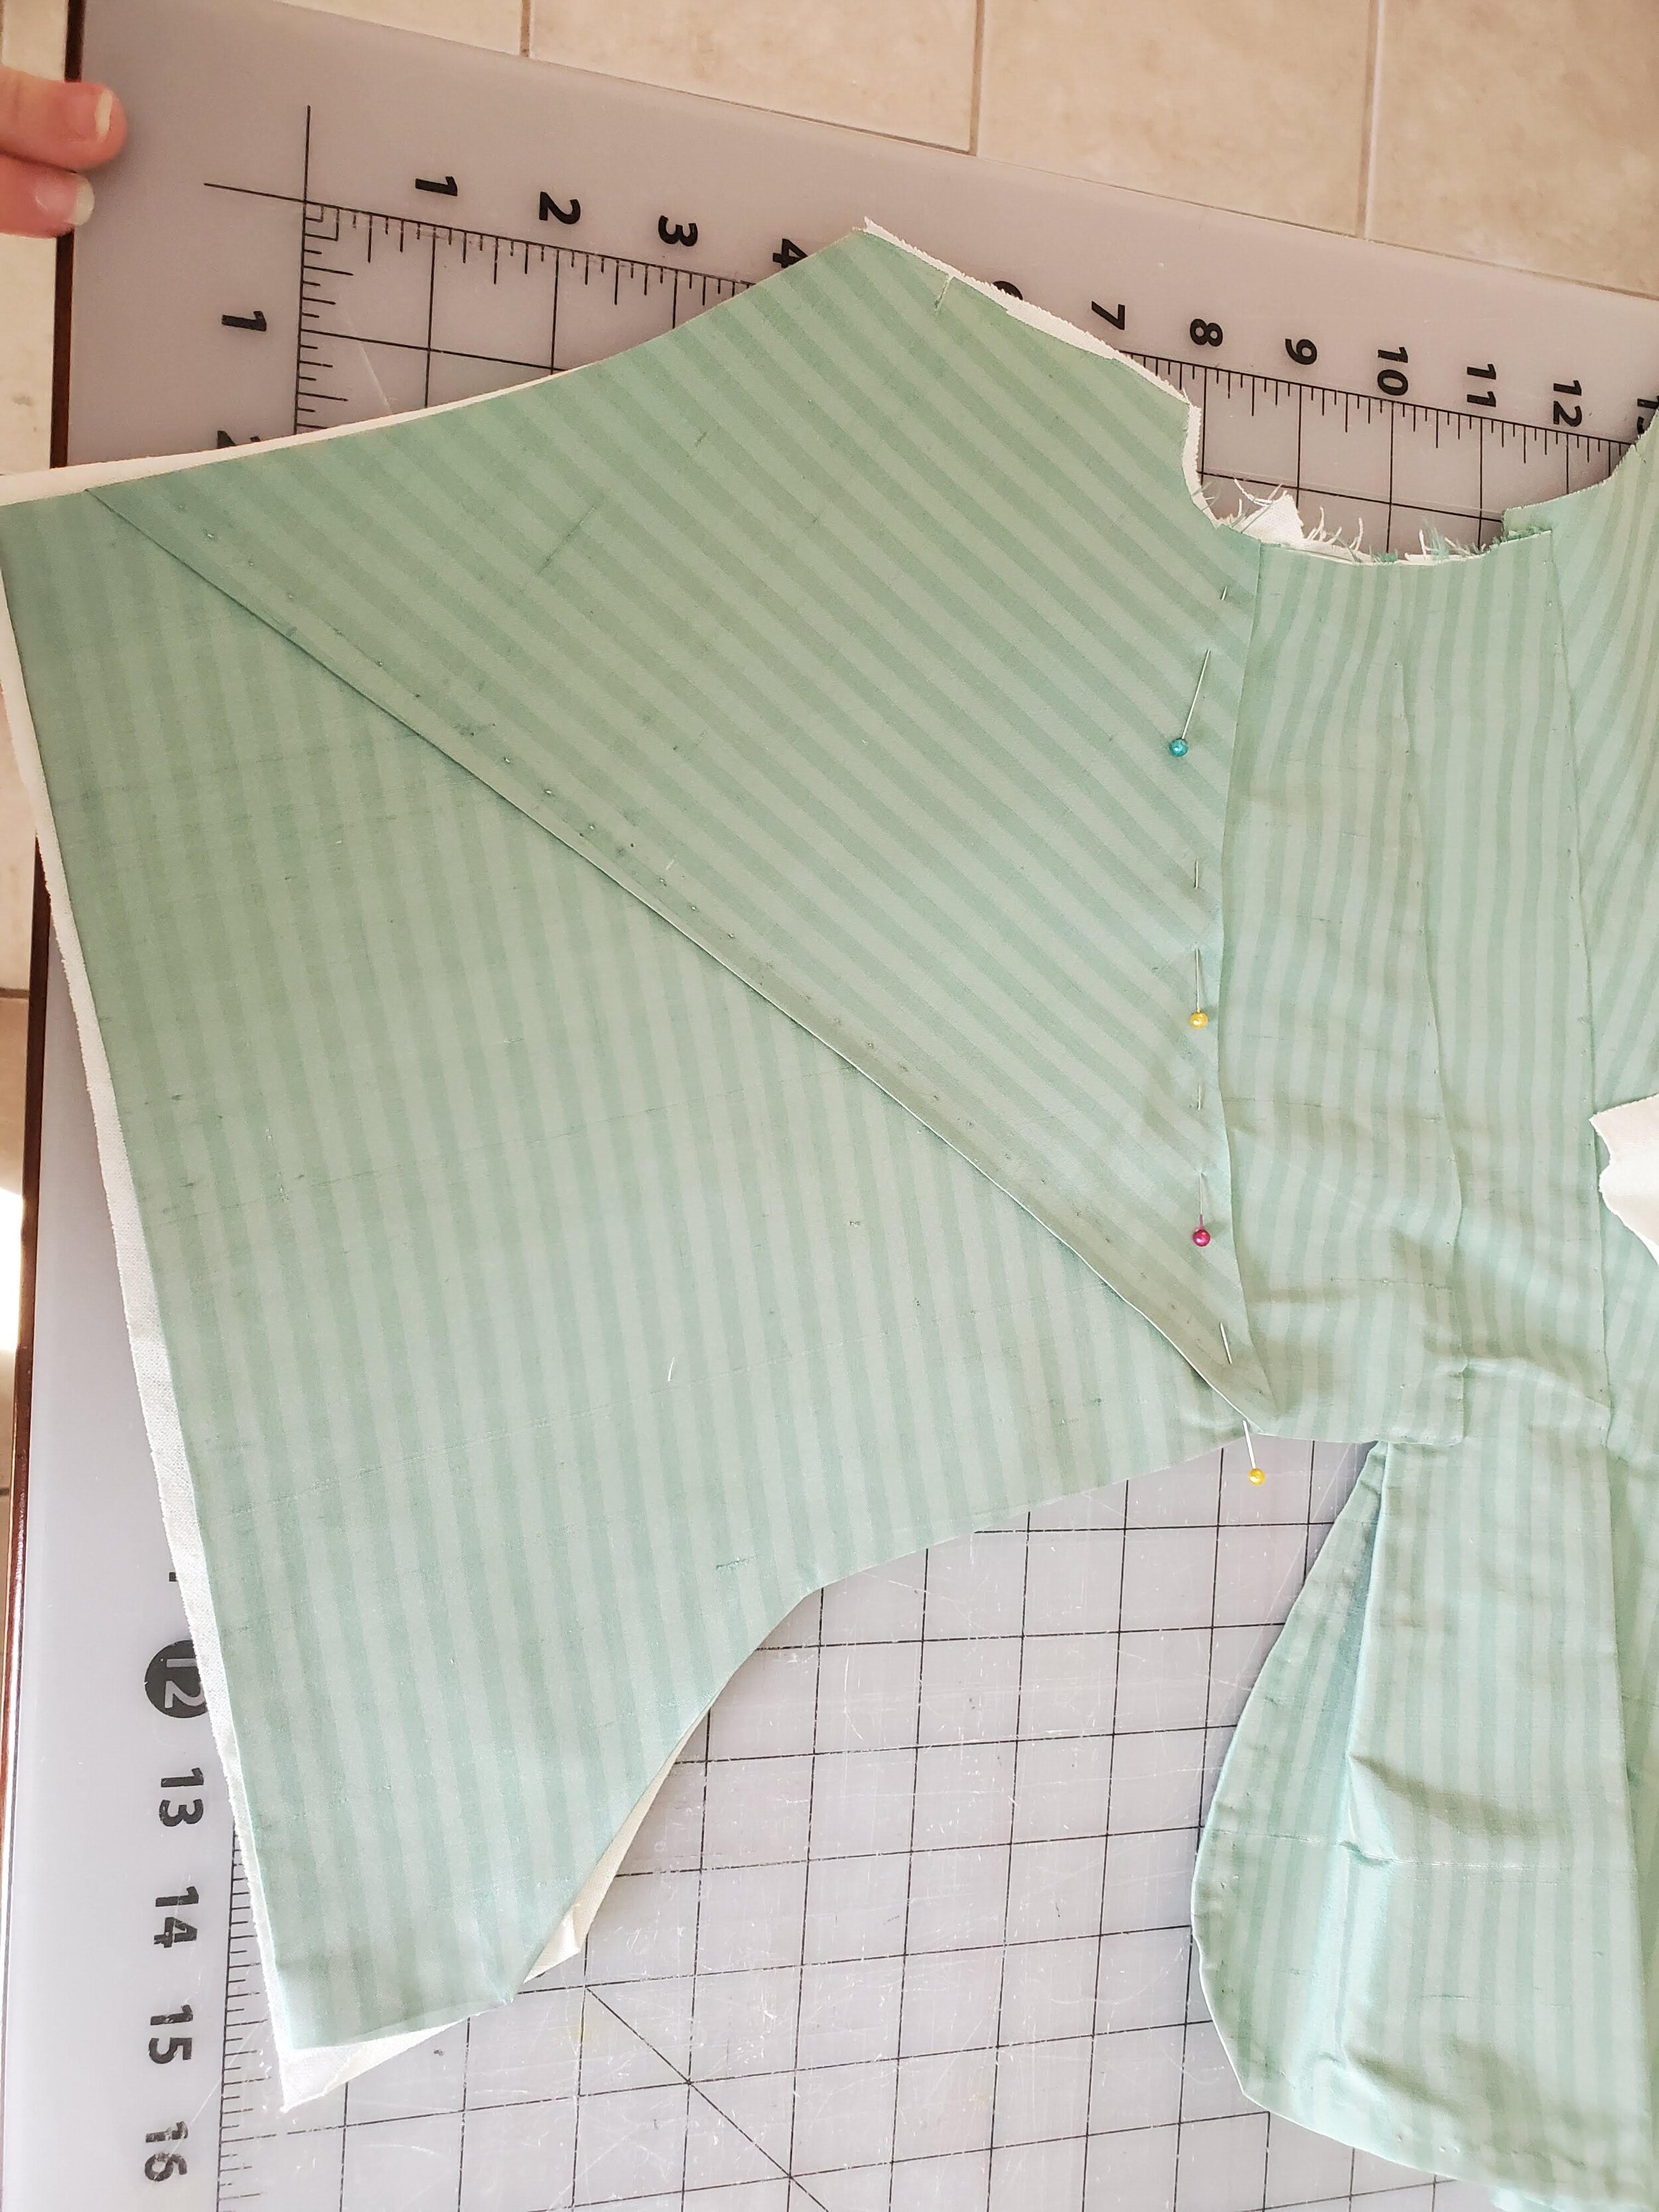
The front pieces were then laped over the side pieces and prick stitched. (only at the seam connecting the side front with the front the other edges will be dealt with momentairly.)

The neckline and armsyche edges of the shoulder straps were ironed under by 1/2”.

The shoulder straps were the sewn to the back lining with the right sides together.
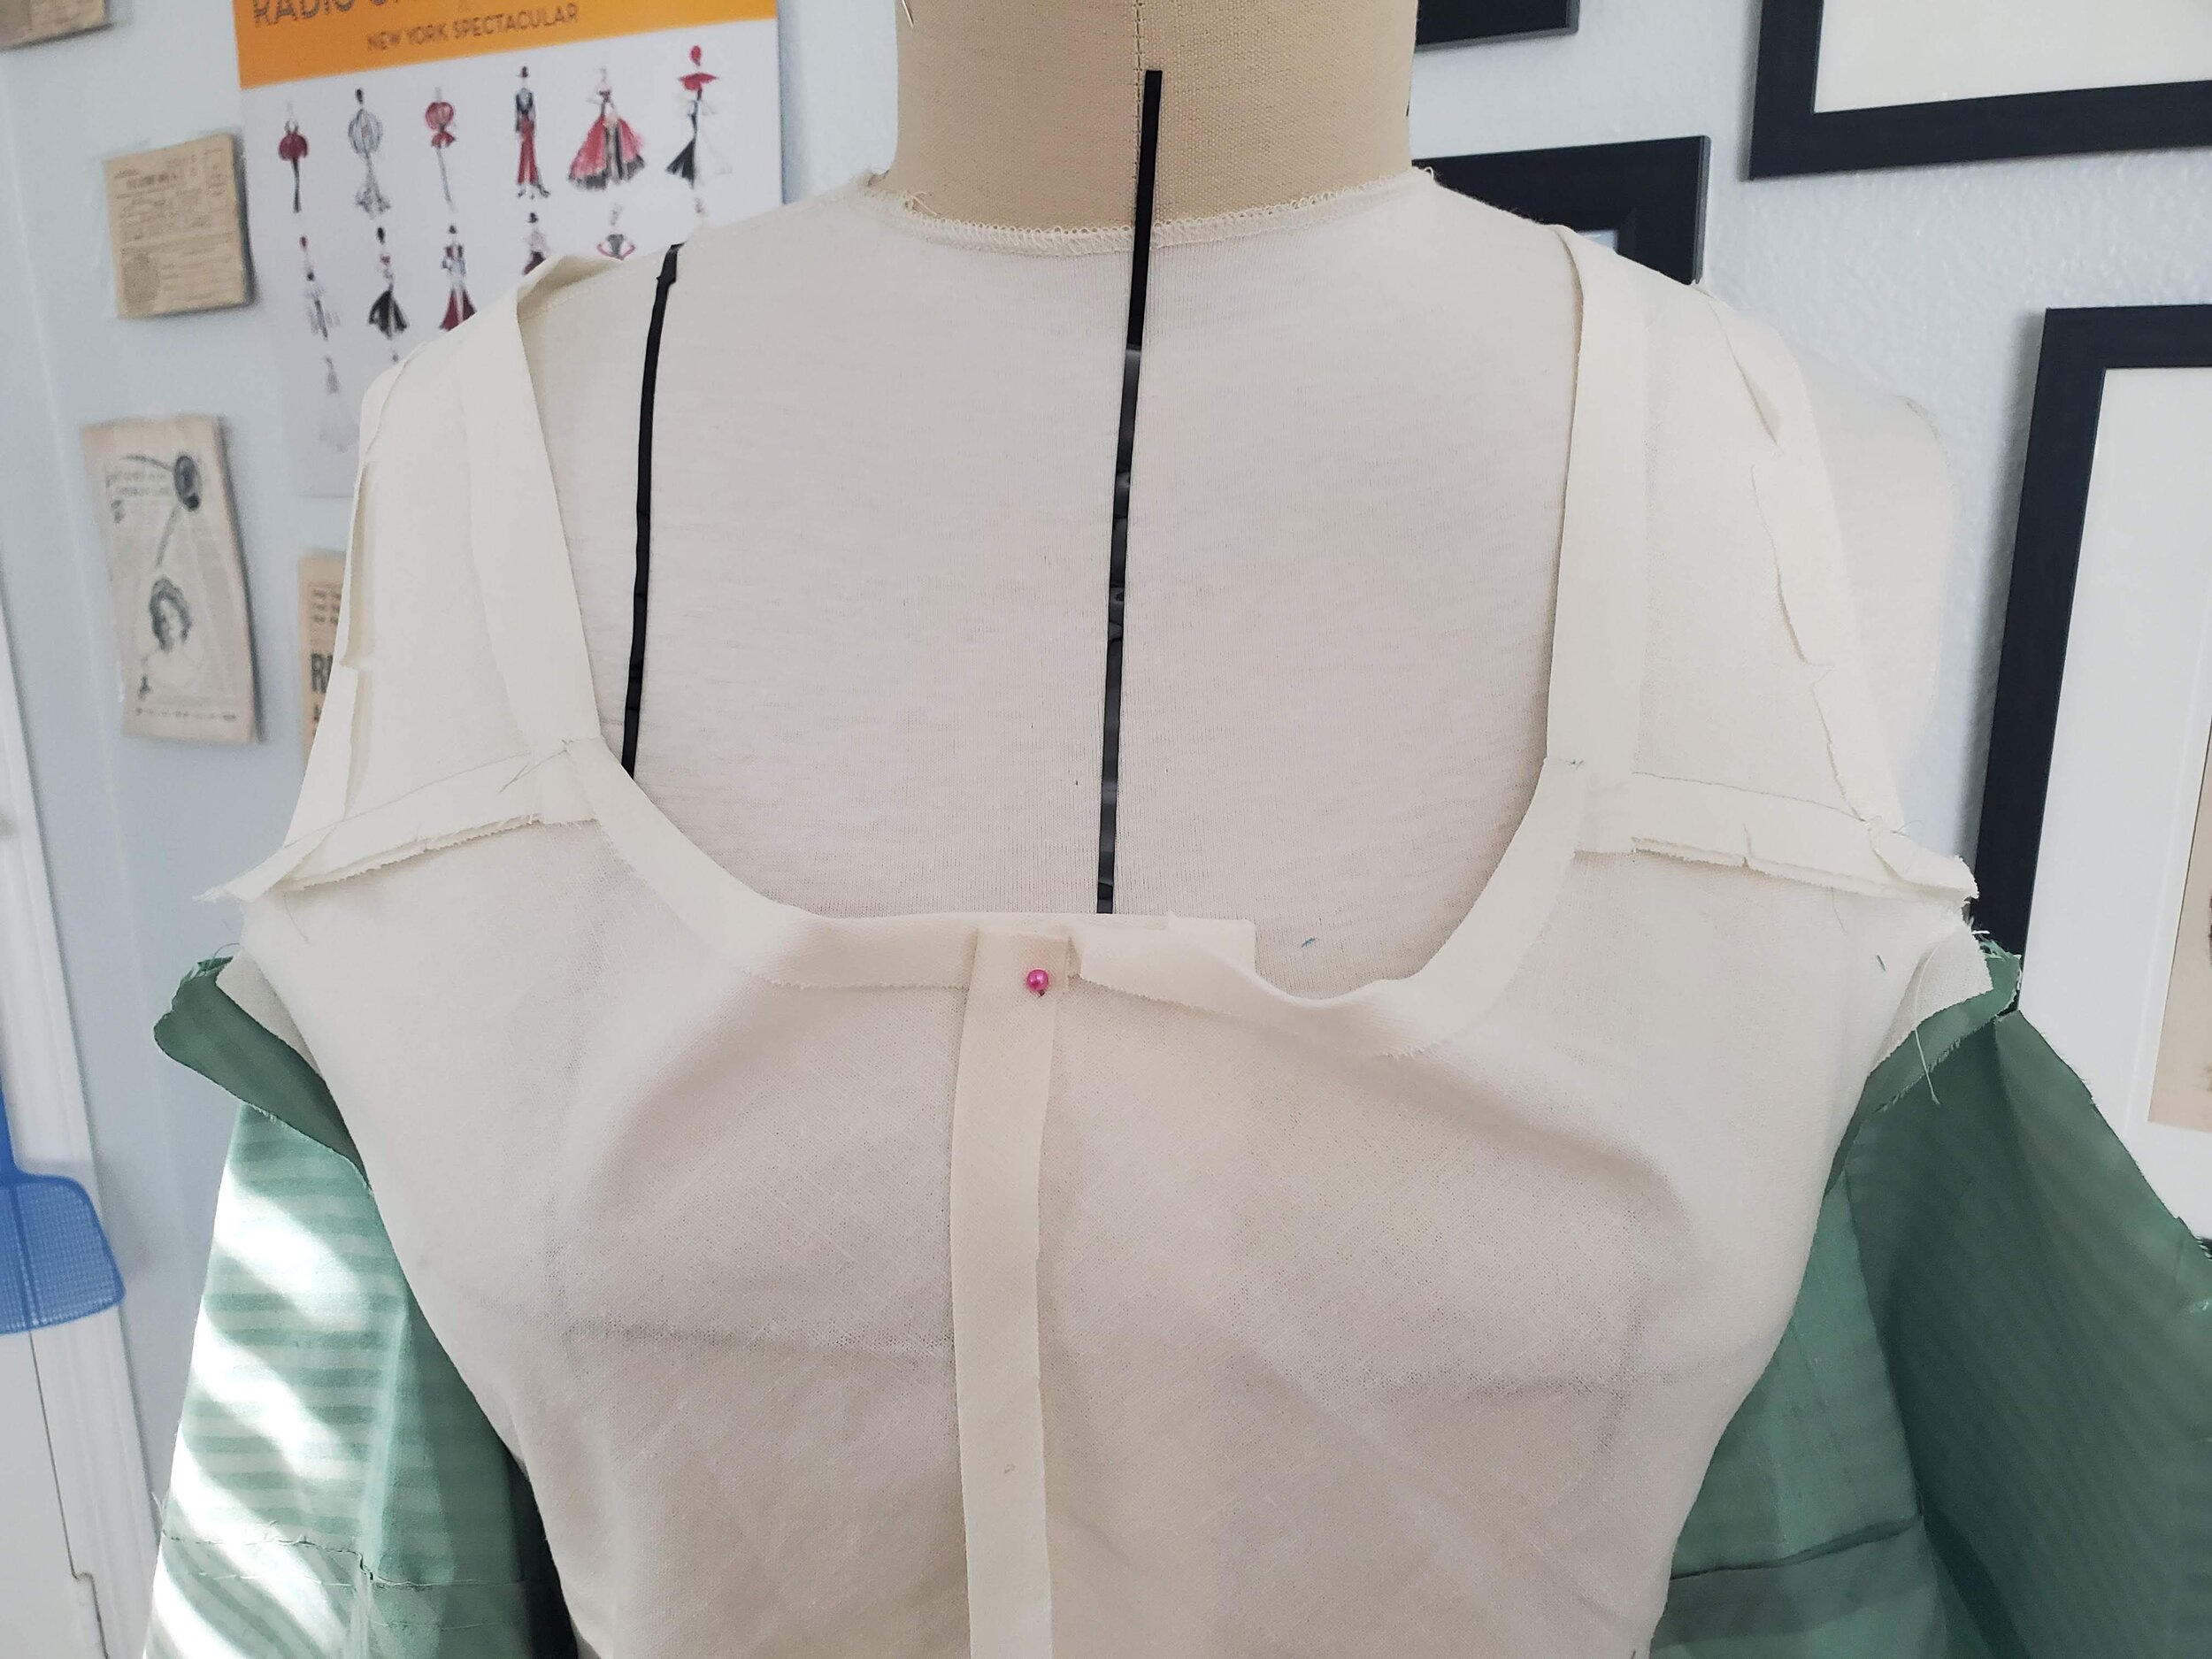
I then tried the jacket on to check for fit and sewed the straps to the front lining. I also then turned under the edges of the front lining by 1/2”.

I then smoothed the front piece over the front lining, pinning it in place.

I then turned the front piece under and stitched the lining over it by hand.

Now that the jacket body was done I could move onto the sleeves. I first sewed the outer and under sleeve pieces together by machine.

I then hemed by the sleeves by hand (another narrow 1/2” rolled hem).

I then went above setting my sleeves, the 18th century way I highly recommend American’s Duchess’s "Guide to 18th Century Dressmaking” for how to do so. The bottom of the sleeve is set in using the “normal” method from about where the strap stops and ends.

The jacket is then placed on a dress form/body and the sleevehead streched over the strap and gathered to fit. The jacket is then removed and tried on to check said fit. The sleevehead is then basted into place.

The fashion shoulder straps come into play now with all sides ironed under by 1/2”.

They are then pinned over the gathered sleevehead and sleeve lining and prick stitched in place. This method also for easier fitting and a greater range of movement.

Here is how the whole sleeve operation looks from the inside. Notice that I pinked the edge of the bottom sleeve to finish it.

Finally the jacket is done and here is a picture of the inside back to get a good idea of how everything looks when completed.