
1875 “Azure” Bonnet


After I made a c. 1875 ensemble to match the school colors of my new UK college, Digby Stuart, I knew I needed a hat to go along with it. I therefore consulted the "Victorian Dressmaker Companion Book" book and found a lovely bonnet that was exactly the look I was going for! I wanted a bit more simpler look, aka without the ostrich feathers, to better reflect what students might have worn in the year of my college’s founding. If you want to see the making of progress of the bodice and skirt themselves, watch this video.

The first step was to cut out the tip, crown, and brim pieces from buckram. The tip piece and brim piece are cut with extra buckram which will be cut and folded over the crown piece, to act stability to the bonnet.

I then cut the pieces from my scraps of silk taffeta (no longer available). I cut out two of each piece, one for the outer part of the bonnet and one for the lining.

After everything was cut out, I started with the brim. I sewed the outer crescent of the brim by machine and turned it inside out.

I then turned the structural part of the brim and sewed 18 gauge aluminum wire to the outer crescent of the brim piece. No wire was sewn to the interior crescent because that’s where the crown will be attached and the crown will have wire there.

I then covered the outer crescent of the brim with a 1.5” bias cut stipe of cotton flannel and cut the interior crescent seam allowance so it could fold over the crown piece.

I then inserted the buckram brim into the silk sandwich prepared earlier. I pinned everything in place and basted the layers together by hand at the seam allowance point, where the brim will latter be attached to the crown.

With the brim finished I moved onto the tip piece. I sewed a piece of wire through its center for added stability.
I then clipped the ends of the tip’s seam allowance and covered the bottom of the piece with a bias strip of cotton flannel.
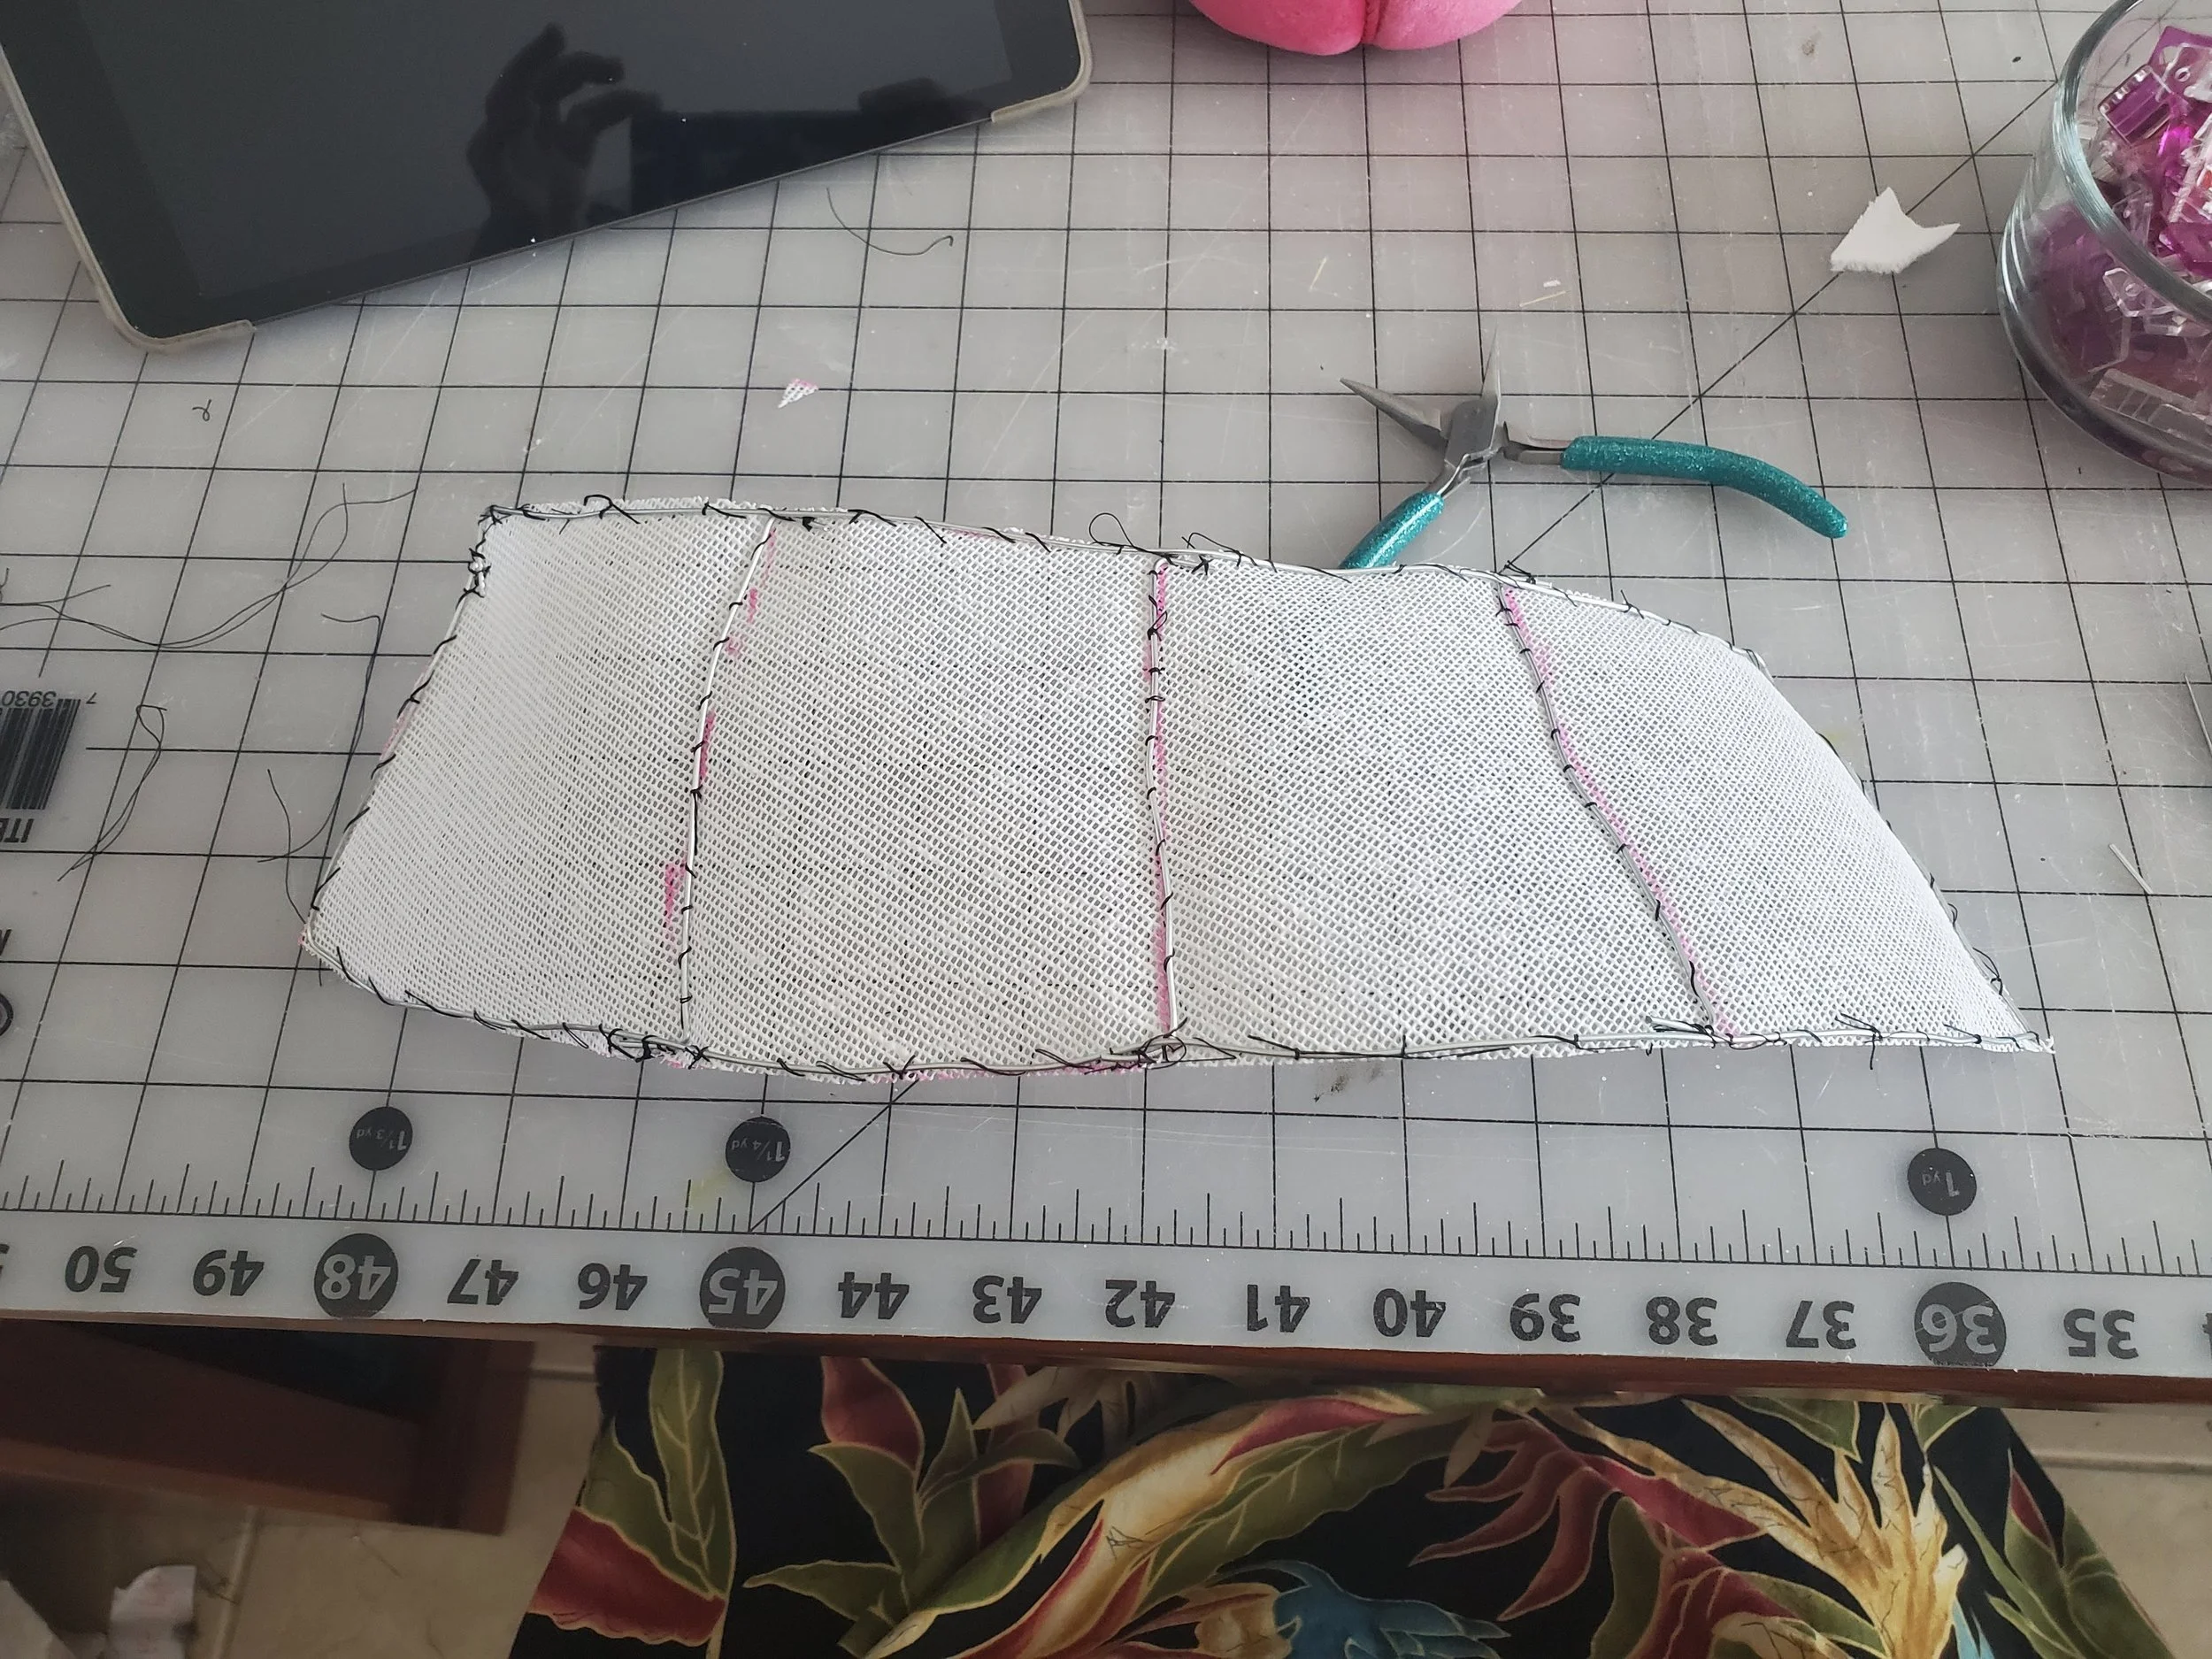
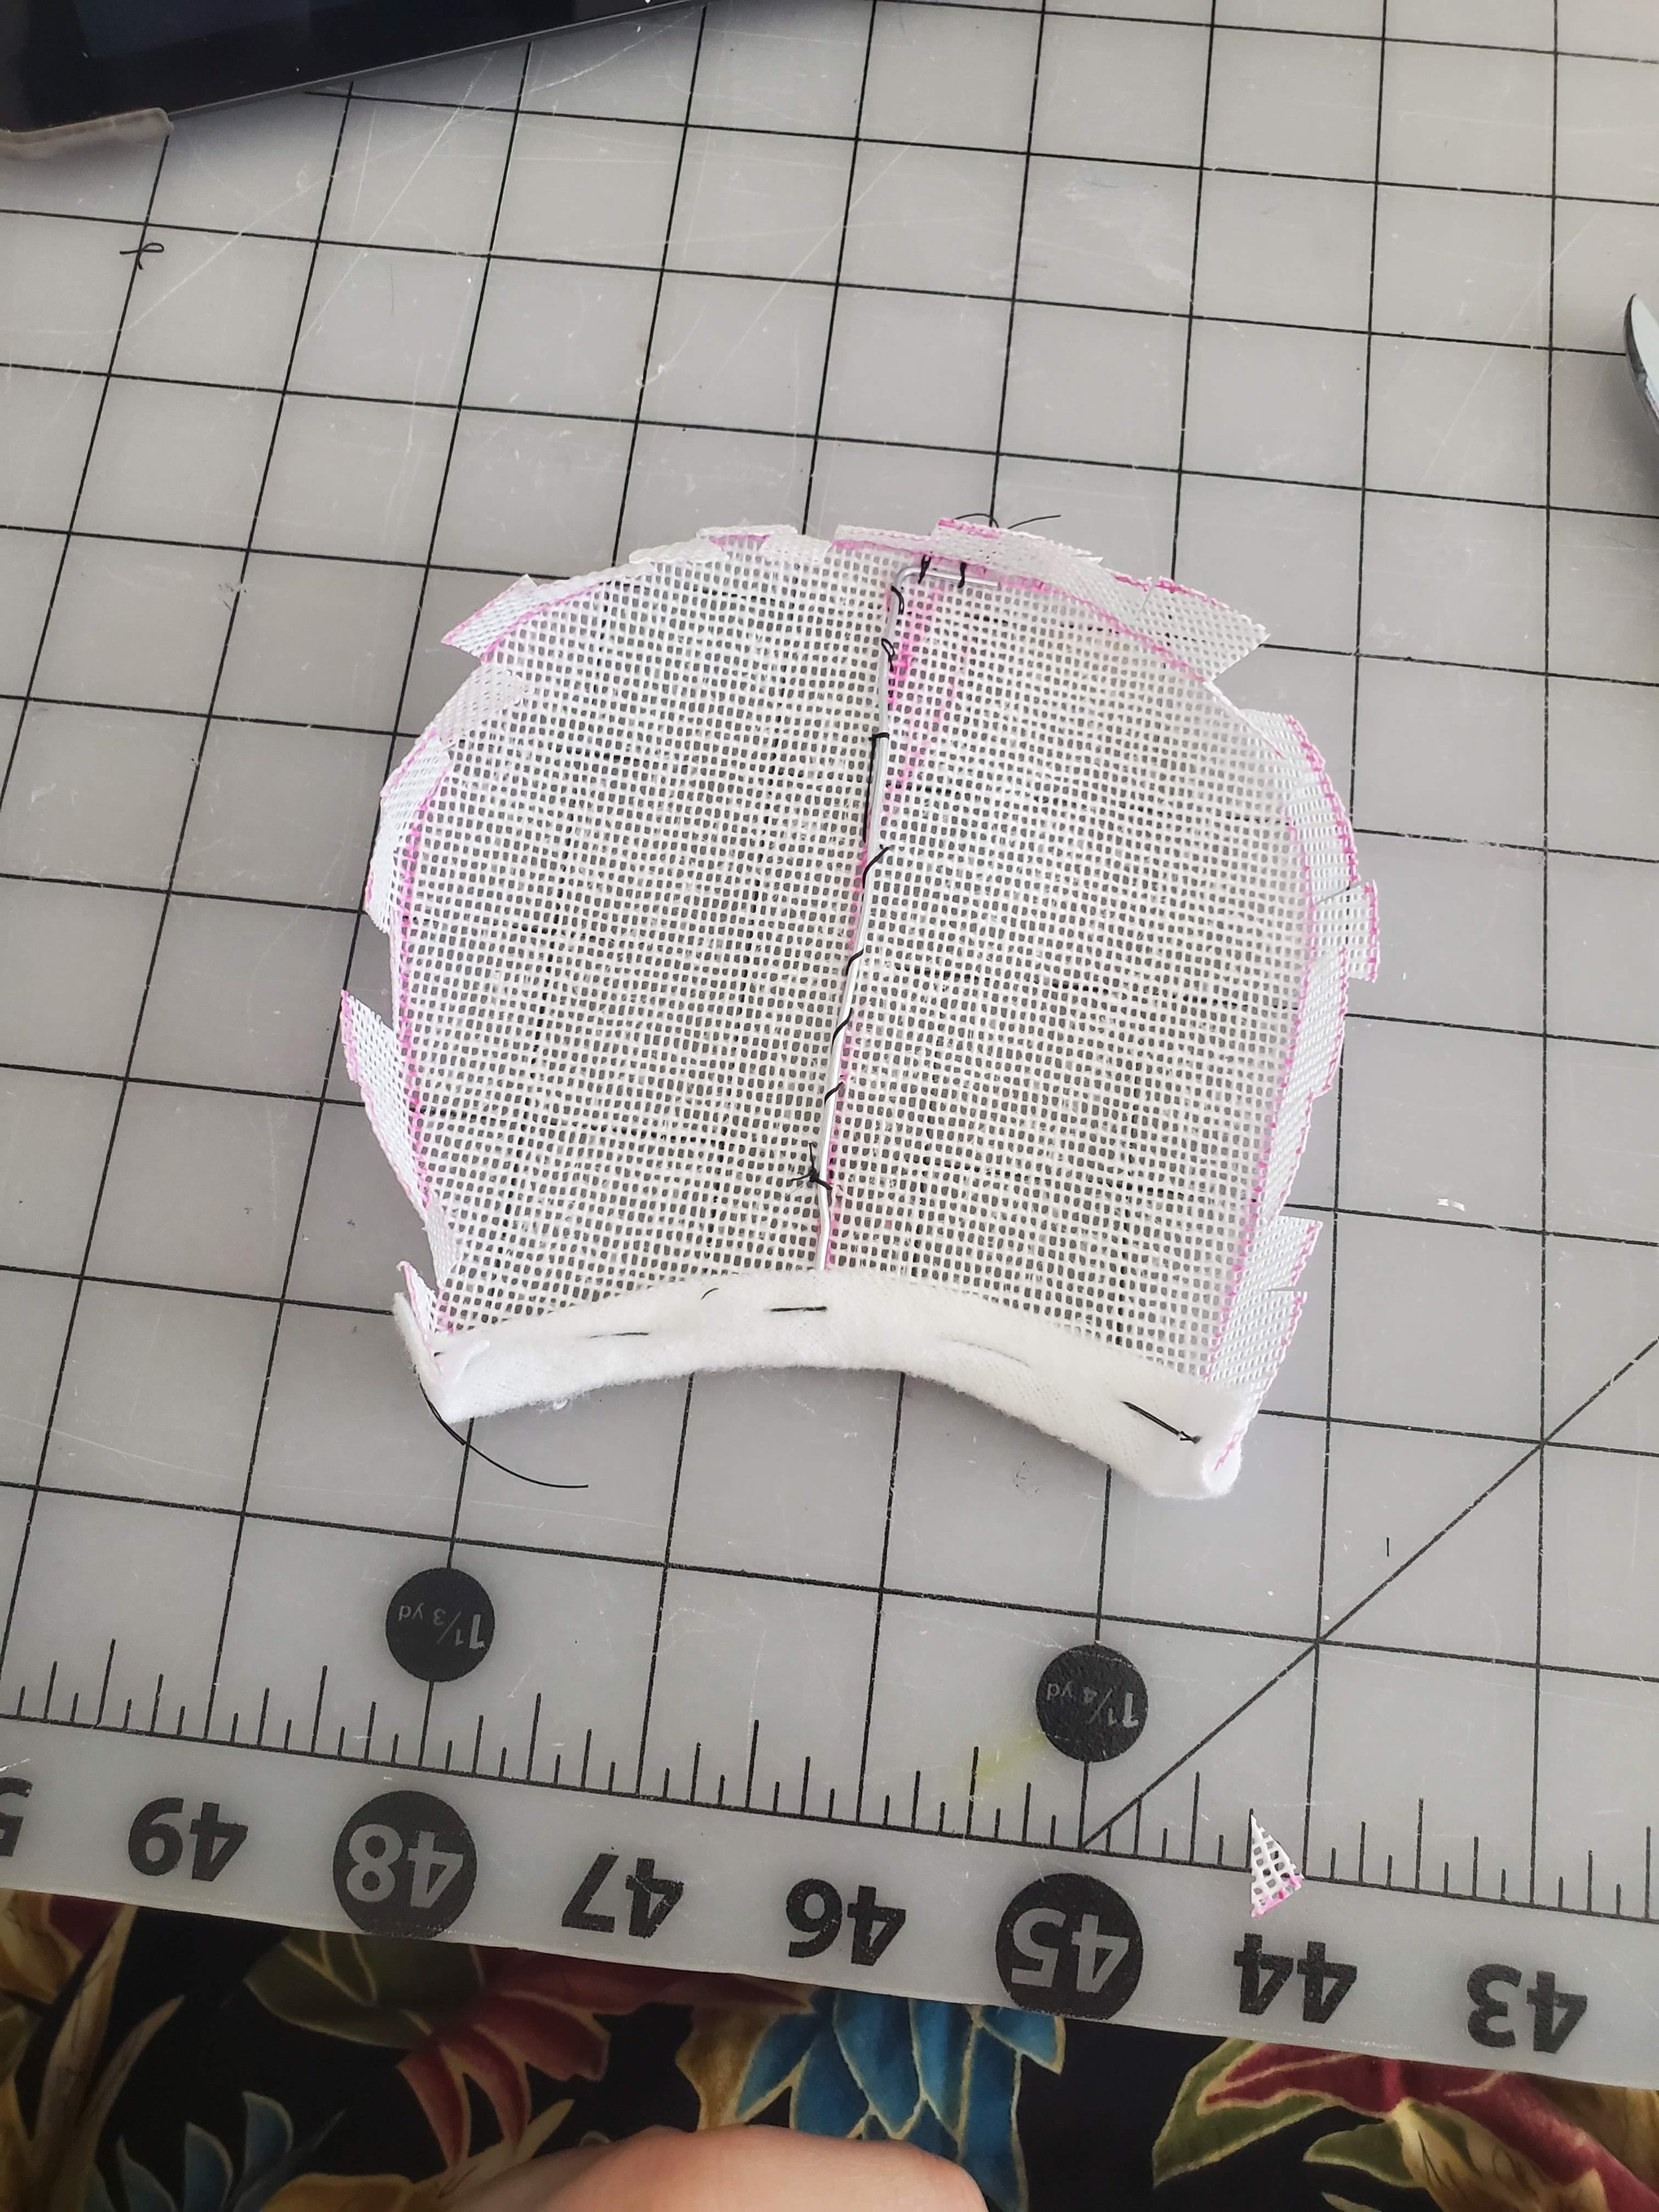
With the structural aspects of the tip completed I moved onto the crown. It got four vertical lengths of wire sewn in it, one at the front, back, and each side. The top and bottom length of the brim piece also got wire sewn on it.

I then curved the crown into shape and covered the end the would attach the brim piece with a bias strip of cotton flannel. The ends of the crown piece were also covered. The picture in the next section will prepares better visualize what I mean by “ends”

The tip and crown pieces were then attached. I folded buckram that extended past the seam allowance line over the crown piece. After being stitched together the joint was covered with a bias cut strip of cotton flannel. Make sure when you are attaching the pieces of your bonnet/hat together to place any vertical wire sewn on the inside of the bonnet/hat so they won’t show through the top layer. You can see on the left image that the vertical wire sewn earlier in now on the inside of the bonnet.
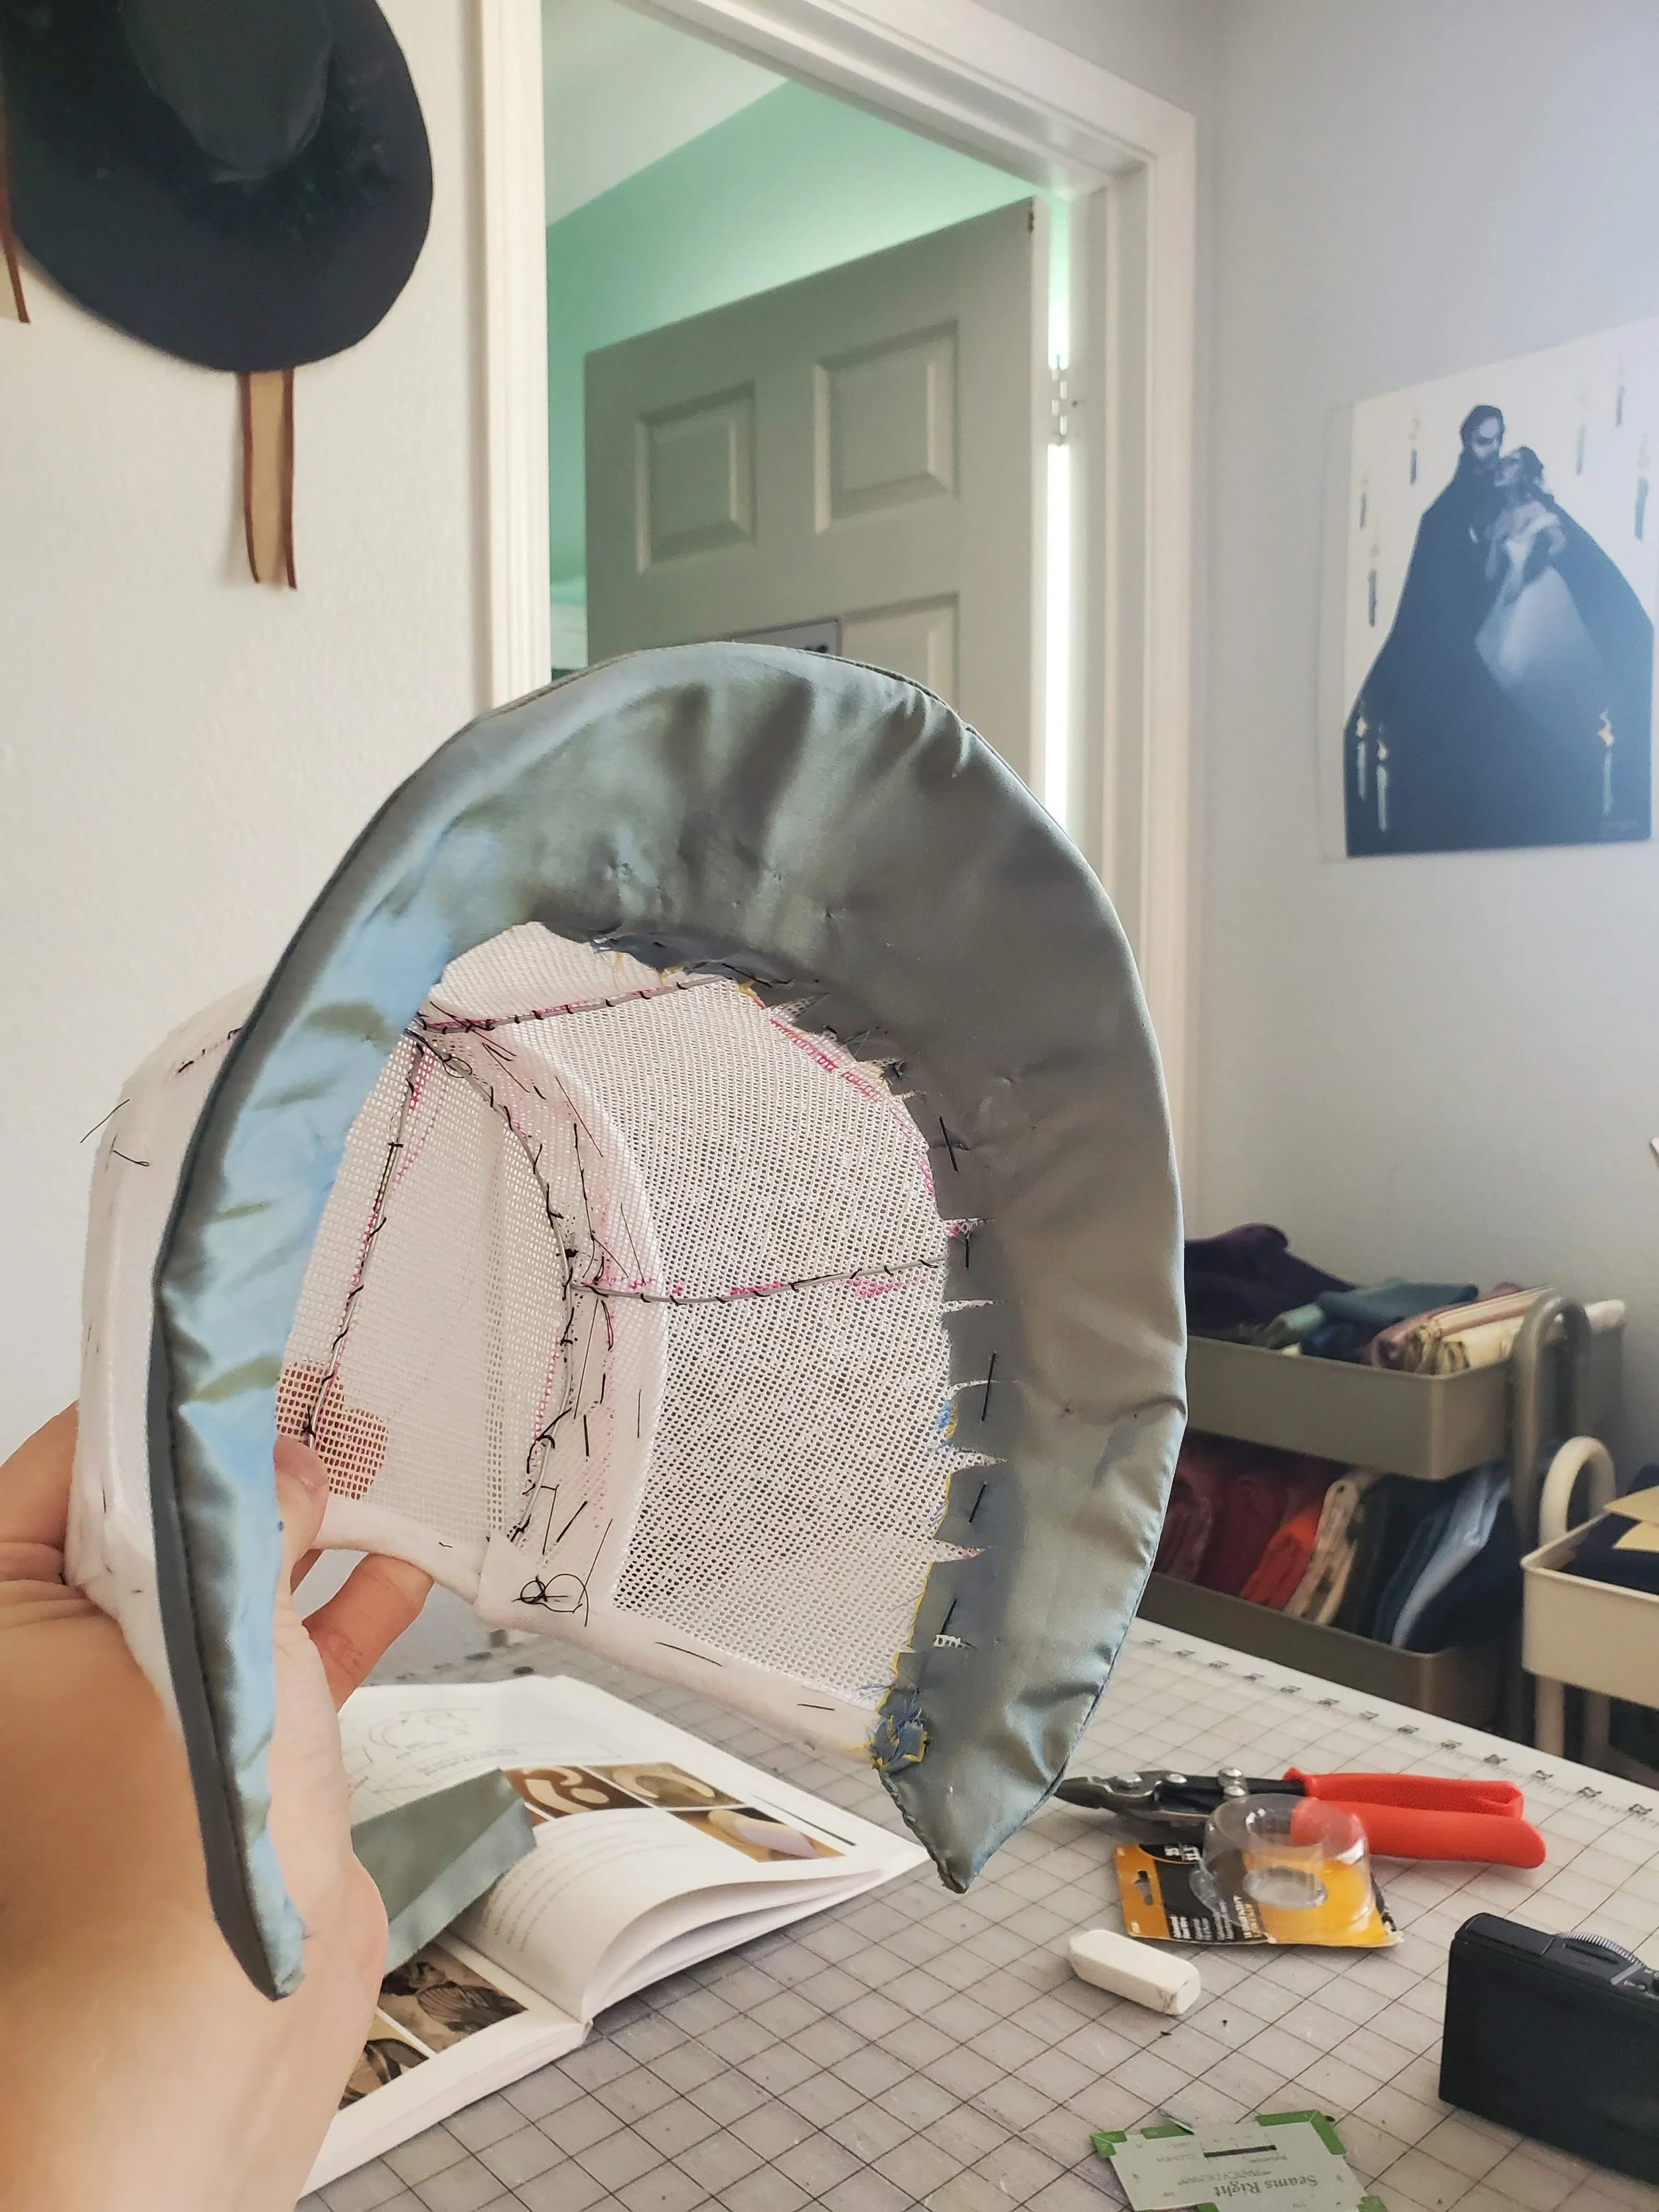
I then attached the brim to the crown in a similar manner. The brim however was folded into the crown piece to form a more seamless outer bonnet.

After all the piece were attached together I could finish covering the bonnet. I covering the tip piece first.

The edges of the crown silk piece were folded and ironed under, then stretched over the raw/blunt edges of the exposed buckram crown piece. The silk was then sewn in place using prick stitches to try to make it as invisible as possible.

The (almost) final step, which is always the most fun in millinery, was of course decorating. I went very simple on this bonnet. I attached some vintage velvet hydrangeas to either side of the crown piece.

The actual final step was to attach the lining. The lining is sewn after decoration so that your wacky stitches you use to attach them don’t show on the inside. The lining was prepared by the tip piece being sewn to the crown by machine.

The lining was the whip/prick stitched in place. I used whip stitched on the bottom of the lining since it wouldn't be since, since the bonnet sits at the nape of the neck. I used prick stitches on the brim since it may be seen when the bonnet is being worn.