
1885 “Wave” Underskirt

As I have finally finished by 1880s undergarments, combinations, corset, and bustle, I can finally tackle a garment that will actually be seen! I used the “Plain Underskirt” pattern from Frances Grimble’s Bustle Fashions: 1885-1887. Grimble’s books are a compilation of various Victorian drafting manuals and books. You draft the various patterns from the book based on rulers (found in the back of the book) which are based on your bust and waist measurements. This was my first time using this system and I found Enchanted Rose Cotumes video on the subject very helpful. For my skirt I used navy cotton twill, which worked beauitfully.

The pattern ( out of the book) consists of:
a back piece (which is a 44'“ x 45” rectangle shaped at the hem)
two side gores
and a front piece
I added the follwing pieces:
a 3” wide wasitband
a placket piece
two pocket pieces

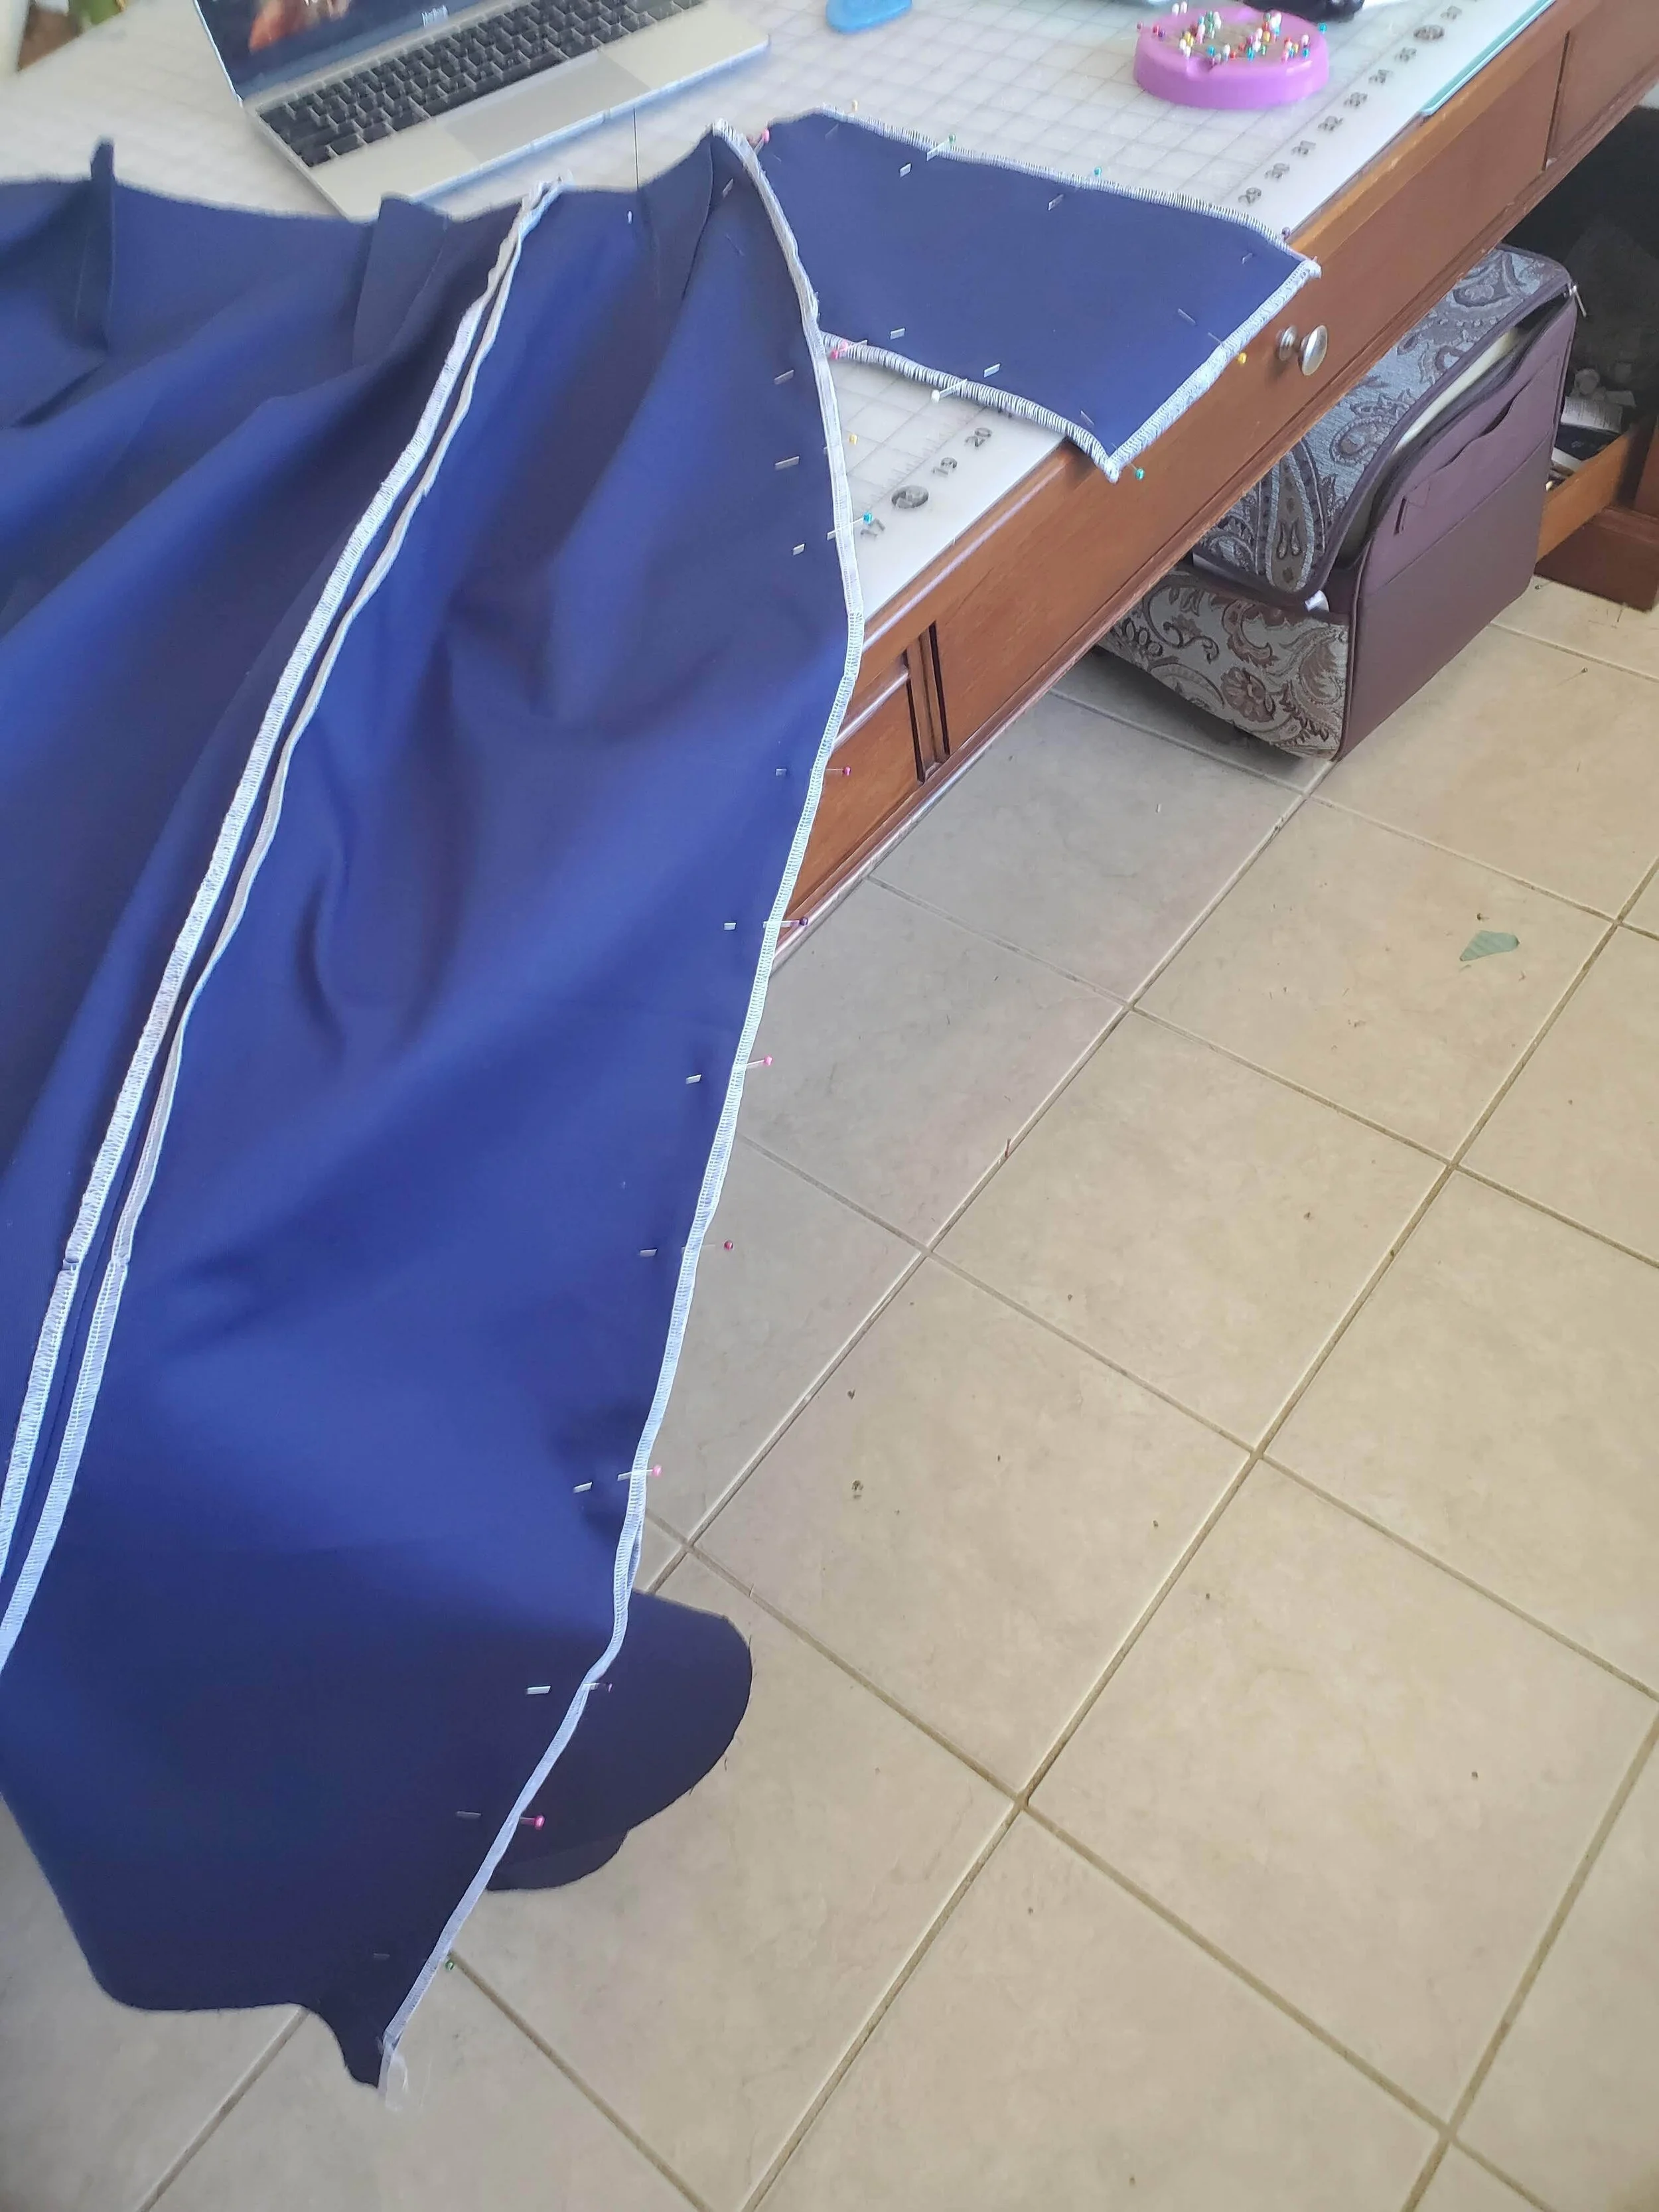
After I sergered all my pieces I sewed the two darts in the front pieces and the dart in each side gore piece.

I then pinned, sewed, and iorned open the seam of the front piece and side gore pieces.

Now it’s placket time! I pinned the placket pieces (3”x7” rectangles) on either side of the center back, which was cut on the fold. I sewed them using a 1/2” seam allowance.

The left placket was made into an extension and sewed down by hand. The right placket was ironed under and sewed down by hand.

Now that the placket was down I could attach the back pieces to the side gores. Before I did that though I attached the pockets to wither side of the right “side” seam. The diagoanl edge was attached to the seam right sides together starting 1.5” away from the waist edge.
I then pinned the pocket and the rest of the seam together and sewed. The top of the particular pocket is meant to be sewn into the wastband therefore I ironed the pocket (and seam) towards the front of the skirt. I basted the top of the pocket in place with the waist edge.

I then pinned, sewed, and ironed open the other “side” seam. In prepartion for attaching the waistband I interfaced it.

I pinned and sewed the waistband to the skirt starting and stopping at the “side” seams of the skirt.

I pleated the back piece to the waistband using the “half” method. I folded the wasitband and the skirt in half and inserted a pin, then did that until I had 7 pins/8 equal sections.. I then matched the pins and pleated the fabric towards the “side” seams.

I then sewed that little 5” piece of pleated waistband by machine using 1/2” seam allowance.

I then iorned the wasit seam upwards and rest of the waistband downwards to cover and thus finish the seam. I finsihed the edge by hand using whip stitches.

I then sewed two, size 2 hook and bars to the back of the skirt for closures.

I then marked the hem, ironed it, pinned it in palce, tried the skirt on with proper undergarments to check the hem’s length, and sewed the hem by hand using whip stitches.

I then pinned some 7/8" velvet ribbon 3/4” away from the hem and sewed it in place by machine.

I then pinned and sewed another band of velvet ribbon 6.5” away from the hem.

I then placed a wave template I designed and traced around it with chalk. I centered the template at the center front of the skirt then moved the template towards the back. I ended up having ten perfectly placed waves!


I then sewed baby blue soutache braid by machine along the chalk lines I’d previously marked. My repeating pattern used 9 2/3 yards of trim.

here is a look at the back of the skirt