
1886 "Yale" Plaid Overskirt

As I have finally finished by 1880s undergarments, combinations, corset, and bustle, I can finally tackle a garment that will actually be seen! Having already made the underskirt it is know time to make the overskirt. I was right! This overskirt took about an afternoon to complete. I am using the TV 364 1886 Autumn Overskirt pattern. Now a bit of advice, I only used 2.5 yards of by 60” fabric for this overkskirt (size 32” waist) so the fabric yardage on the envelope is definitely an overestimation.

The first step was to cut out the pieces, from my fabric this Yale Blue Plaid Cotton, of which there were seven:
one front piece
two side pieces
one back piece
one waistband piece
two pocket pieces *not included in pattern

No I can’t possibly make something without pockets and this overskirt was no exception. The pattern is from Janet Arnold’s Patterns of Fashion 1. This pockets get sewn in with the waistband to the weight of whatever is in the pocket will not weigh the skirt done. I sewed the pocket to one side of the front right side seam of the front panel.

I then did the same for the right front side seam on the side panel.

The pieces were then pinned together and sewed around the perimeter of the pocket then done the rest of the front side seam as normal.

The left front side seam was them sewed as a normal seam. Both front side seams were them pressed open and pinked to finish.

The front piece (front panel and side front) was them given a 1” hem by hand.

The side back seams were them pleated via pattern instructions.

To make the pleats look nicer I tacked down the pleats all the way until I reached the side front seams. The tacking stiches were sewn underneath each pleat to the pleat on top would cover up the stitches of the previous pleat.

I then cut out two strips of fabric to cover and thus finish the side back seams.

I then bound the pleated side pieces by hand.
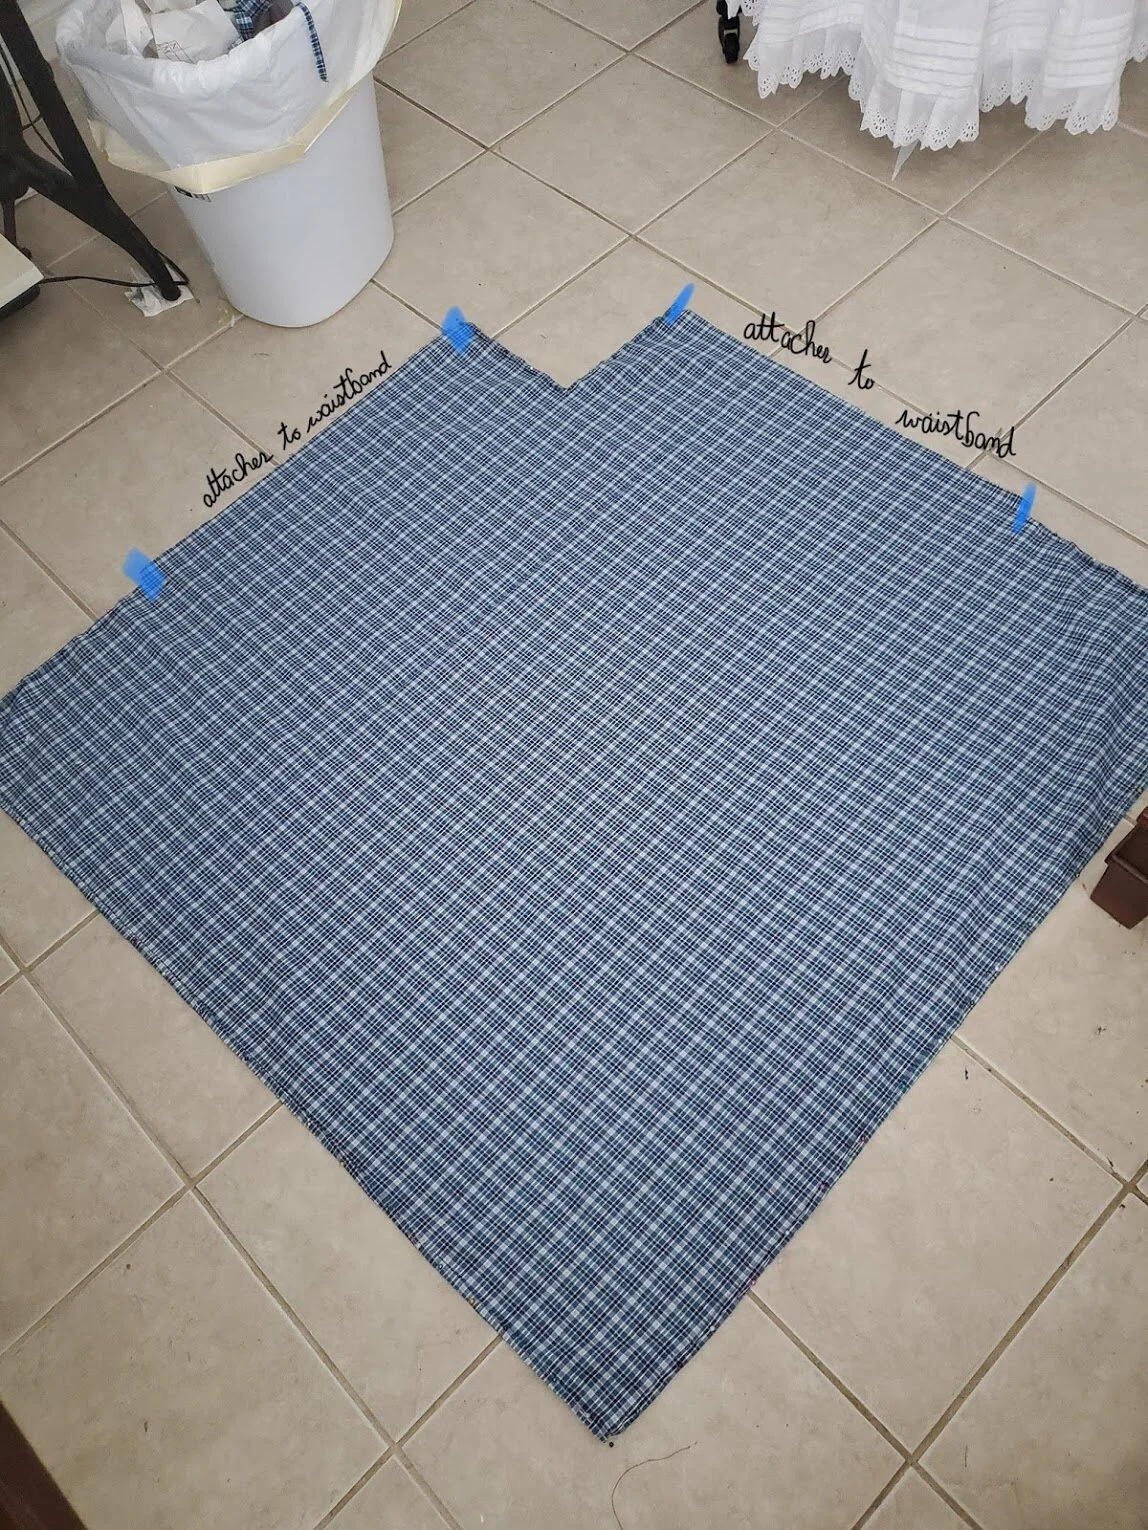
Now that the front piece was done, I turned my attention to the back piece, aka this giant rombus. That little cut out corner is the top of the center back seam. I hemed that edge by hand as well as the reat of the rombus indicated by the pattern. The portion of the rombus that is not hemed is what will be pleated to the waistband and form the folds of the bustle.

This is how I pleated the back piece to the waistband. There was a mark on the waistband pattern that indicated “back piece fits it here”. I then folded it half then half again until I had eight sections. I did the same with the back piece. I then matched those pins and pleated the back piece towards the center back seam.

Here is how the pleats looked once the waistband was sewn.

I then pinned the rest of the waistband to the front piece and sewed it by machine. I then foled under the edge of the wasitband not attached to the overskirt under by 1/2”. I the folded the waistband it half and hand sewed it down to finish the waist edge.

I then sewed on a skirt hook and bar as a closure to the waistband.

The final step was to sew on two lengths of twill tape to the pleated side pieces. These twill tapes tie under the back panel adn over the bustle to make sure the overskirt hangs properly.

Just to give you a look of the pocket in action, scissors for scale