
1940 “Moira” Playsuit


I’ve wanted to make a 1940s playsuit for some time now and after running across the marque poster for the 1948 “The Red Shoes”, I had my inspiration. I have already made a costume from this film and therefore had red pointe shoes hanging in my closet. After seeing this poster I also came across 1940s/1950s photographs of ballet schools, which showed a good deal of women wearing playsuits of multiple colors and prints, to practice in. I went with the classic black, as it became the standard for practice wear around the time of the film.
I choose this Advance pattern from 1940. The pattern comes in only one side, bust size 34”, and I’m a bust 36” so I needed to grade the pattern up. I ended up adding 1.5” to the side front piece and side back piece respectfully. I also added 1/2” to the front and back pieces. The final modification I made was to add 2.5” to the length of the playsuit just because I felt more comfortable with a slightly longer length.

The first step was the cut the pieces out of my fabric, a black cotton pique:
1 back piece
2 side back pieces
2 side front pieces
1 front piece
2 strap pieces

All these pieces were then sergered to finish.

I then pinned and sewed together the back and side back pieces with a 1/2” seam allowance. This was then ironed open.

The front and side front pieces were sewn in a similar manner. I made sure to clip the curved seam around the bust to make sure it lays smooth over the body.

I then pinned and sewed together the side front and side back piece on the right hand side with a 1/2” seam allowance.

The other seam seam was then sewn, leaving space for a zipper to be installed. After the seam was ironed open the zipper was pinned in place.

I then basted the zipper in place. I HIGHLY recommend taking the couple minutes to do this it makes the whole installation process SO much easier and less frustrating.

Here is how the zipper looked once it was installed and the basting threads removed.

I then marked the 1/2”” neckline hem with tailor's chalk.

I then ironed the edge inward and pinned it in place.

I then topstitched (by machine) 1/4” away from the top of the playsuit to secure the hem in place.

Now, onto the straps. They were sewn right sides together with a 1/2” seam allowance.

I then pinked the edges, turned the straps right side out, and ironed them flat, placing the seam to the back of the strap. The ends of the straps were then sergered to finish.

The straps were then sewed to places indicated by the pattern. I sewed them in place by machine, stitching over the neckline stitching to secure the straps in place.

The final step was to hem the playsuit. I marked the 1” hem with tailor’s chalk.

The hem was then ironed inwards by 1/2”, then 1/2” again, and pinned in place.

The hem was finished in a similar manner to the neckline, with topstitching 1/4” away from the edge.
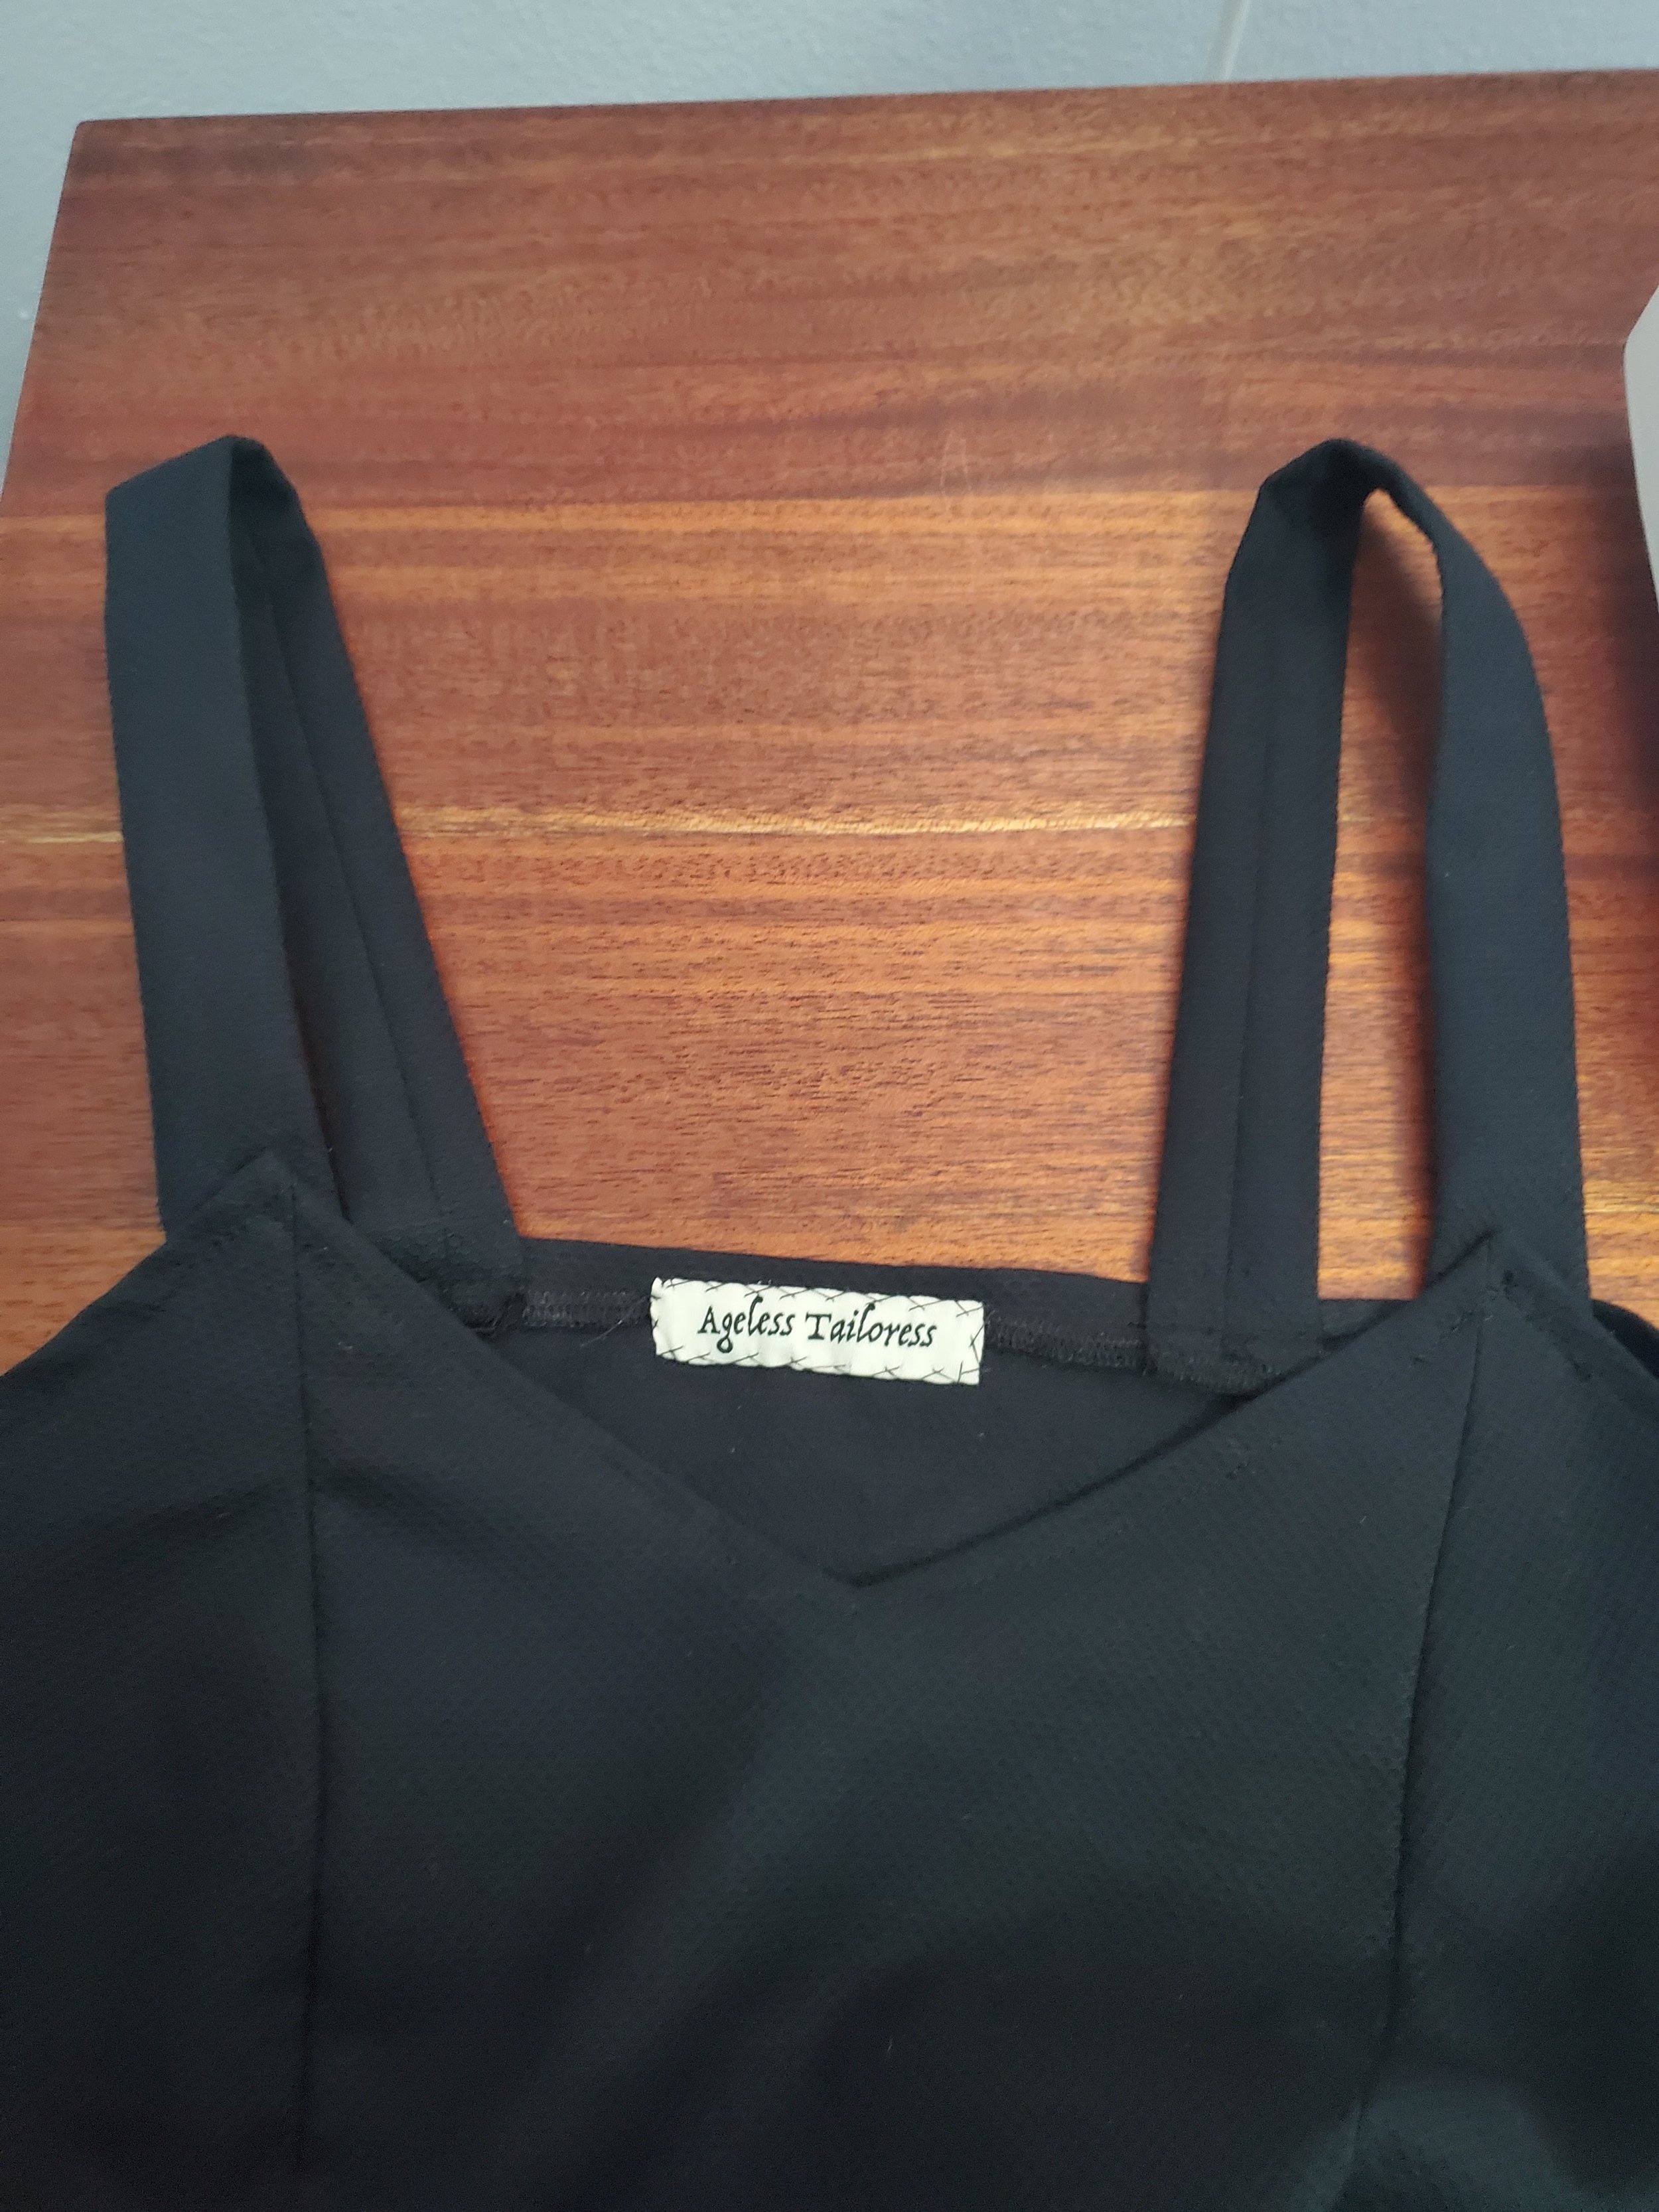
To finish this playsuit off, I affixed one of my labels to the top of the center back of the playsuit, using catch stitches.