
1941 "Violet" Dress


Since I improved my pattern drafting skills in a class I took last semester I have taken to re-creating vintage sewing pattern covers. This pattern in Simplicity 4581 from 1941. It features long sleeves, gathered shoulder detail, and a pleated detail at skirt’s front. I used a grape purple cotton twill from Fabric Mart for this project.

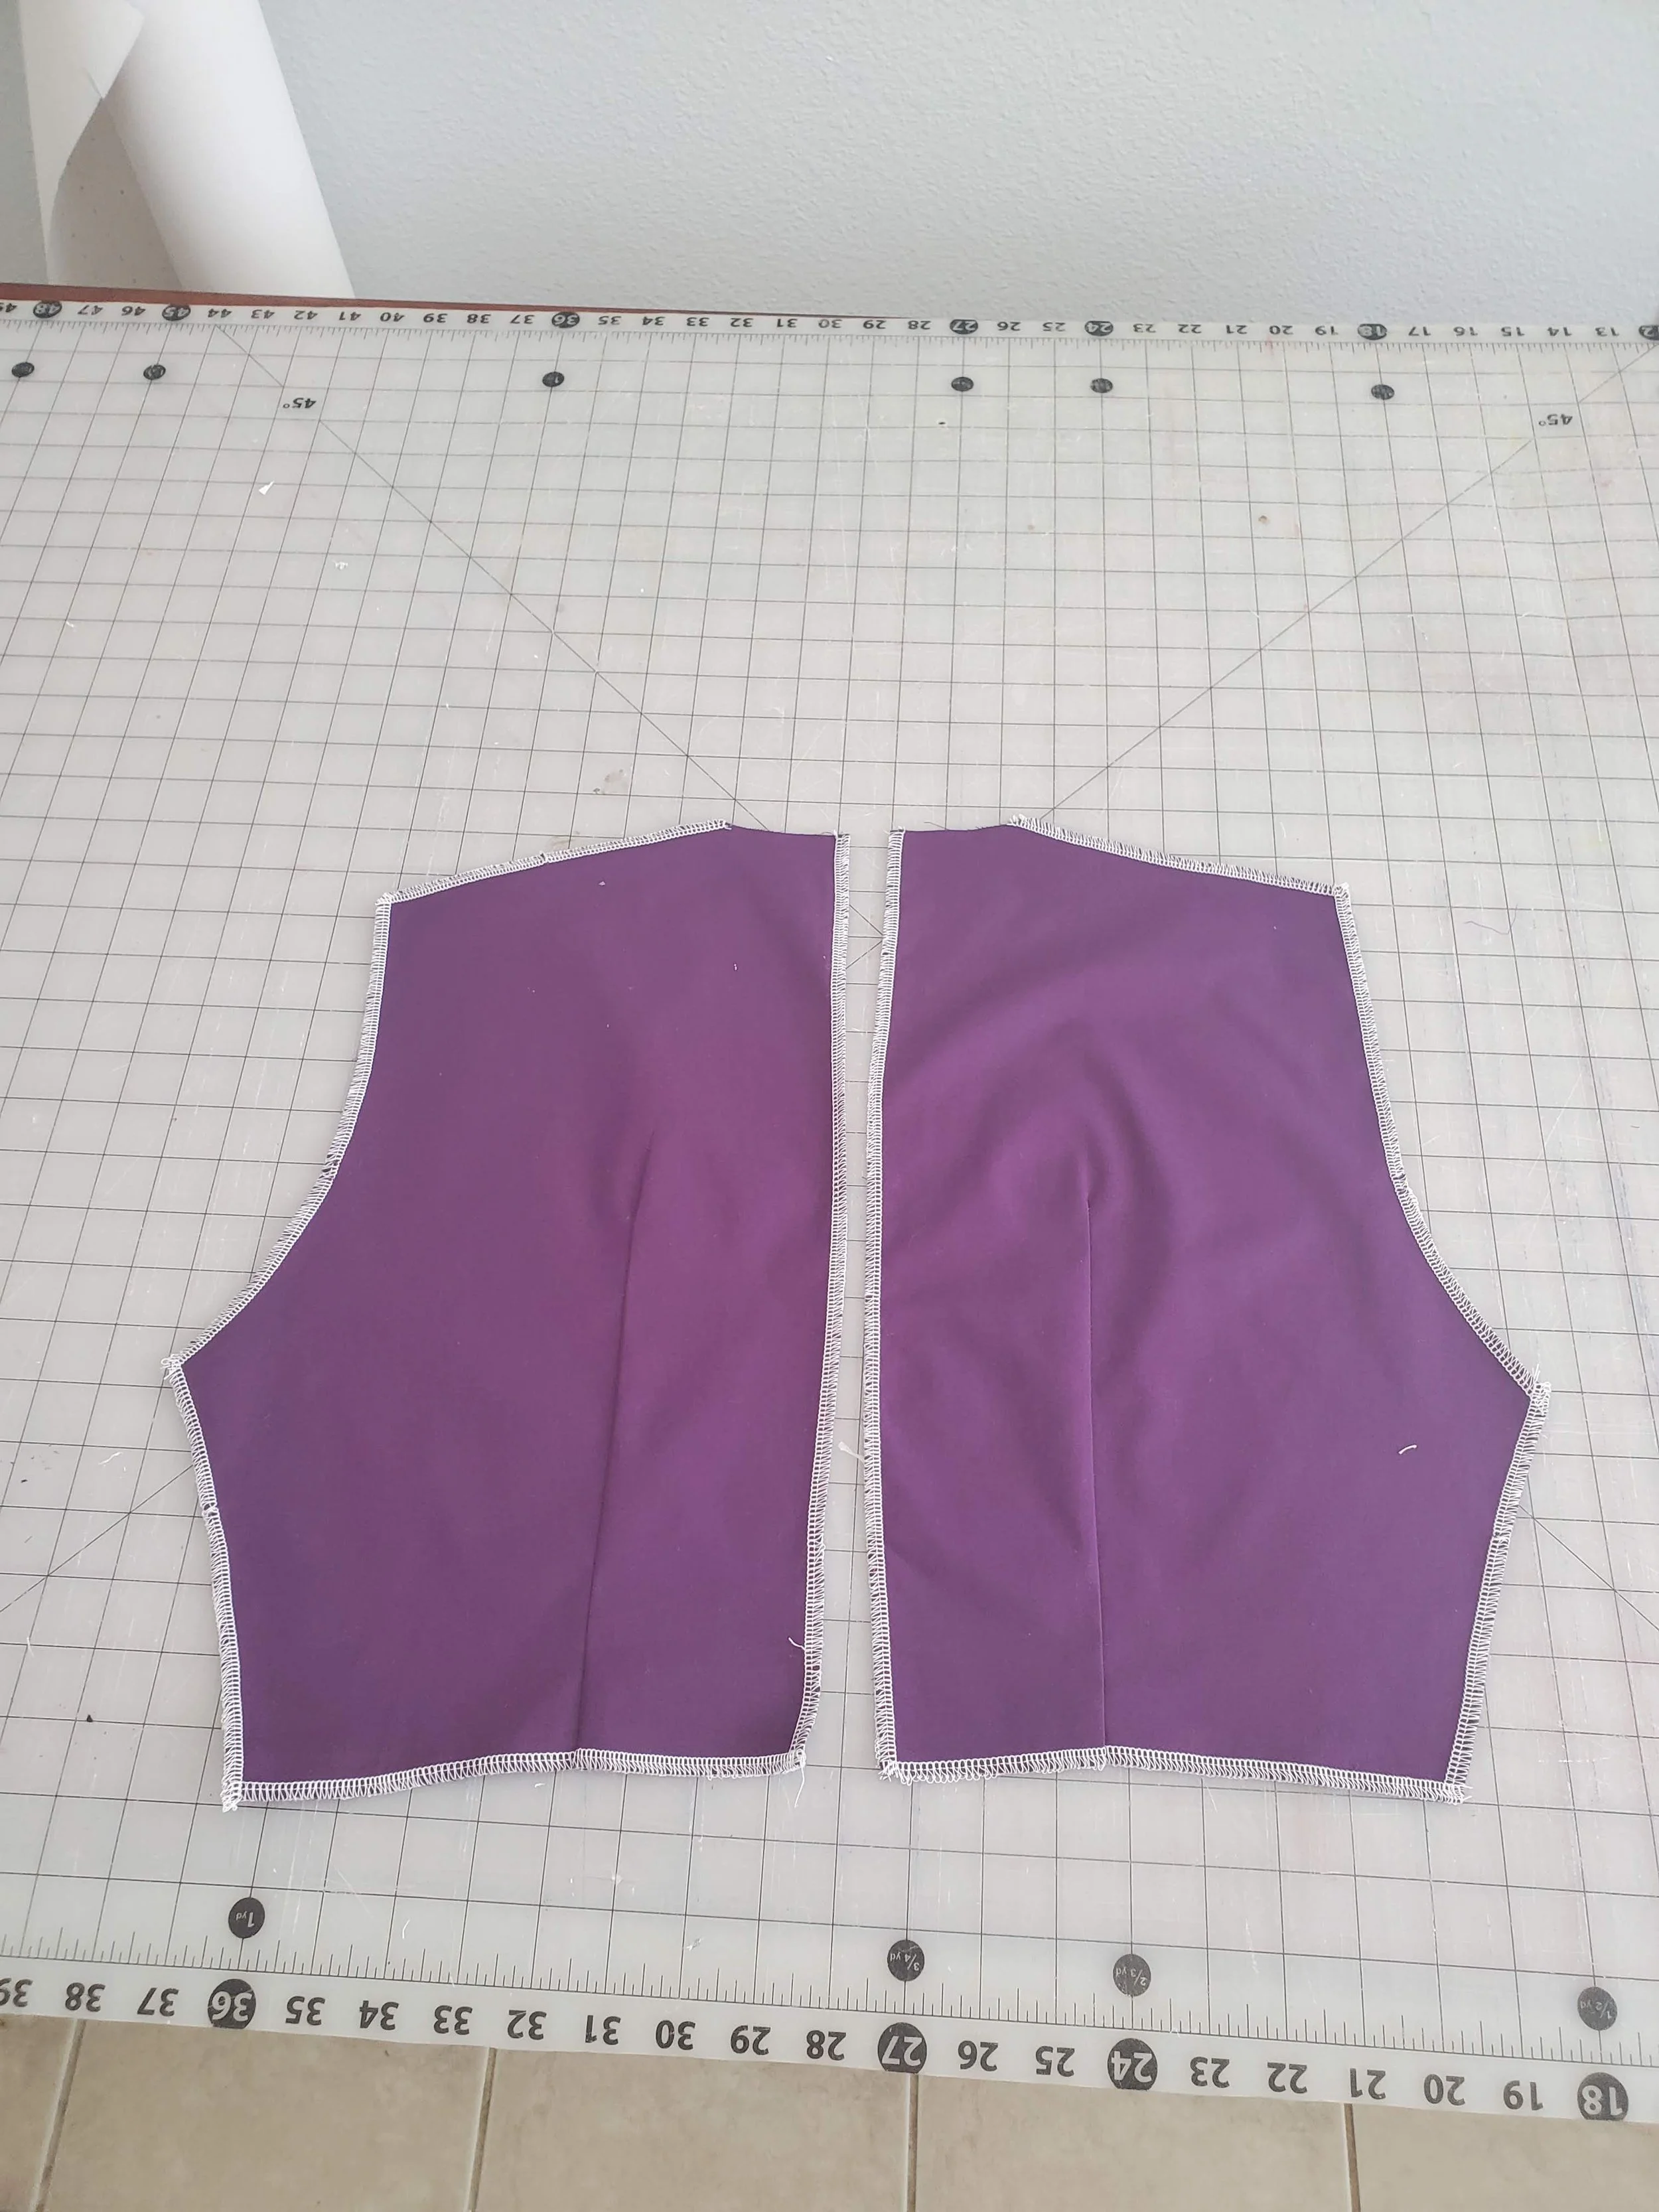
The first step was to cut out the pieces and serge them of which there were 23:
two front bodice pieces
two shoulder pieces
two back pieces
two front facing pieces
two shoulder facing pieces
two back facing pieces
two sleeve pieces
a skirt front piece
two back skirt pieces
two side back pieces
four pocket pieces

The first thing I did was to interface the facing and sew them together at the front and shoulder seams.

I then realized I forgot the shoulder facing piece and had to re-sew the shoulder seam. After that quick fix the bottom of the facing was serged. I like to do this once the facing is all sewn together because I think it makes for a cleaner finish.
The darts on each back bodice piece were then sewed and pressed towards the center back.

I then sewed the darts in the front bodice pieces. After the darts were sewn I gathered the front bodice pieces to fit the bottom of the shoulder piece and attached the two front pieces together at the center front.

The next step was to sew the shoulder seams.

I facing was then attached right sides together to the bodice. The seam allowance was clipped and the facing tacked down at each seam point (center front and shoulder).

After the neckline was taken care of, the side seams could be sewn.

Now that the main bodice was completed I could move onto the sleeves, which were very simple. I sewed the underarm seam and marked the sleeve hem with tailor's chalk (pictured right). The sleeves were then hemmed by machine (pictured left).

The sleeves were then attached to the main bodice, the sleeve caps were lightly pleated to fit into the armsyche.

Now that the bodice was done it was time to move onto the skirt. I seamed together the back panels and side back panels. The top of the center back seam was sewn with a basting thread, to be opened up later for zipper installation.

I then sewed a pocket piece to the top of side back pieces, not attached to the back pieces.

I now moved onto the front skirt panel, which I pleated down using two box pleats to match the pattern cover illustration. The pleats were then topstitched.

The other two pocket pieces were then sewn to either side of the front panel.

The pocket pieces were then laid on top of each other and sewn along with the rest of the side seam.

The skirt was then attached to the bodice, matching side seams.

A zipper was then inserted at the center back seam.

The hem of the dress was then ironed up by 1/4” then 1/24” again and sewn by machine.

The last step was to cover a 3/4” strip of
heavy weight interfacing with fabric and a 3/4" coverable belt buckle with fabric. I also created a little bias stripe of fabric that I then formed into a belt loop. These three things together created the matching belt for this dress.