
1955 “Jay” Plaid Skirt


As it is now the advent of autumn I decided I needed to add some plaid to my wardrobe. Therefore I turned to my trusty vintage circle skirt pattern, McCall’s #3552, and this lovely red, grey, and blue plaid from Mood Fabrics. This was also my first time trying to pattern match, and I was really happy with the result.

The first step was to cut out the pattern pieces, making sure to match the plaid up. To achieve the volume of a circle skirt this pattern utilizes gores, there are two fronts, side fronts, side backs, backs as well as a waistband piece.

All the pieces were then sergered to finish. I then seamed them together, using a 5/8” seam allowance, starting with the center back seam.

I then ironed the seam open, look at the lovely matched plaid!
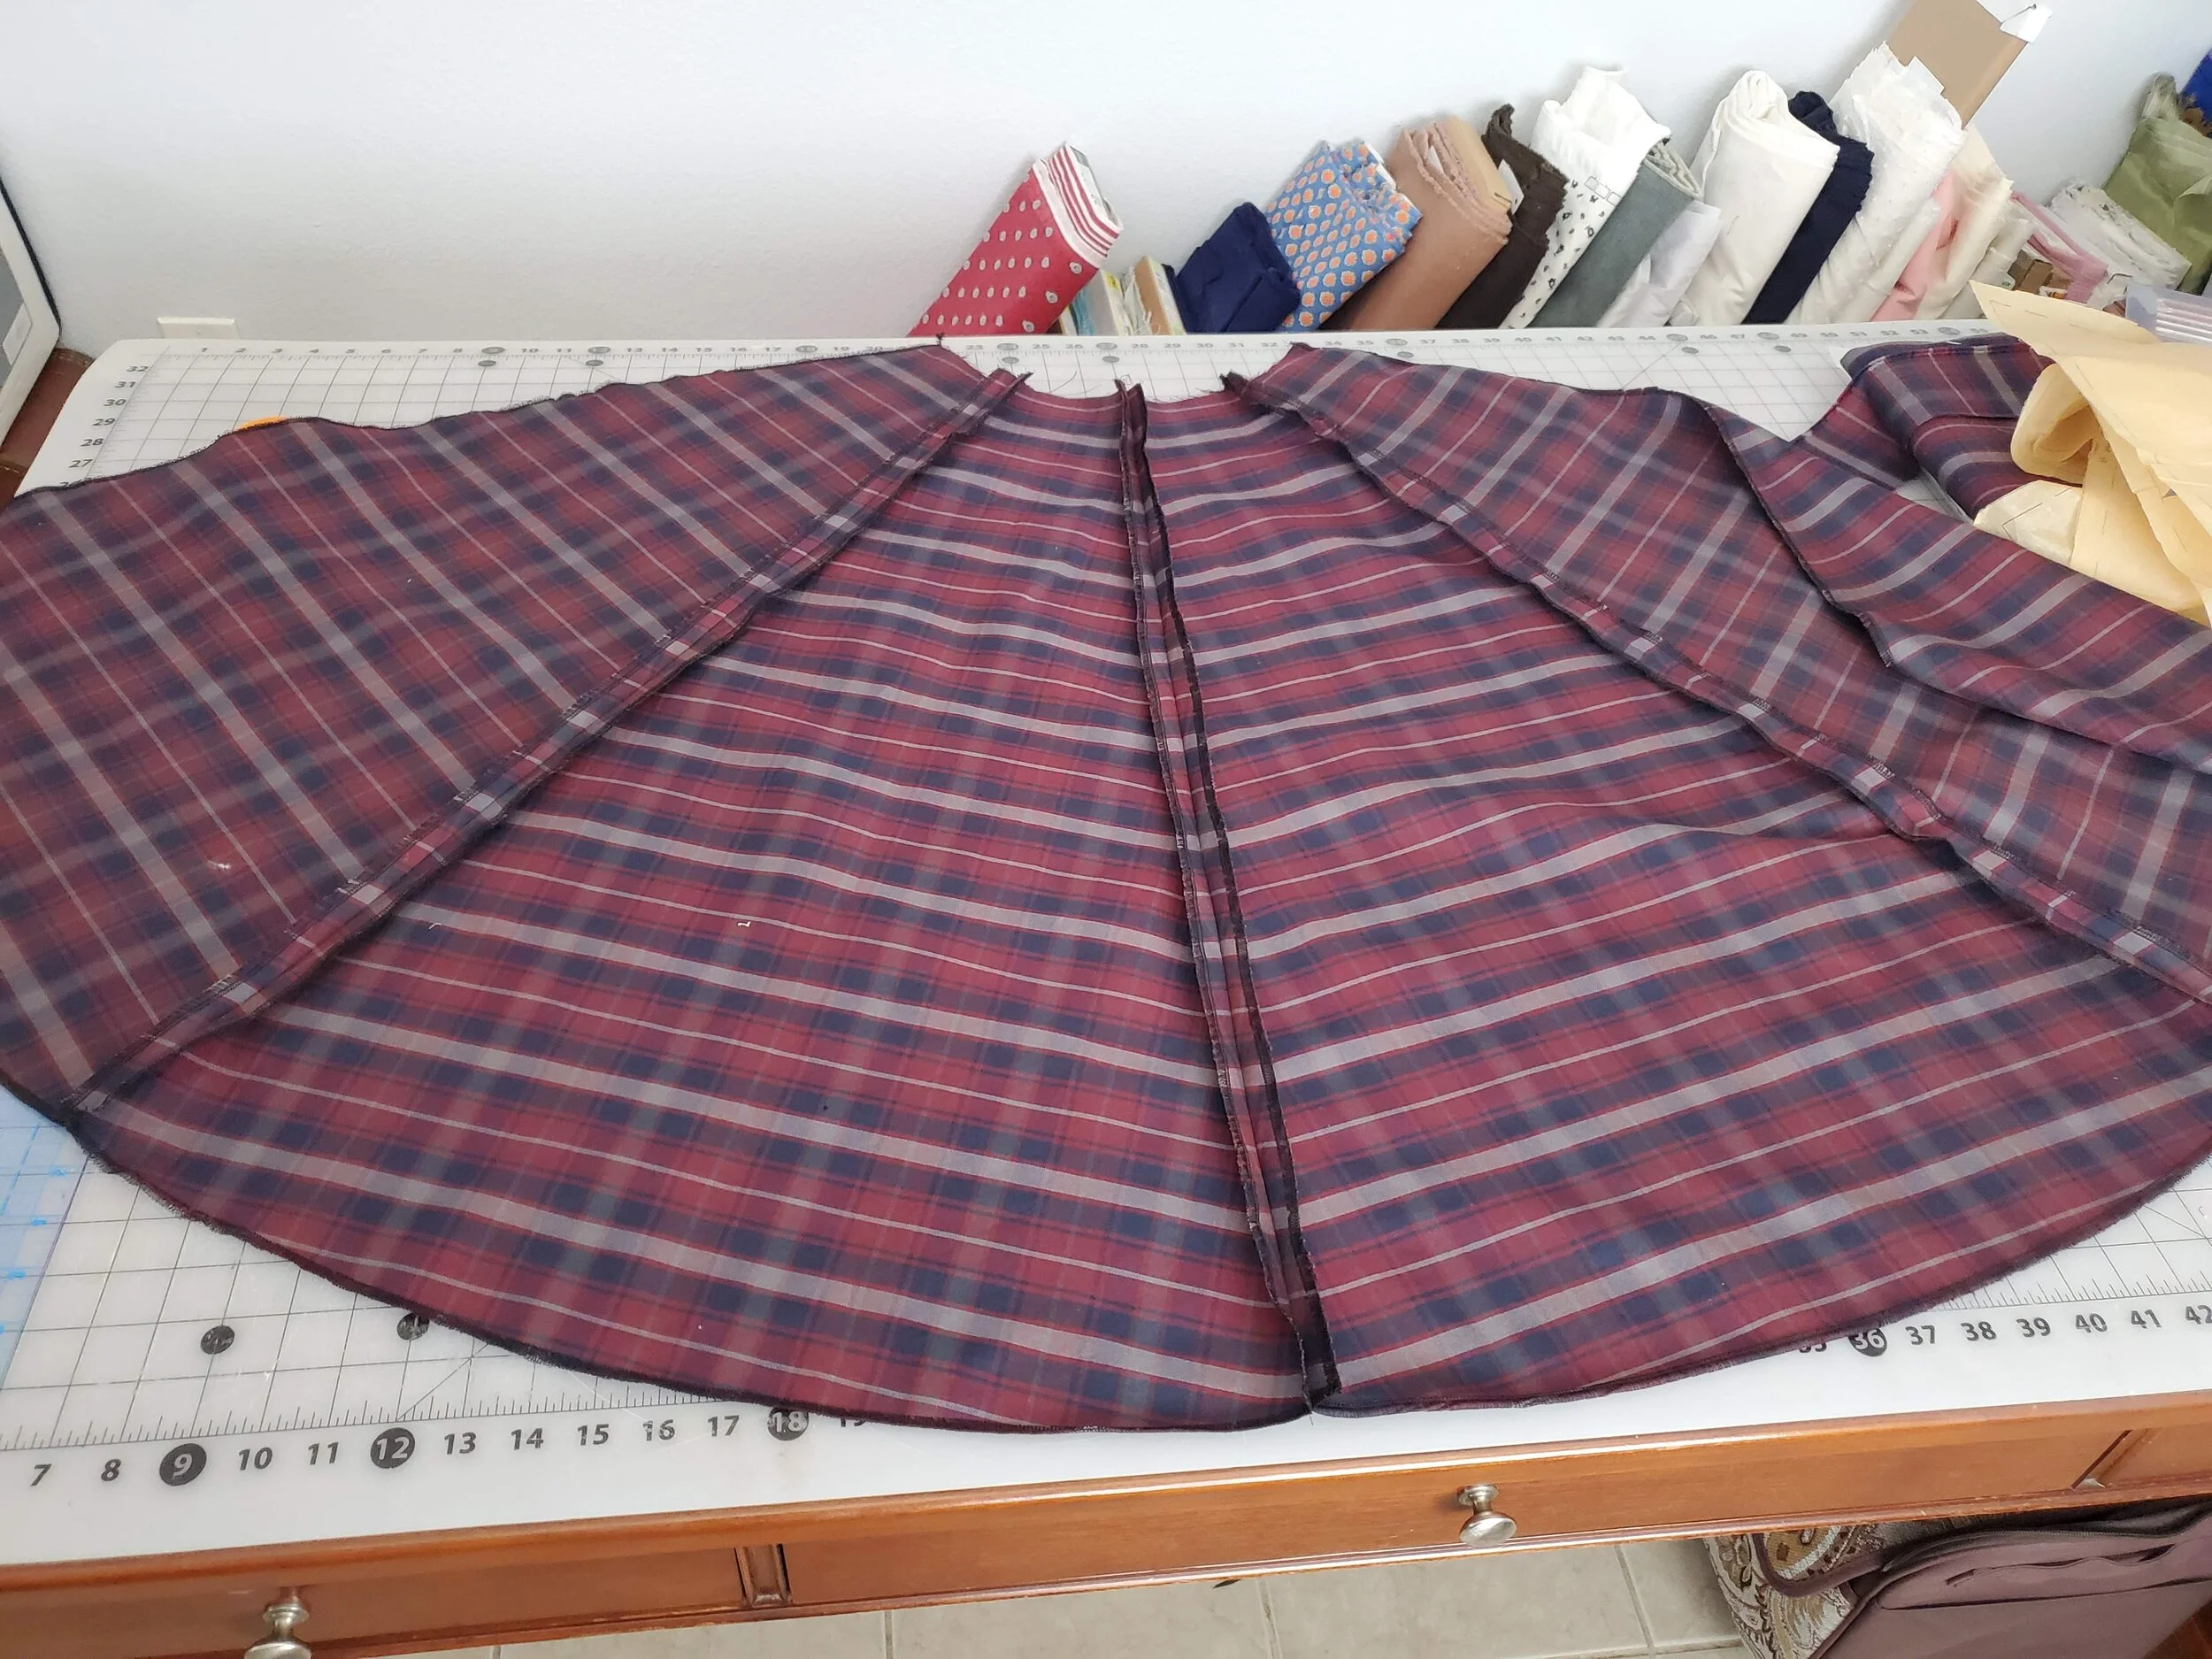
I then attached the side backs to the backs in a similar manner. The whole process was then repeated for the fronts and side fronts.

Before I sewed the side seams together I had to attach the all important pocket. (The pocket pattern is from Gertie’s Ulimate Dress Book ) The pocket was sewn right sides to right sides and ironed to the inside of the skirt.

Then the side seam was then pinned and sewn using a 5/8” seam allowance and ironed towards the front of the skirt.

You always want to iron your pockets towards the front because that is how you’ll put your stuff/hands in them therefore if you iron them that way you won’t be upsetting the lines of your skirt when you reach into your pockets.

The other (left) side seam was then sewn and ironed open. I then pinned my zipper on top of the seam and sewed it using a zipper foot from the right side of the skirt.

Here is how the zipper looks when completed.

With the main skirt now completed I turned by attention towards the waistband, which was interfaced and one end ironed towards the inside, when will finish the waistseam when attached to the skirt.

The waistband was then attached to the skirt, ironed and turned over as pictured.

I then finished the waistband by hand using some beeswax and black linen thread .

With the wasitband finished I turned my attention towards the 5/8” hem, which was marked out using tailor’s chalk, ironed, pinned, then sewn by machine.

The final step was closures for which I used a combination of size 2 hooks and thread bars.