
1880s Combinations


I am planning to make my first bustle dress this winter therefore I need to start from the skin out. The first layer is the chemise and drawers which during this era became combined. (The garment itself was known as “combinations'“ or a “pair of combiantions”) The crotch seam was still left open and unsewn during this time which makes using the privy infinetly easier. To make my combiantions I used the pattern from Prior Attire’s ”“The Victorian Dressmaker" and a 100% linen duvet cover I thifted from my local Goodwill.

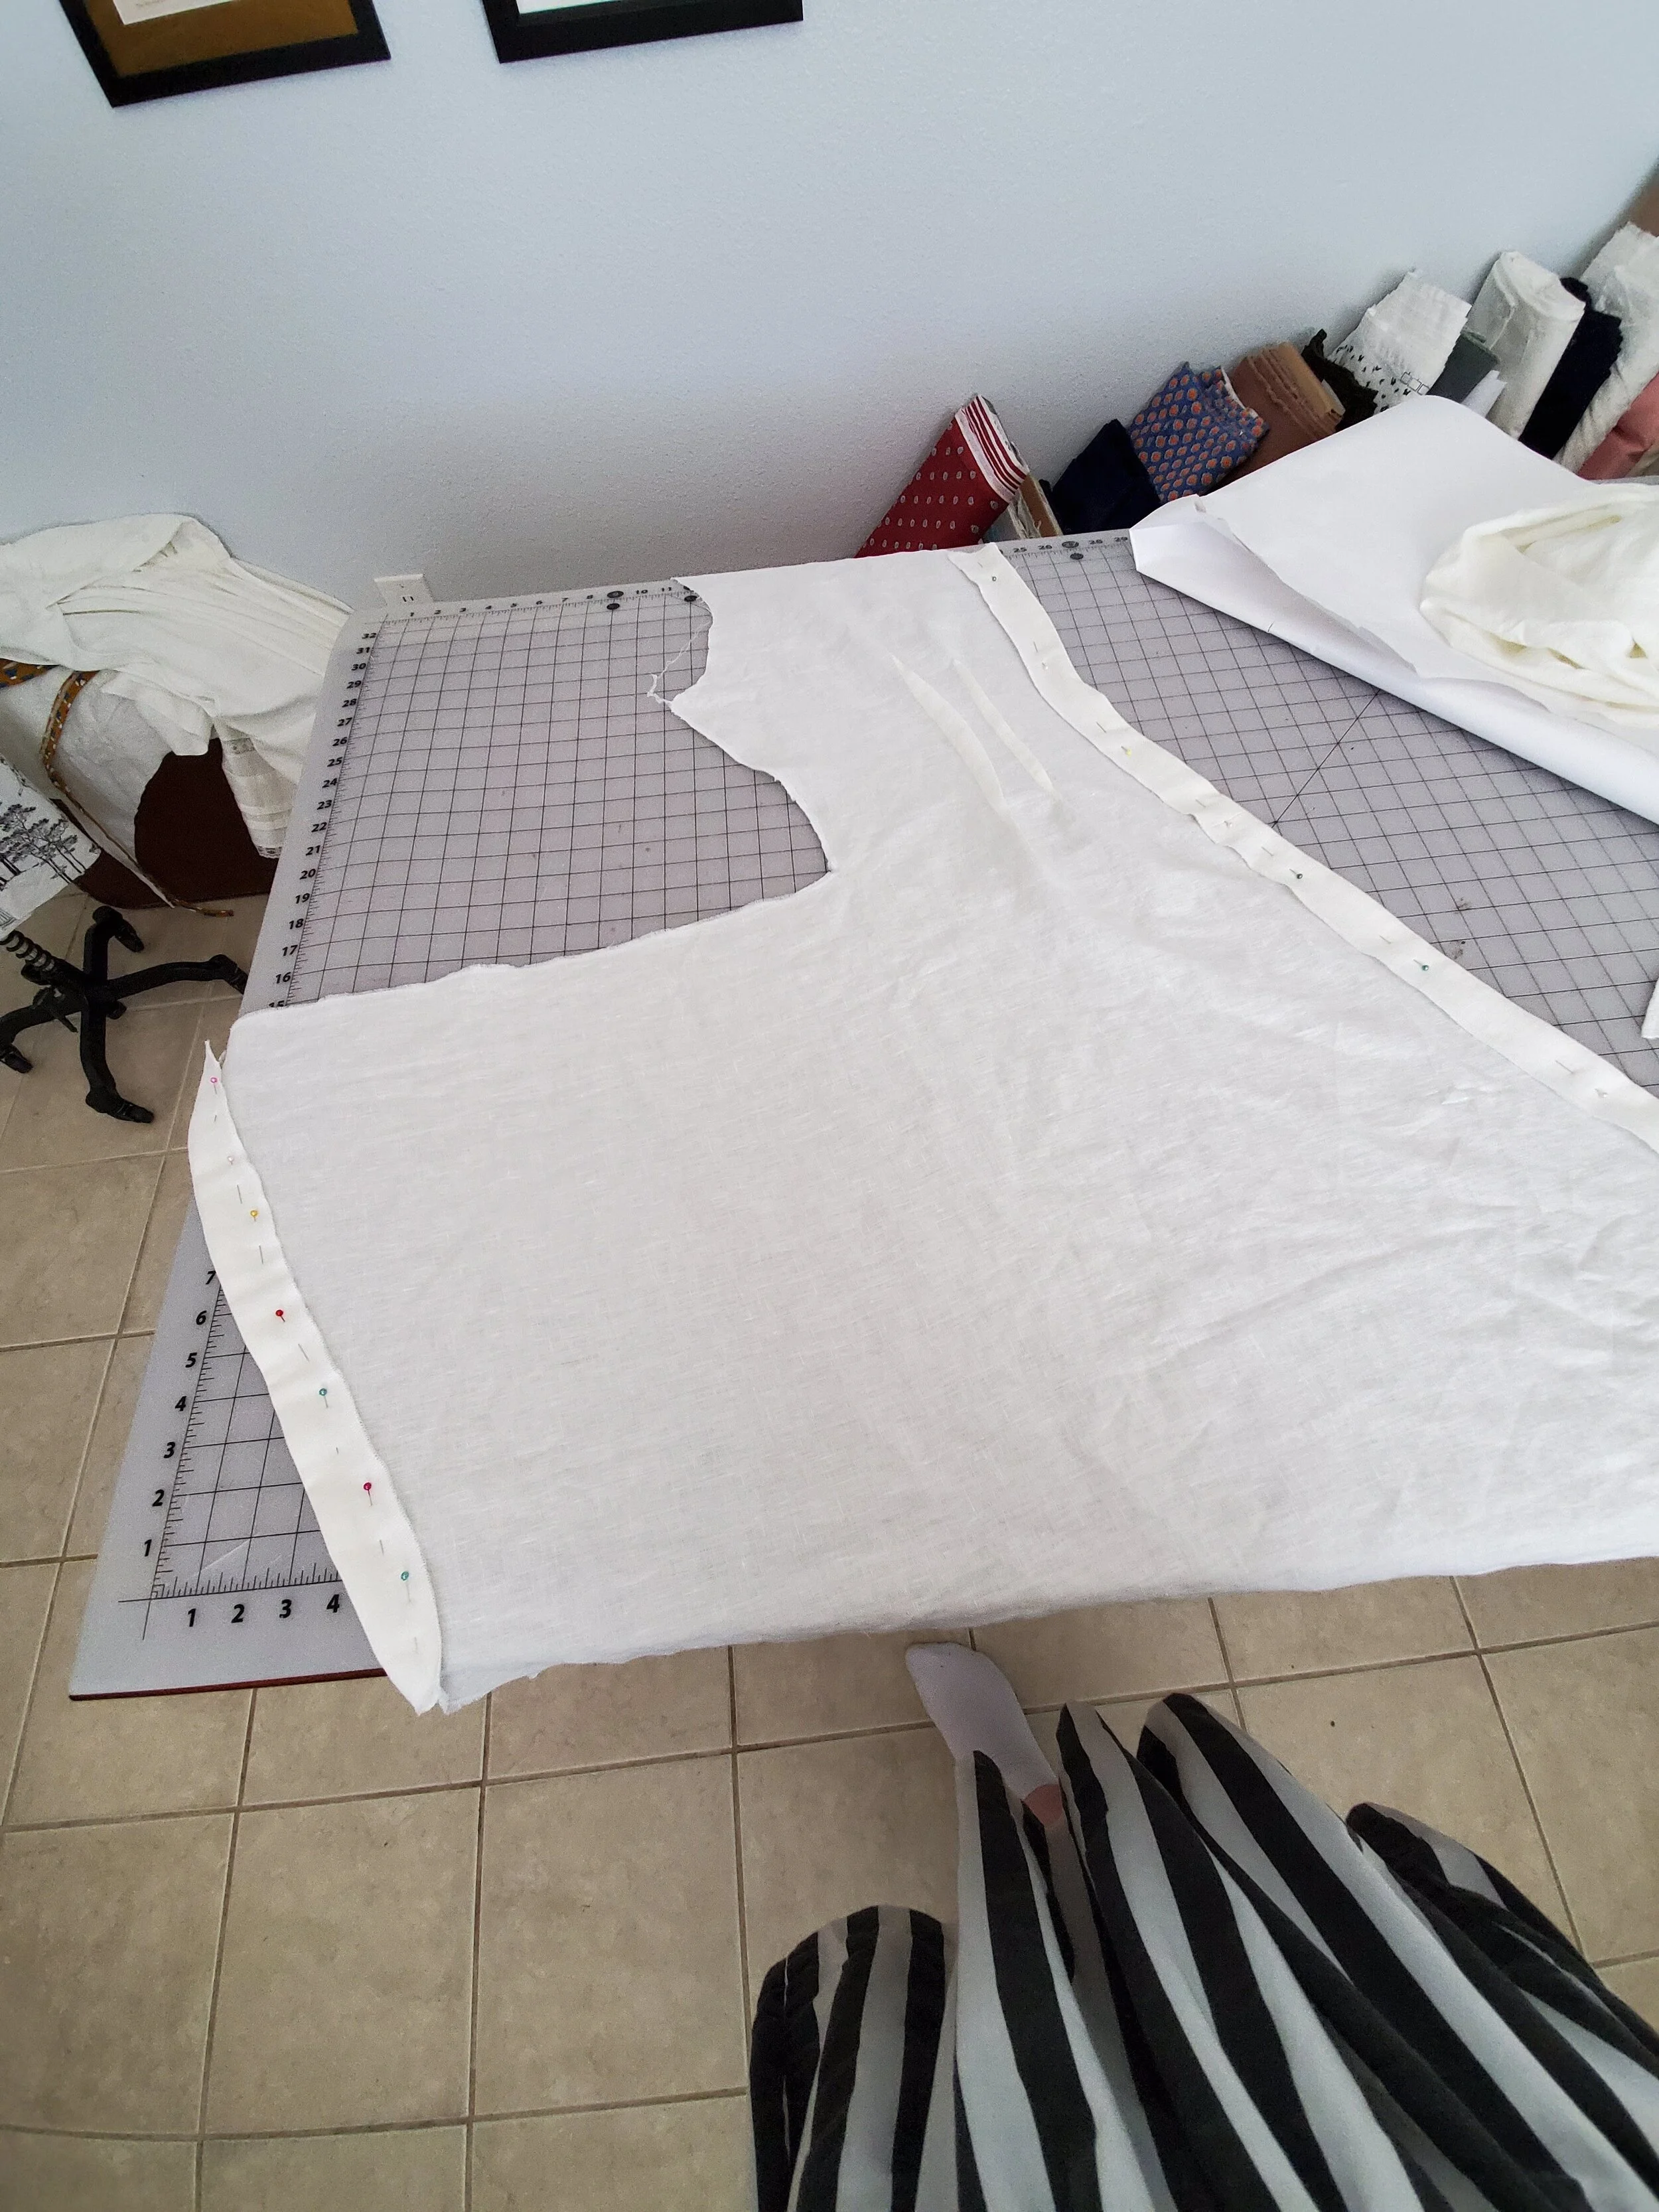
The first step was to cut out my pieces of which there where seven. A back, two fronts, two front facings, and two back facings. This pattern is interesing because the drawer and fronts are all cut as one big piece. I then serged all seams that would not be finished by another method.

Before assembly could begin I sewed two vertical darts to each front piece for shaping and volume control.. These darts extended from the apex of the bust to below the waist.
I then sewed the front and back facings on as pictured. They extend all the way until the center front and center back of the garment until the mark indcating where the piece will be joined together to form a bifurcated (two-legged) garment. After attaching the facings right sides to right sides I turned them over to the wrong side of the garment and sewed them down by hand using linen thread .

I then added two rather massive darts in the back piece, to help with shaping and make the garment more flattering. You will notice then absense in the next couple pictures. That is becuase I did those steps and then tried the garment on and hated it. Therfore I ripped out the back panel and re-did those steps. So just pre-tend the darts are there from the beginning.

After the darts were sewn I attached the back piece to the front pieces at the side seam.

I then gathered the back side of the “front” piece to fit. My gathering wasn’t mathmatical just what looked nice, amking sure it was realtively even on both sides. The center back seam was overlapped for modesty reasons.

Then the two legs were joined togther thus creating a "pair of combinations”.

To finish off the hem of the combinations I used some lace trim. cotton eyelet lace trim.

I then turned by attention towards the neckline of the combinations which was along with the armsyches finsihed off with some bias tape by machine.

The final step was attached the five buttons. The top button was positioned at the neckline the bottom one at the waist and the rest evenly space out in bewtween. When chossing your buttons remember this garament goes underneath your corset and thus these buttons will be pressed into your skin all day, so don’t chose buttons with a shank or they will bruise. Instead chose very slim buttons. I sewed the buttonholes by hand using a double strand of the same linen thread I used for sewing the facings down.