
A Late 1940s Vest


So after binge watching some Rachel Masky videos I decided that I too needed a vest. I picked out this pattern (Simplicty #2943) from 1949 for a lovely double-breasted vest. Now after I had decided on my pattern I had discovered that it lacked instuctions. But, I decided to persevere and due to the variety of information on the pattern pieces (seam allowance, darts, number of pieces to cut, etc.) I was able to put the vest together with little trouble.

For my vest I used some leftover lightweight olive green wool from Burley and Trowbridge. There were eleven pieces in total:
2 fronts
a back
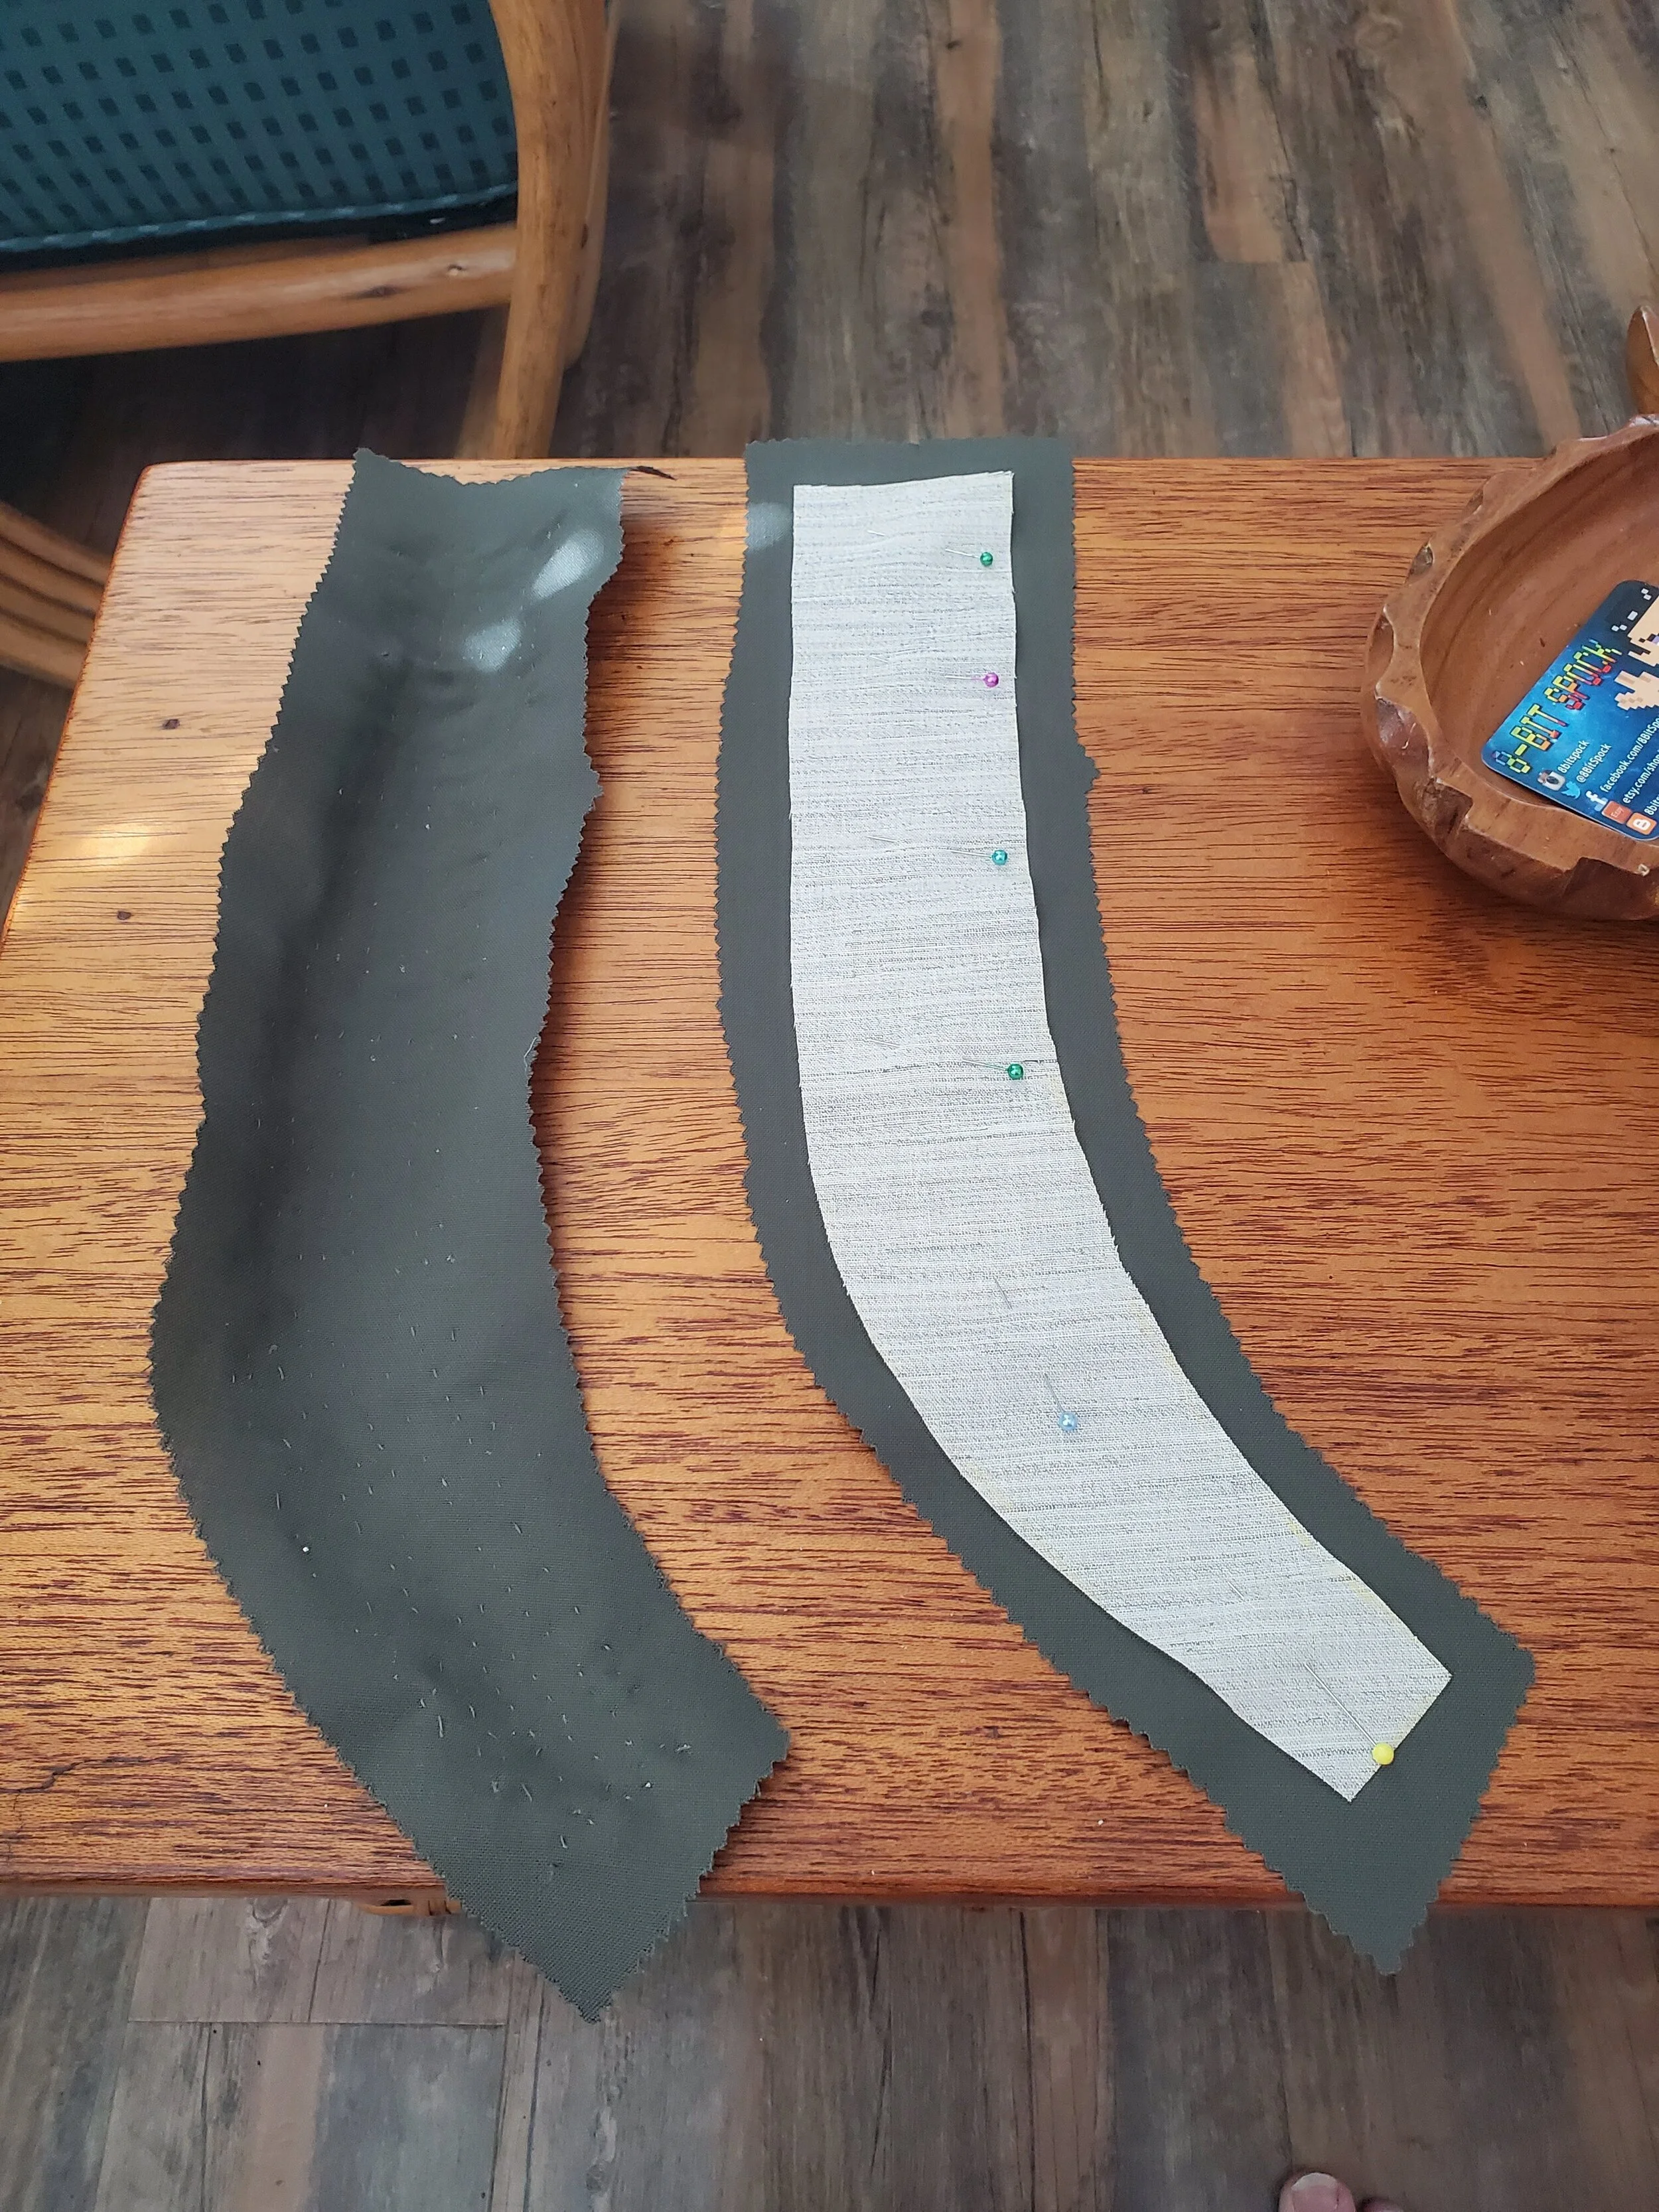
a lower back facing
an upper back facing
two front facings
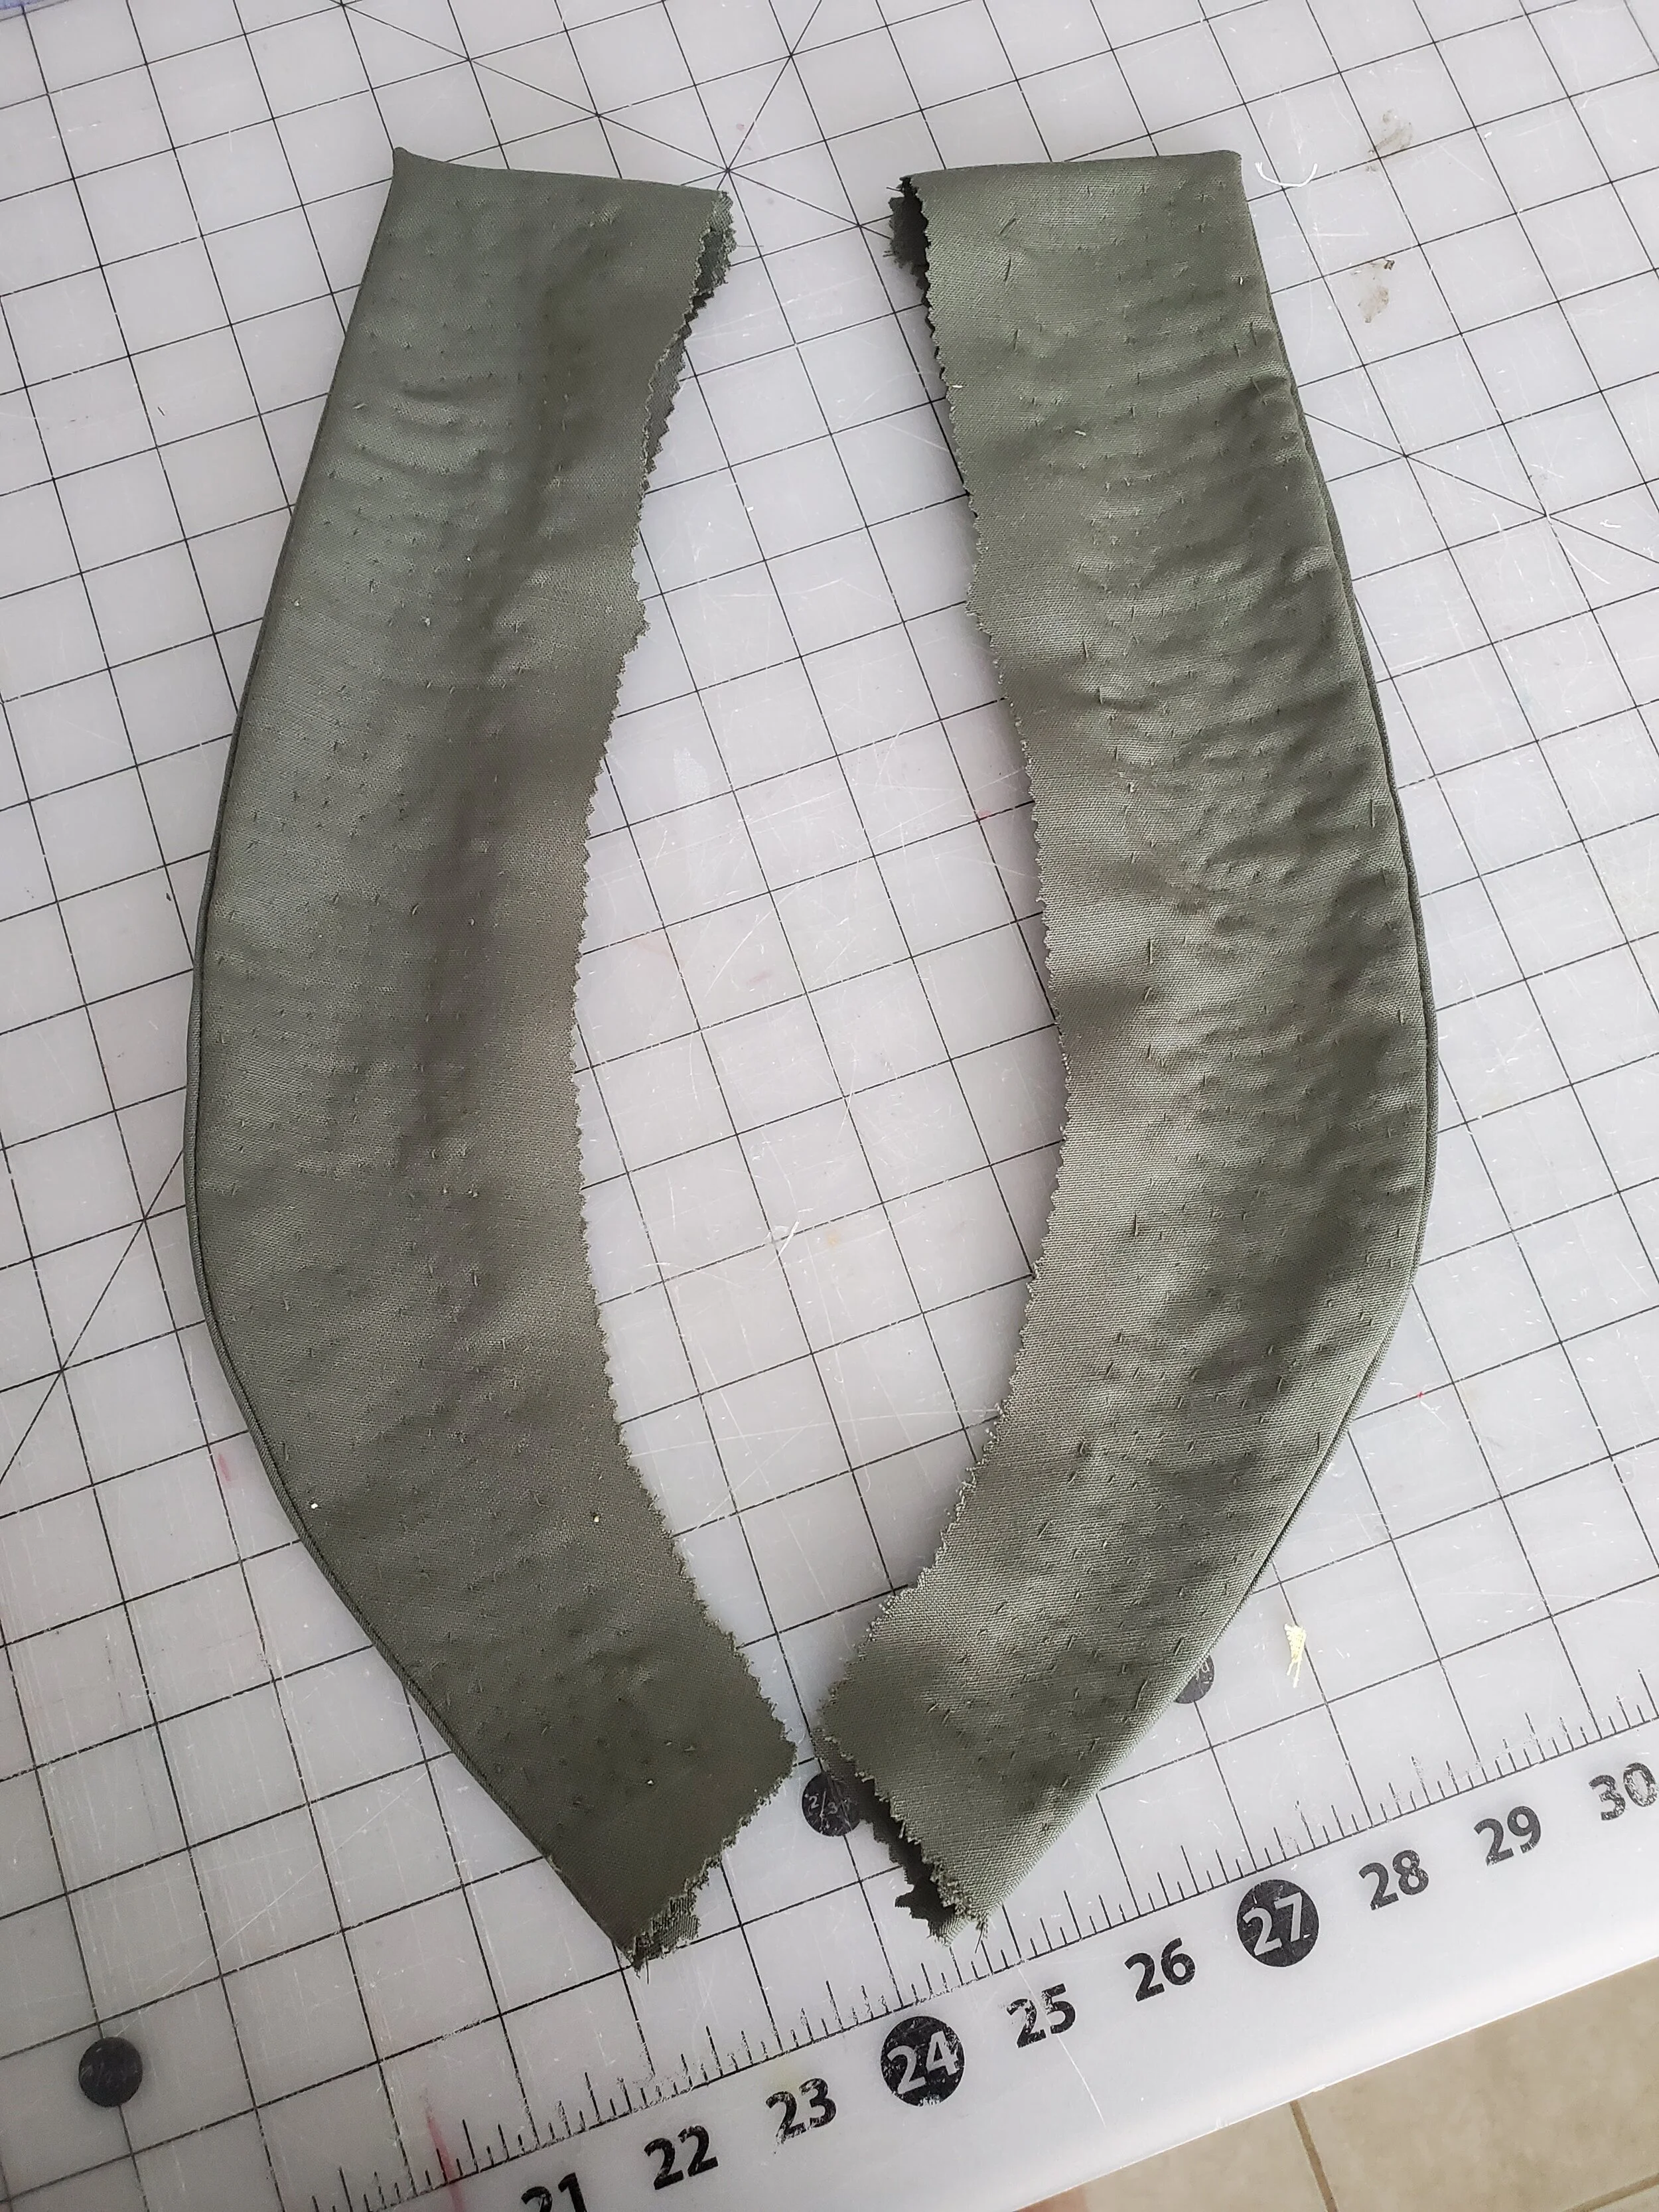
four collar pieces

The first thing I did was assembly the facing pieces using a 5/8” seam allowance.

I then sewed the darts, two upper back ones, two lower back ones, and two front ones.

I then sewed the shoulder seam and the side seam again using a 5/8” seam allowance. After the seams were sewn I finished them using the “Hong Kong” finish, that is using bias tape. I did this extra fancy seam finish because the vest would be unlined and possibly seam when open so I wanted it to look nice.
I then cut two more collar pieces (minus the seam allowance) out of horsehair tailor’s canvas to interface them.

To attach the horsehair canvas I used a special tailoring technique known as padstitiching. (helpful tutoial here) This stitch curves the collar/lapels towards the body and helps them retain there shape.
This was the first time I had used this technique and was SO happy with the result, it was like magic! After the two collar pieces were padstitched I sewed on the other two collar pieces on top on them. The padstitched collar pieces would face the vest and thus the tiny stitches would not be seen from the outside.

Just another angle on the collar, because of the stitching the shape retains itself

I then attached the collar and the facing to the vest matching notches. (I sandwiched the collar in between the facing and the vest.)

Here is how the vest looks after attaching the facing. To finish the facing I hand tacked it to the vest. If you look closely you see my pins holding that in place as I sew.

The final step was the add the buttons (Dill Buttons #1270). I sewed three buttons on the left side of the vest on marks indicated by the pattern and three on the right side parallel to the buttonholes. I sewed the buttonholes by hand using waxed 80/3 “Dark Olive” Linen Thread and this tutorial.