
Early Regency Open Robe
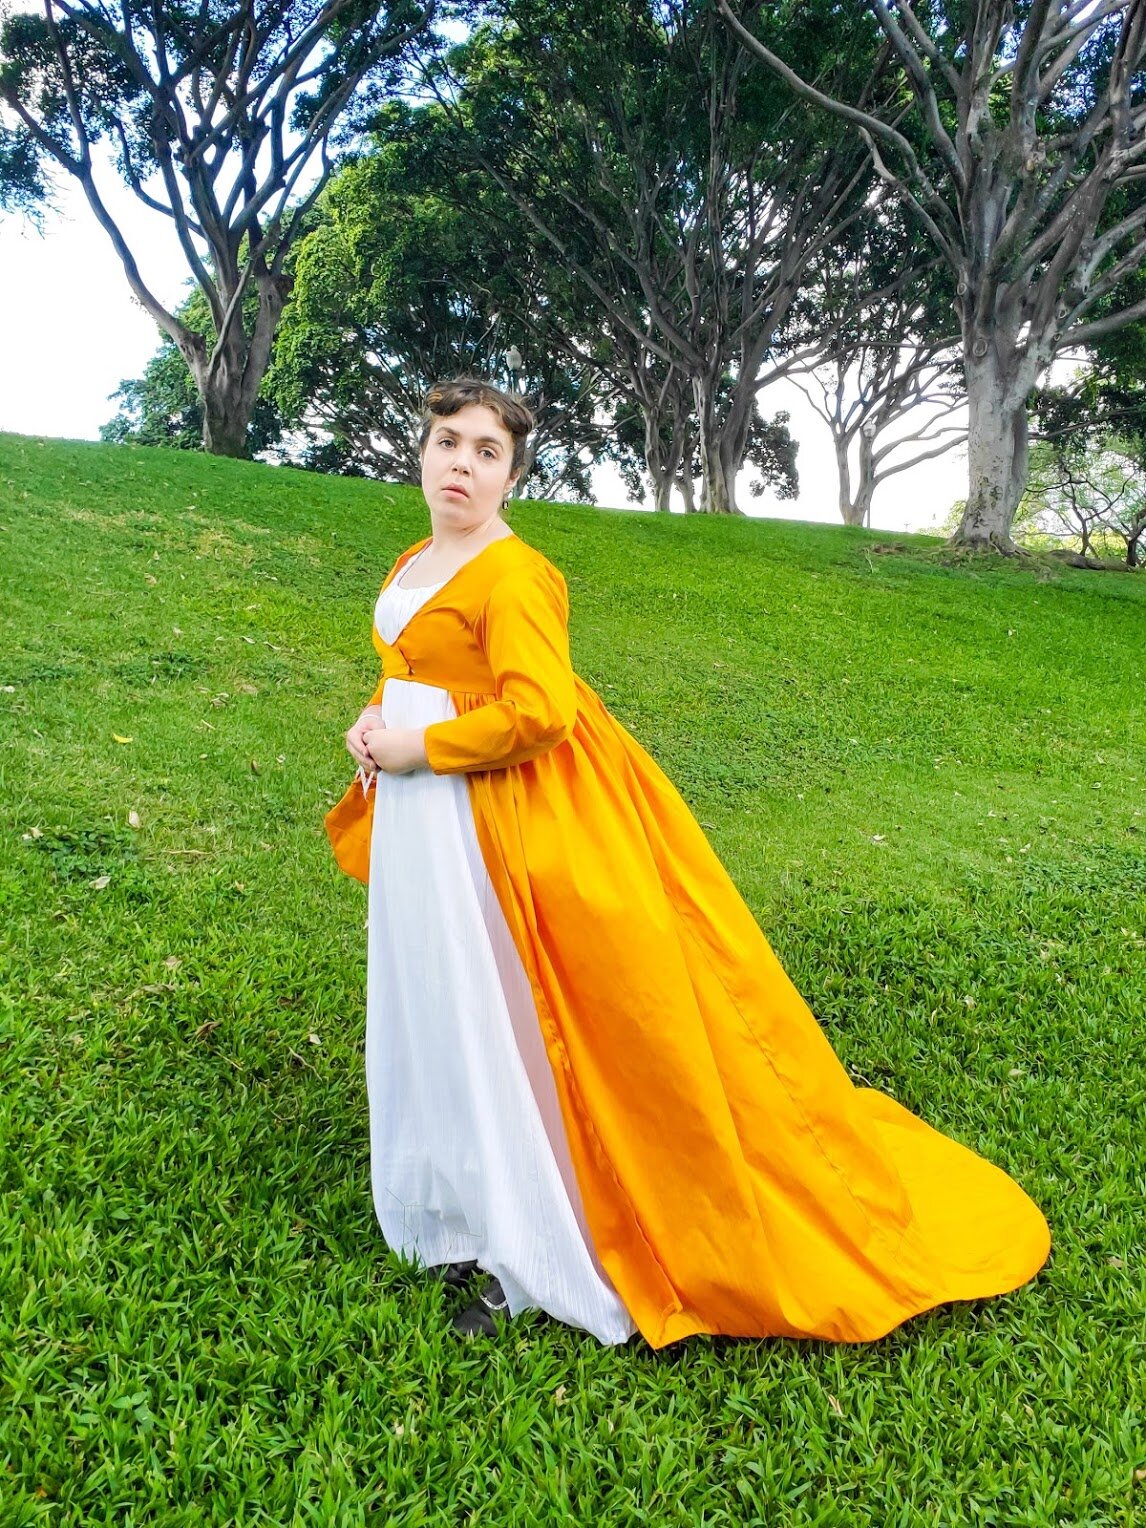
As I have been exploring the Regency Period in the new year I discovered that the accessories are the real star of the show during this age of simplicty. One such accessory is called an open robe, which is a trained often silk outer garment. This accessory was worn most often during the early Regency Period about 1795ish-1807ish. For my open robe I used the American Duchess S8941 Open Robe pattern. The only alteration I made was to length the train, which I did by simply adding 8” to the hem of the center back panel.

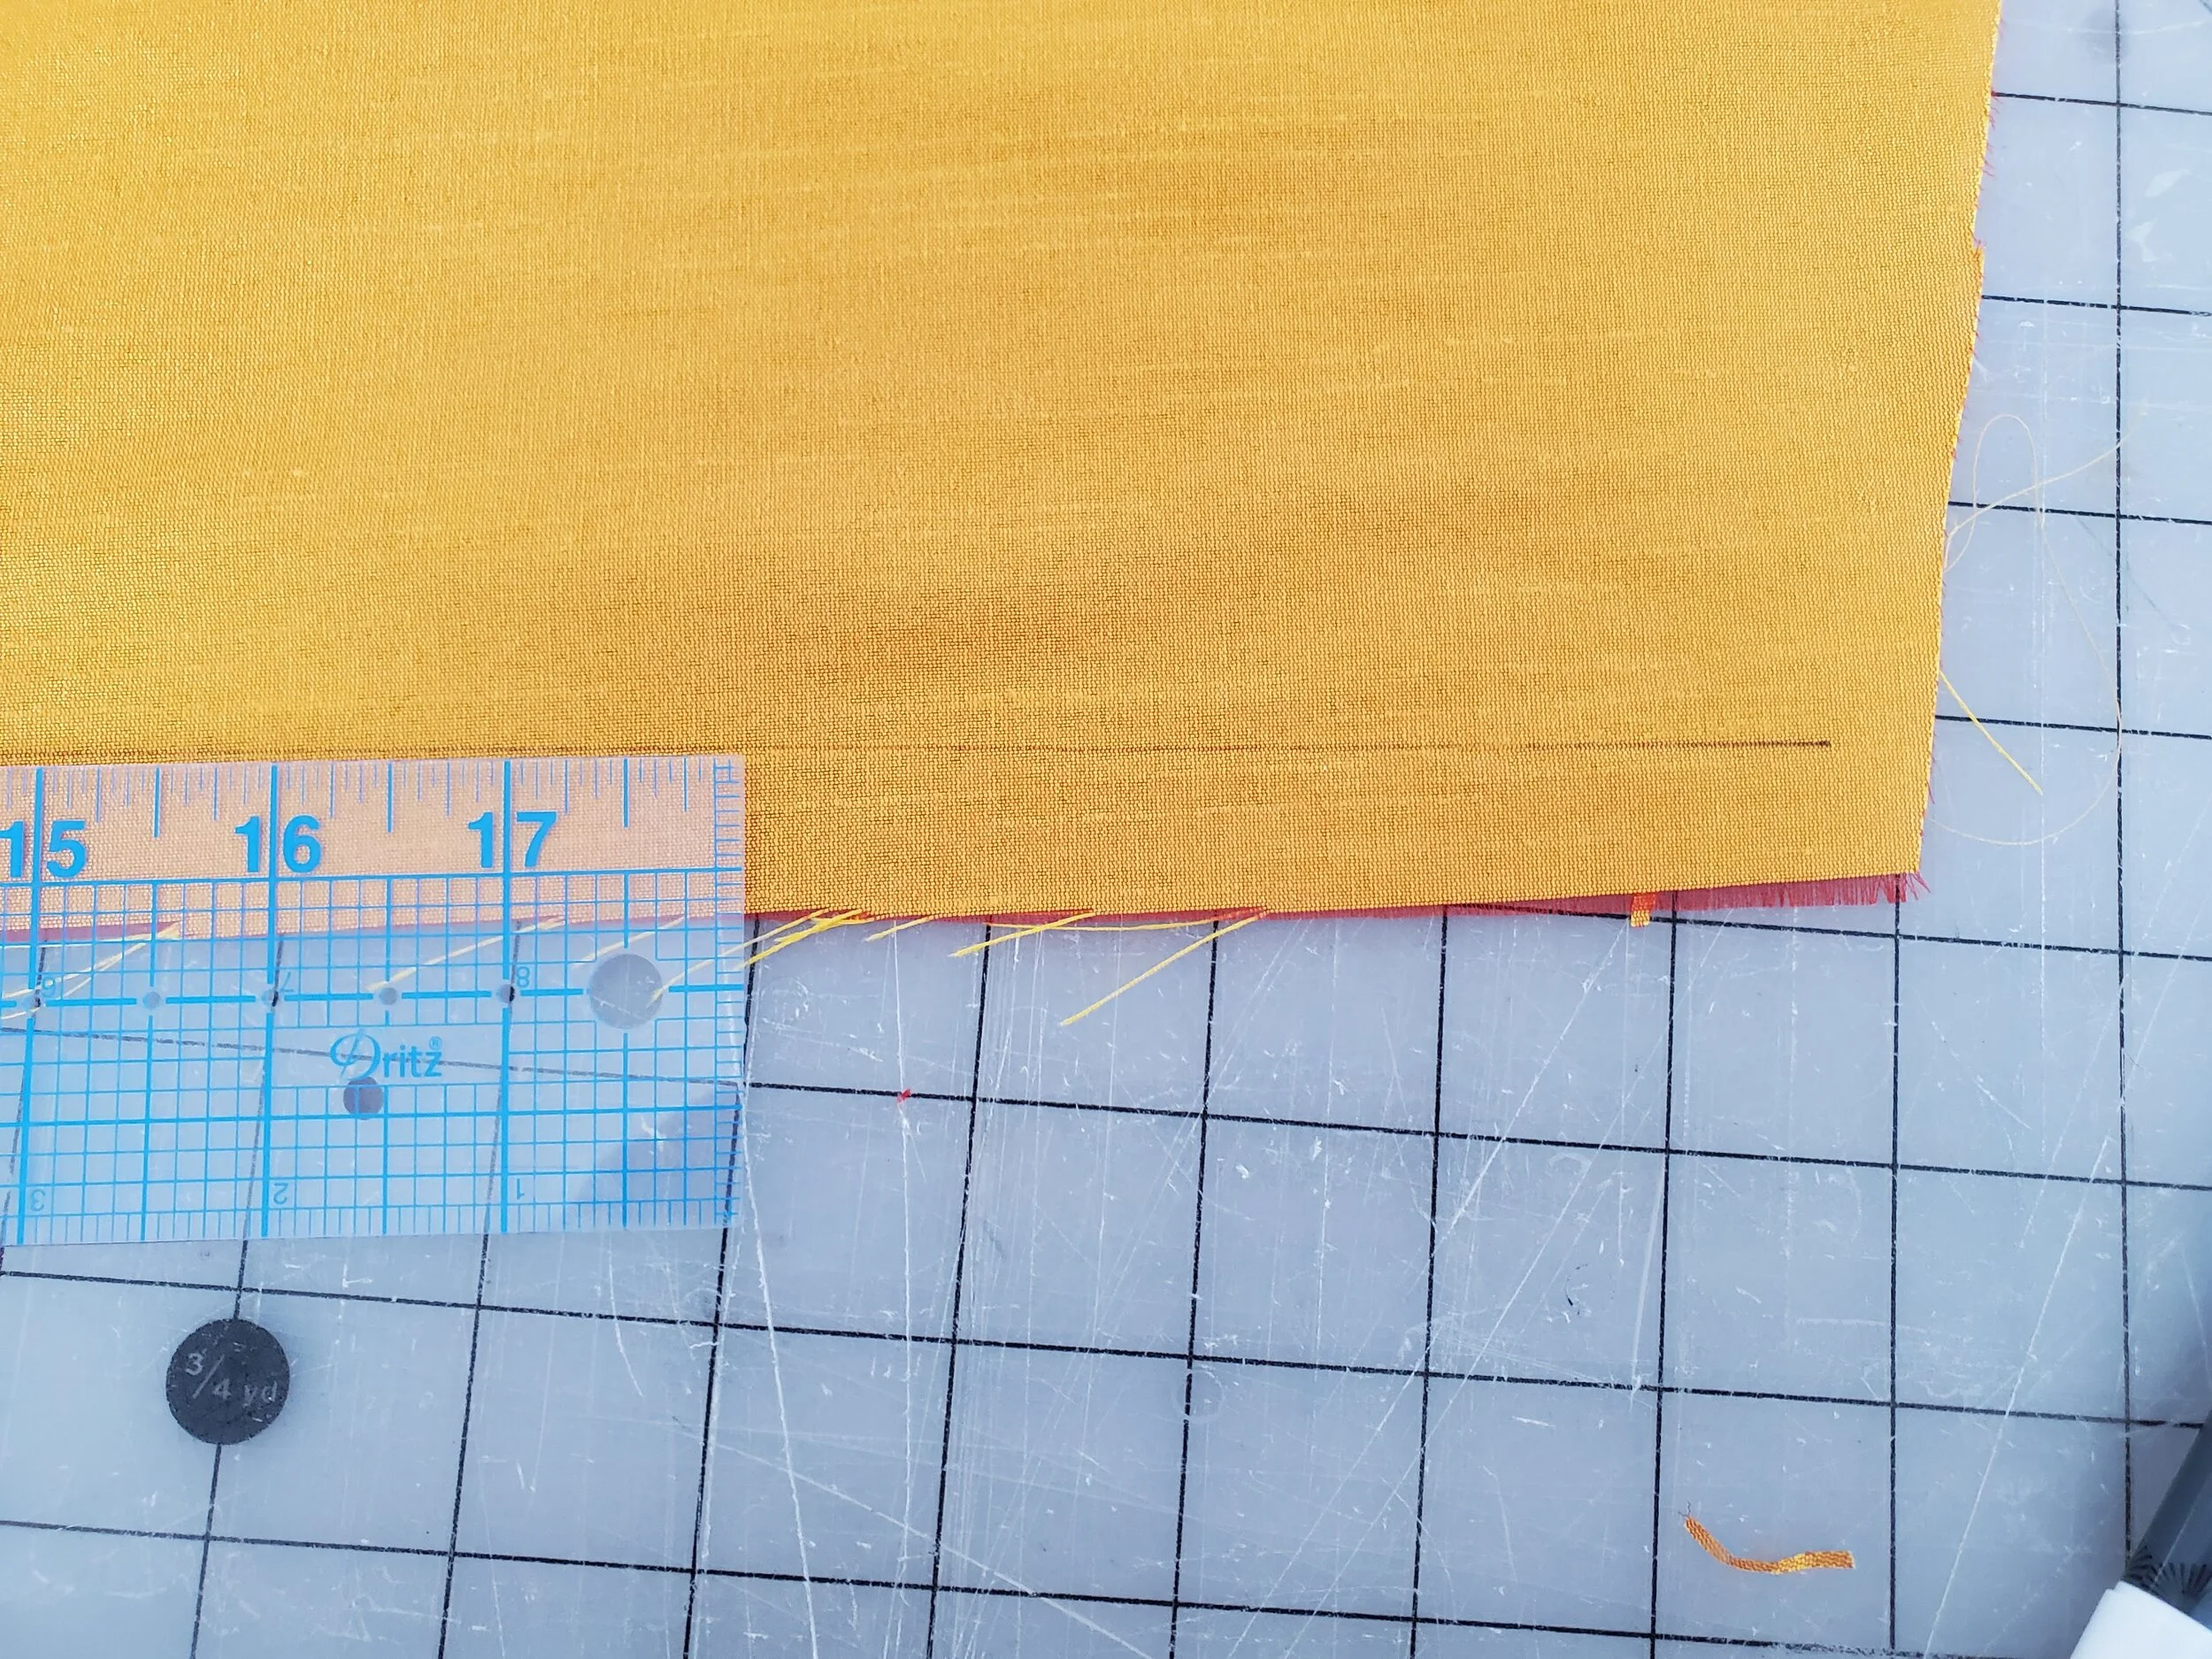
Here are all the pieces cut out of my two-tone shantung from the Aiea Fabric Mart:
two sleeves
two back pieces
two side back pieces
two front pieces
two front skirt pieces
two back skirt pieces

Now before I could start assembly I had to piece my back panels becasue their entire length would not fit on one width of fabric. I french-seamed them together.

I then french seamed the front skirt pieces with the back panel. The steps of a 1/2” french seam are as follows:
sew pieces wrong side together with a 1/4” allowance
iron seam open
trim seam allowance down to 1/8”
flip over pieces so that they are now right sides together
align the seam until the pieces crease along it and iron it down
then sew the seam with a 1/4” allowance (which encases the raw edges in a neat and finished way)
I then marked the 5/8” heam around the entire perimter of the skirt using friction pens.

I then sewed the hem by hand using whip stitches.

Now that the skirt was completed I could focus on the bodice. I sewed together the back pieces and the side back pieces using french seams.

I then sewed the darts into either side of the front pieces.

The next seam to be sewn was the side seam which I did again using a French seam method. I also sewed the shoudler seam even though it’s not pictured.

I then turned under and hand finished the neckline of the bodice as well as the bottom of the bodice that would not be attached to the skirt.

I then turned under the center front edges of the bodice by 1/2” then 1/2’ again securing them by hand. (In case you are wondering this open robe closes with straight pins. You pin one side to your dress, then lap the other side over and pin it down. It’s actaully very secure!)

The skirt was then gathered to fit the bodice, matching notches. It was sewn by machine and the seam pinked to finish.

With the bodice and skirt done it was time to turn to the sleeves. The darts were sewn, then the seam allowance turned in on itself and secured by hand to finish.

The underarm seam was then sewn by machine as a French seam. I also turned the bottom edge of the sleeve under by 5/8” and secured by hand using whip stitches.

I then set the sleeves into the bodice by machine, matching notches, concentrating the gathers at the back shoulder as done in the period. The sleeve seam was pinked to finish.

I then cut a little bum pad per instructions from the American Duchess Guide to 18th Century Dressmaking. The purpose of this pad, which is filled with scraps, is to help kick out the gathers at the back of skirt and aid in achieving the correct silhouette.

The bum pad was then tacked the center back area of the skirt.

just so you can see the robe in full twirl action :)