
1815 "Pineapple" Dress


Inspiration for my dress
After watching 2020 “Emma” I knew I wanted to recreate one her (Emma Woodhouse’s) dresses! She (Anya Taylor-Joy) wears three muslin dresses during this Jane Austen adaption. It looks like so many more because the costume designer, Alexandra Byrne, uses acessories (chemisettes, colored petticoats, spencers) to great effect. That effect being a vast waredore! I based my dress off of the dress she wears in the beginning of the moive, under her white chemisette and later her pink spencer jacket. It is made of dotted swiss, has a cross over bodice, and lace trimmed skirt.

The whole “vibe” of this c. 1810 adapation was that of a whimical play and I wanted to play off that in mine “recreation”. For the lace portion of the skirt I chose this pineapple Quarker lace curtain. I first cut the top narrower lace off.

I then cut down the eyelet portion so I was left just with the bottom portion (about 18”) of lace. There was about 1/2” of border left on the top with I will use to attach the lace to the dotted swiss portion of the skirt.

I then patterned my bodice. The back and side where a modified version of Folkwear 215 "Empire" dress. The front was a modified version of the c. 1795 cross over robe from ”
Janet Arnold’s “Patterns of Fashion 1". These pieces where cut from the ivory dotted swiss and linen lining. The sleeve I took straight from the Folkwear pattern without any modifications and did not have a linen lining piece.

The skirt was a 30” wide 2 yd. long piece of the ivory dotted swiss. I then pinned the lace portion onto the bottom of the skirt, since the bottom was the selvage of the fabric I didn’t have to finish the seam.

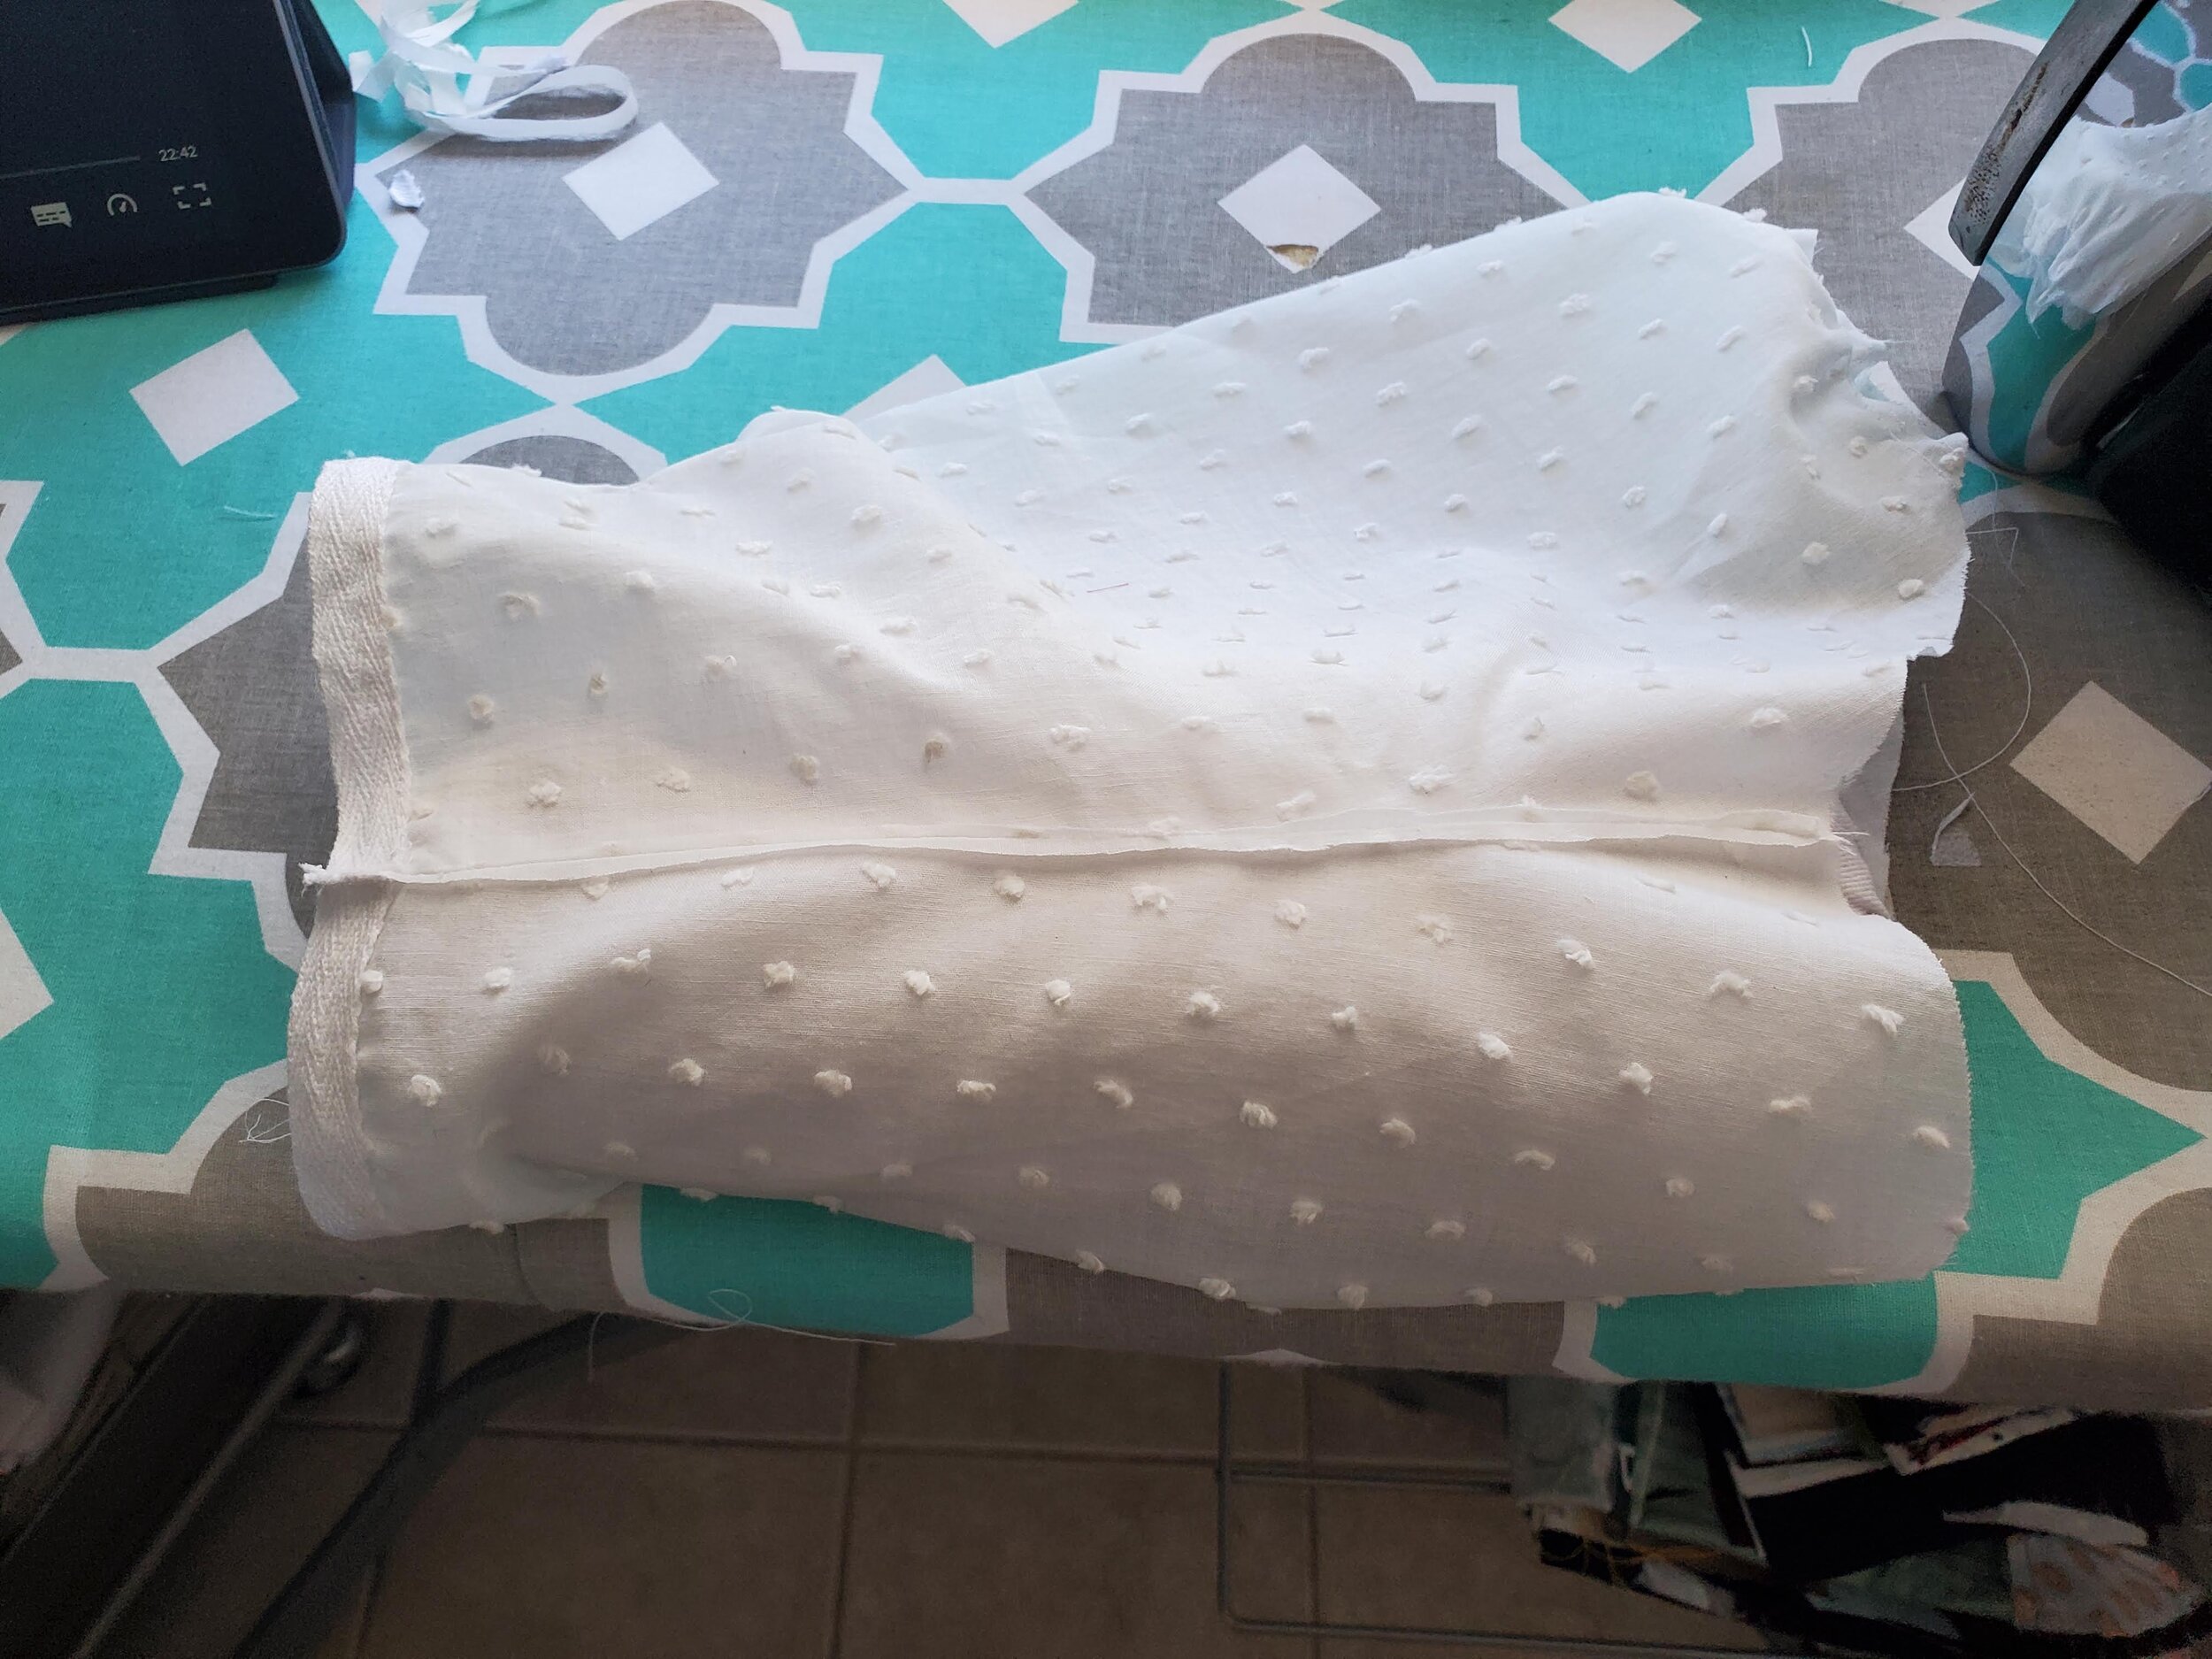
I then ironned that seam towards the top of the skirt.

I then sewed the center back seam, which was the only seam in the skirt.

I then turned the seam allowance of the seam inwards and whipped it shut to finish. I left the lace portion of the seam raw because the curtain doesn’t really fray.

Turning my attention to the bodice I sewed and felled the back seam and the shoulder seams, treating the linen lining and dotted swiss layers as one.

I then sewed and felled the side seam and then sewed the dart.

I then folded the neckline under by 1/4” then 1/4” again and whipped it in place.

I then turned under the waist seam of right flap of the bodice. This will cross over the left side meaning that this portion of the bodice will not be attached to the skirt and thus needs to be finished separately.

I then pinned and sewed some antique lace to the neckline of the bodice to mimic the lace on the dress from “Emma” (2020).

Now onto the sleeves. I gathered the three points indicated by the pattern.

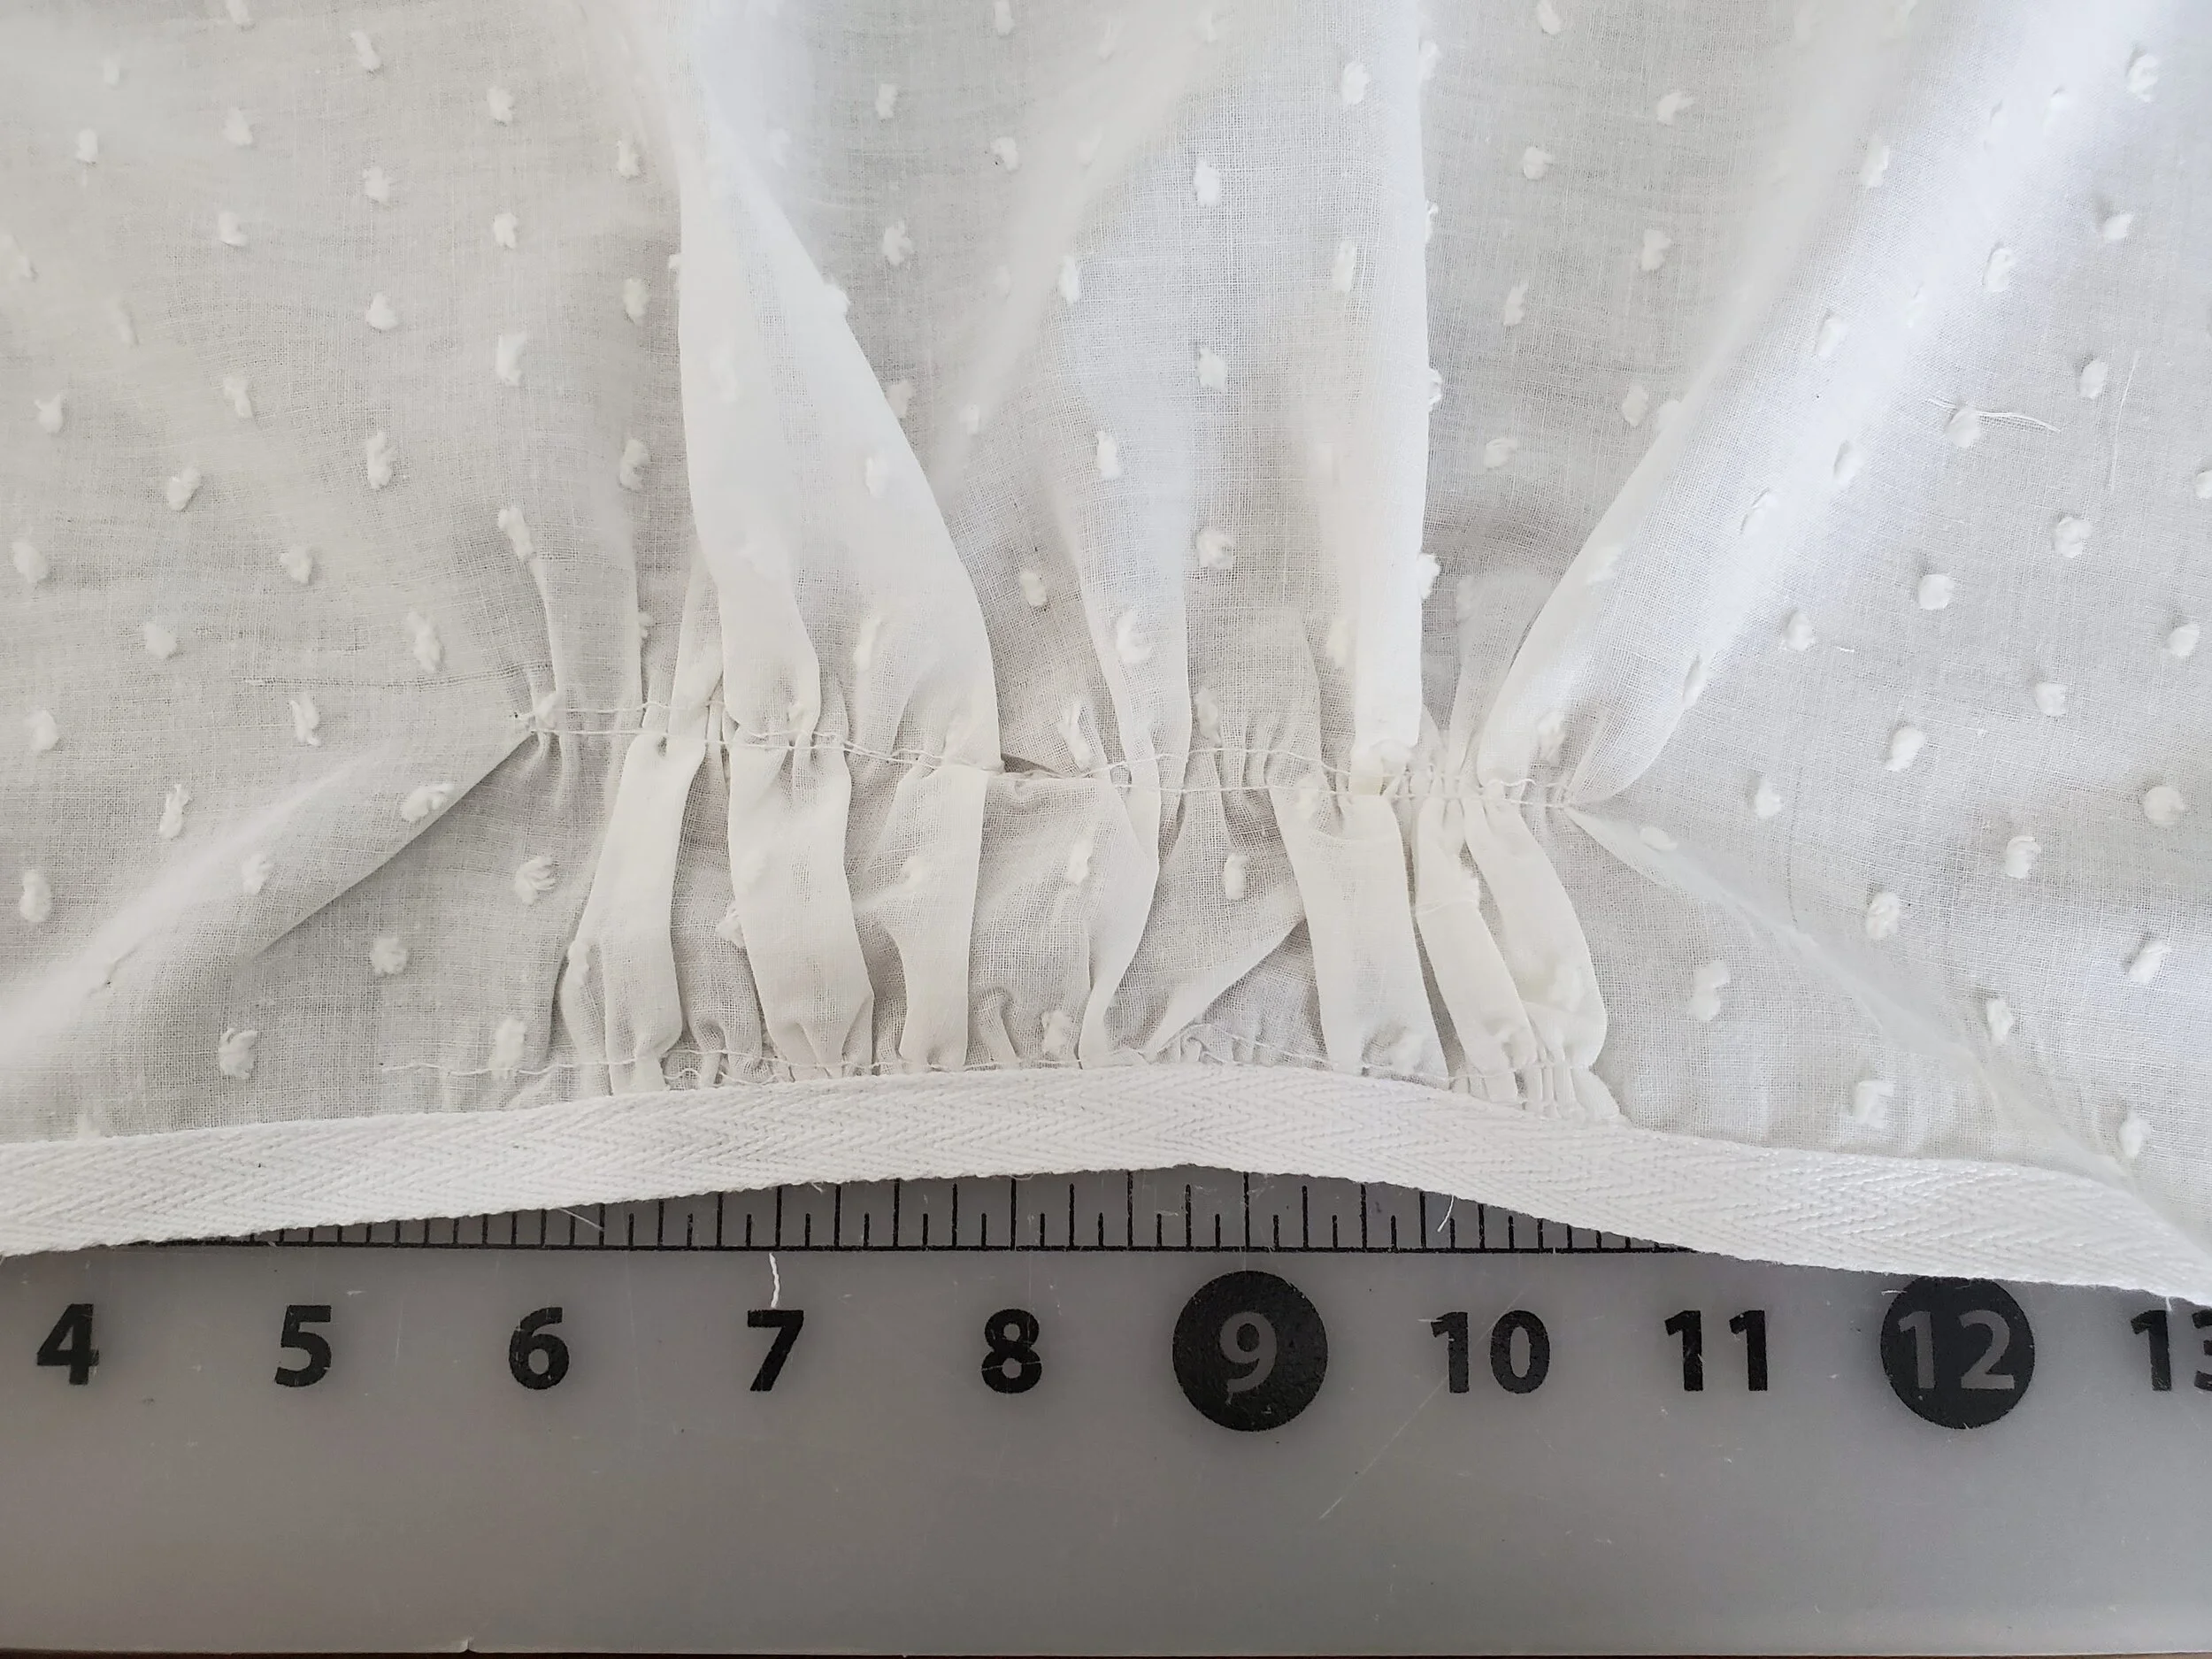
I then cut a piece of twill tape the length of my bicep plus 1”, gathered the bottom of the sleeve to fit, then sewed it down.
I then gathered the middle gathers to the same length as the bottom gathers and tied it off.

Now it was time to sew the underarm seam, I decided to sew this as a French seam. The first step was to pin and sew the sleeve WRONG sides together.
I then ironed that seam open and trimmed the seam allowance to about 1/8” then pinned the sleeve RIGHT sides together.

The underarm seam was then sewn again. This process of French seam fully encases the seam allowance as is the prefered seam finishing method for sheer fabrics, like this dotted swiss.

I then folded the sleeve inwards until the top of the twill tape met the middle gathering line and sewed it by hand.

I then sewed some of the antique lace I used for the neckline on the sleeves.

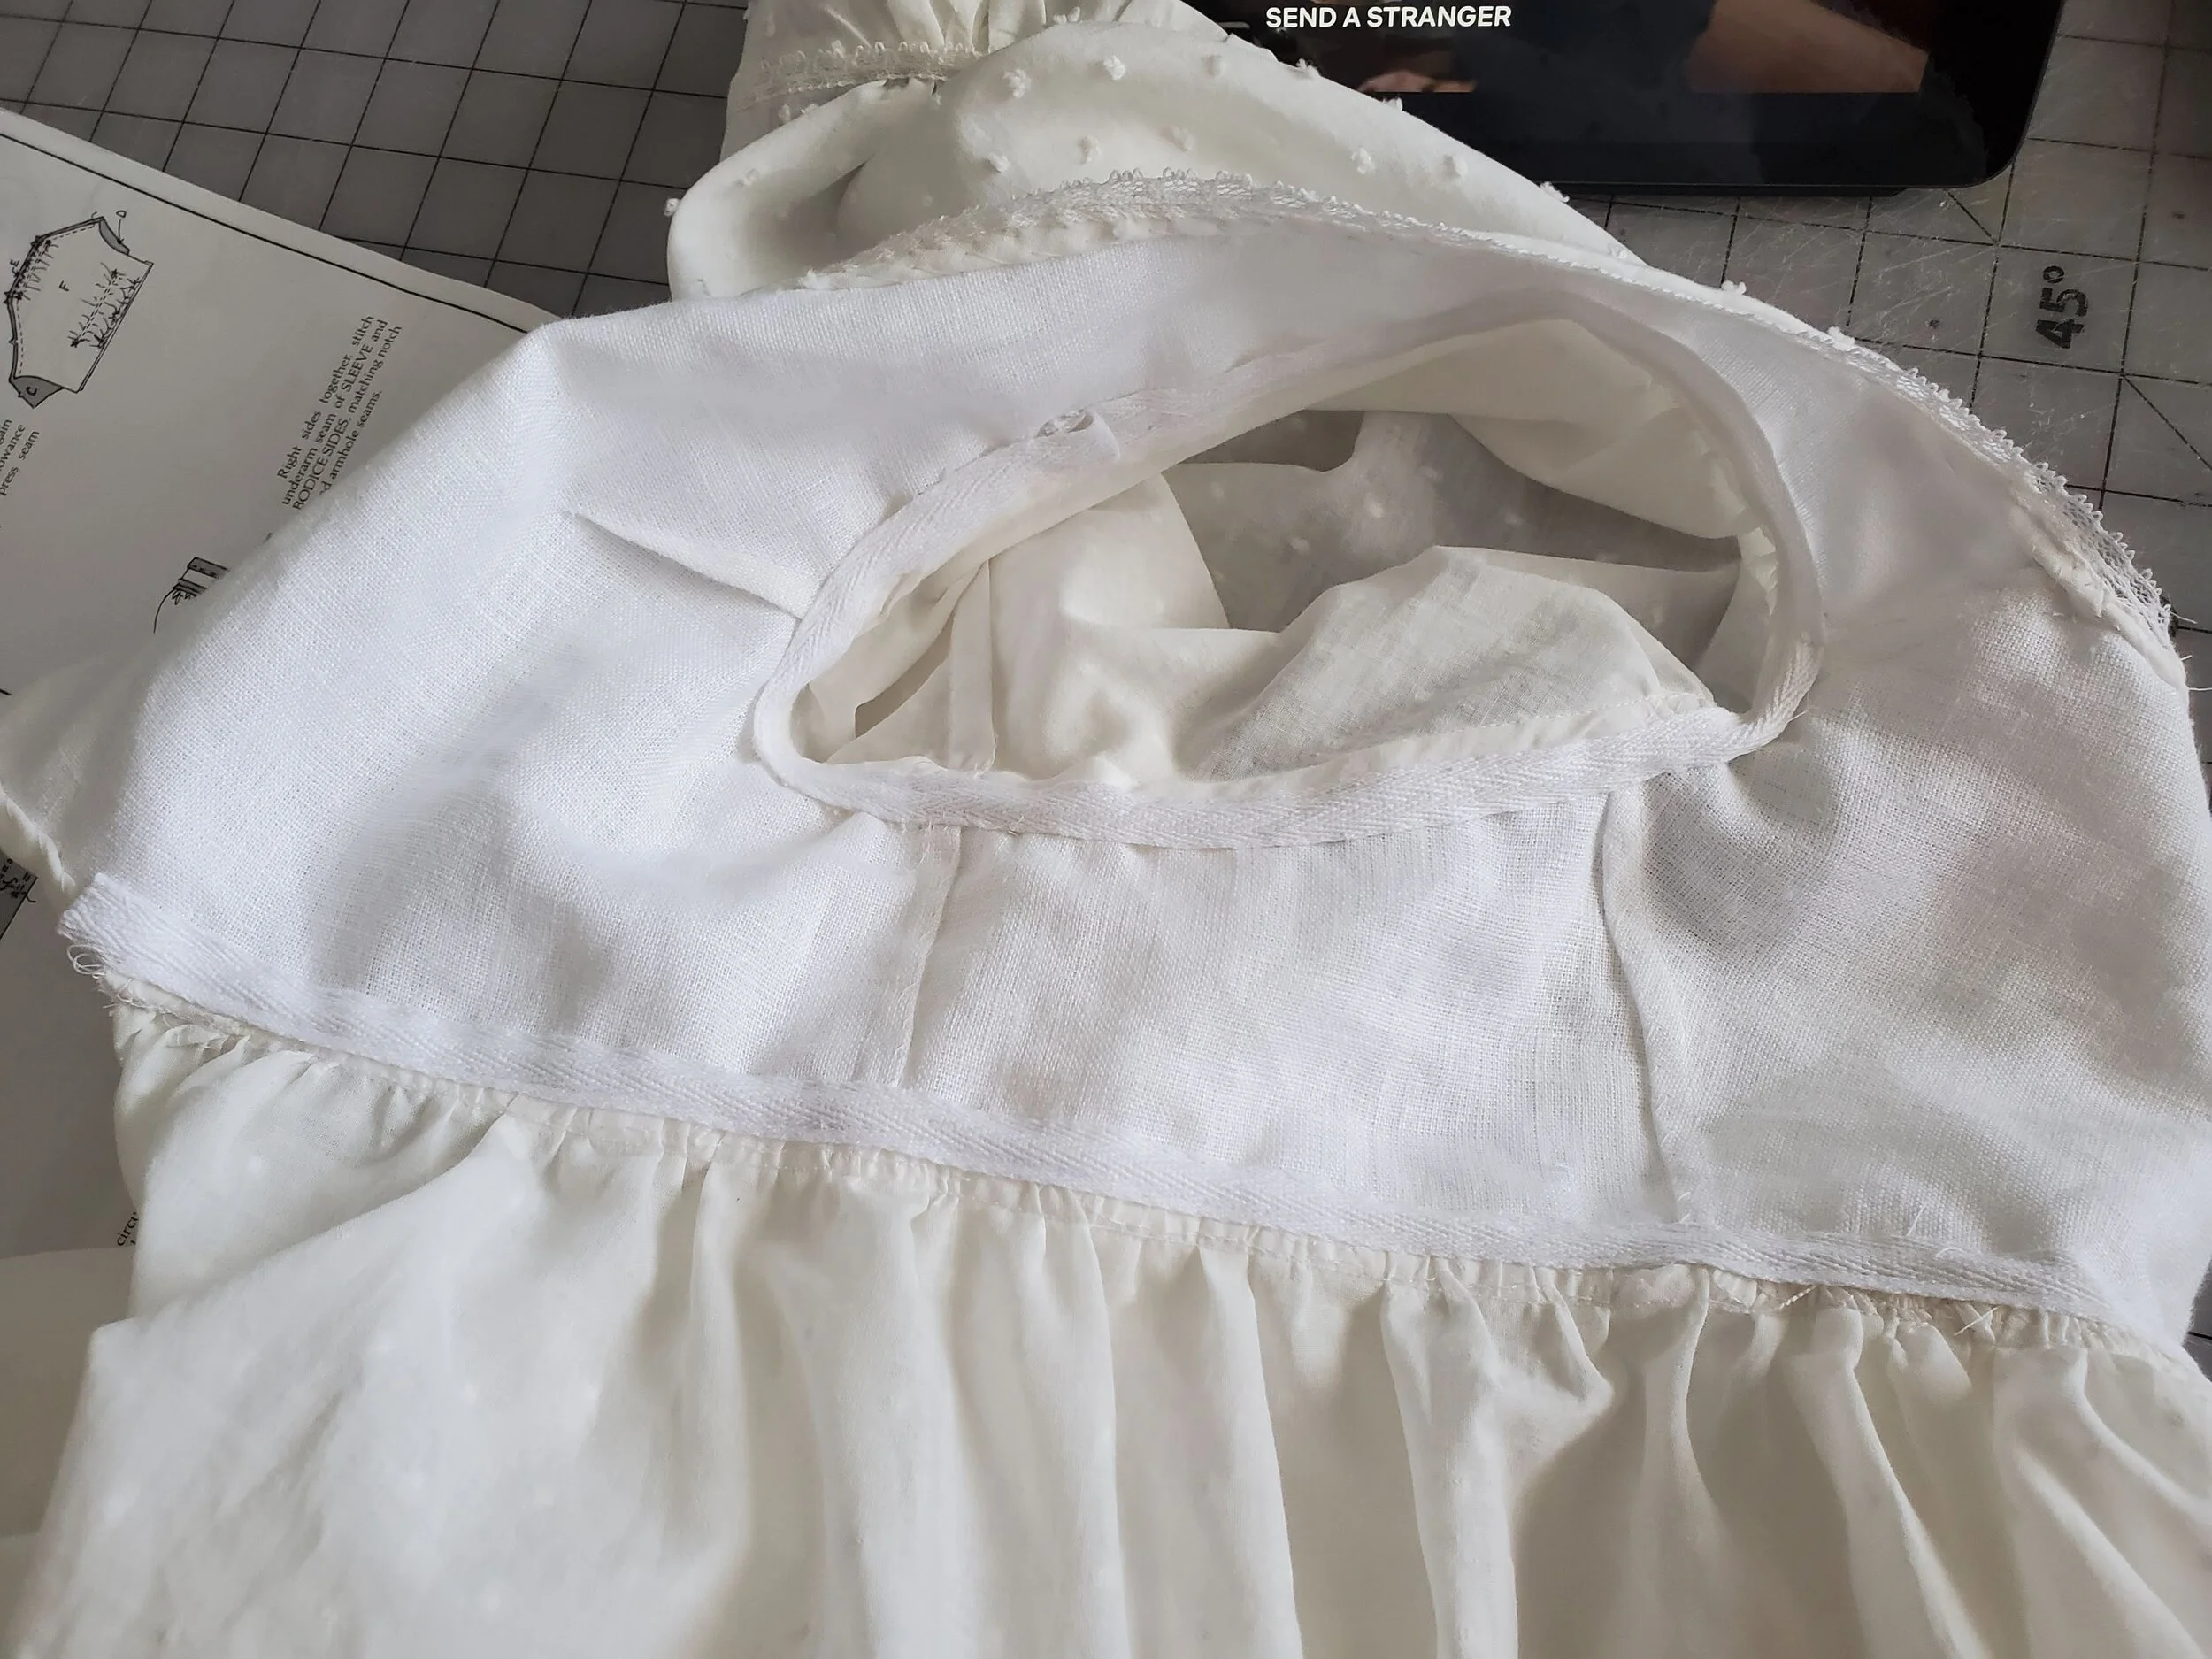
I thenpinned the sleeves to the bodice and sewed them in place matching the underarm seam to the side seam of the bodice.

I then sewed some twill tape to the seam.

I then folded the seam allowance inwards towards the bodice and sewed it in place by hand.

Before I attached the skirt to the bodice I leveled the skirt. I ended up cutting off 2” at the center front angled to 4” and the center back.

I then gathered the skirt in four parts, to lessen to chance of the gathering threads breaking when I pulled them taught.

I then pinned the skirt to the bodice. I pinned the skirt all the way to the edge of left flap of the bodice and until the point of the right flap of the bodice I finished earlier.
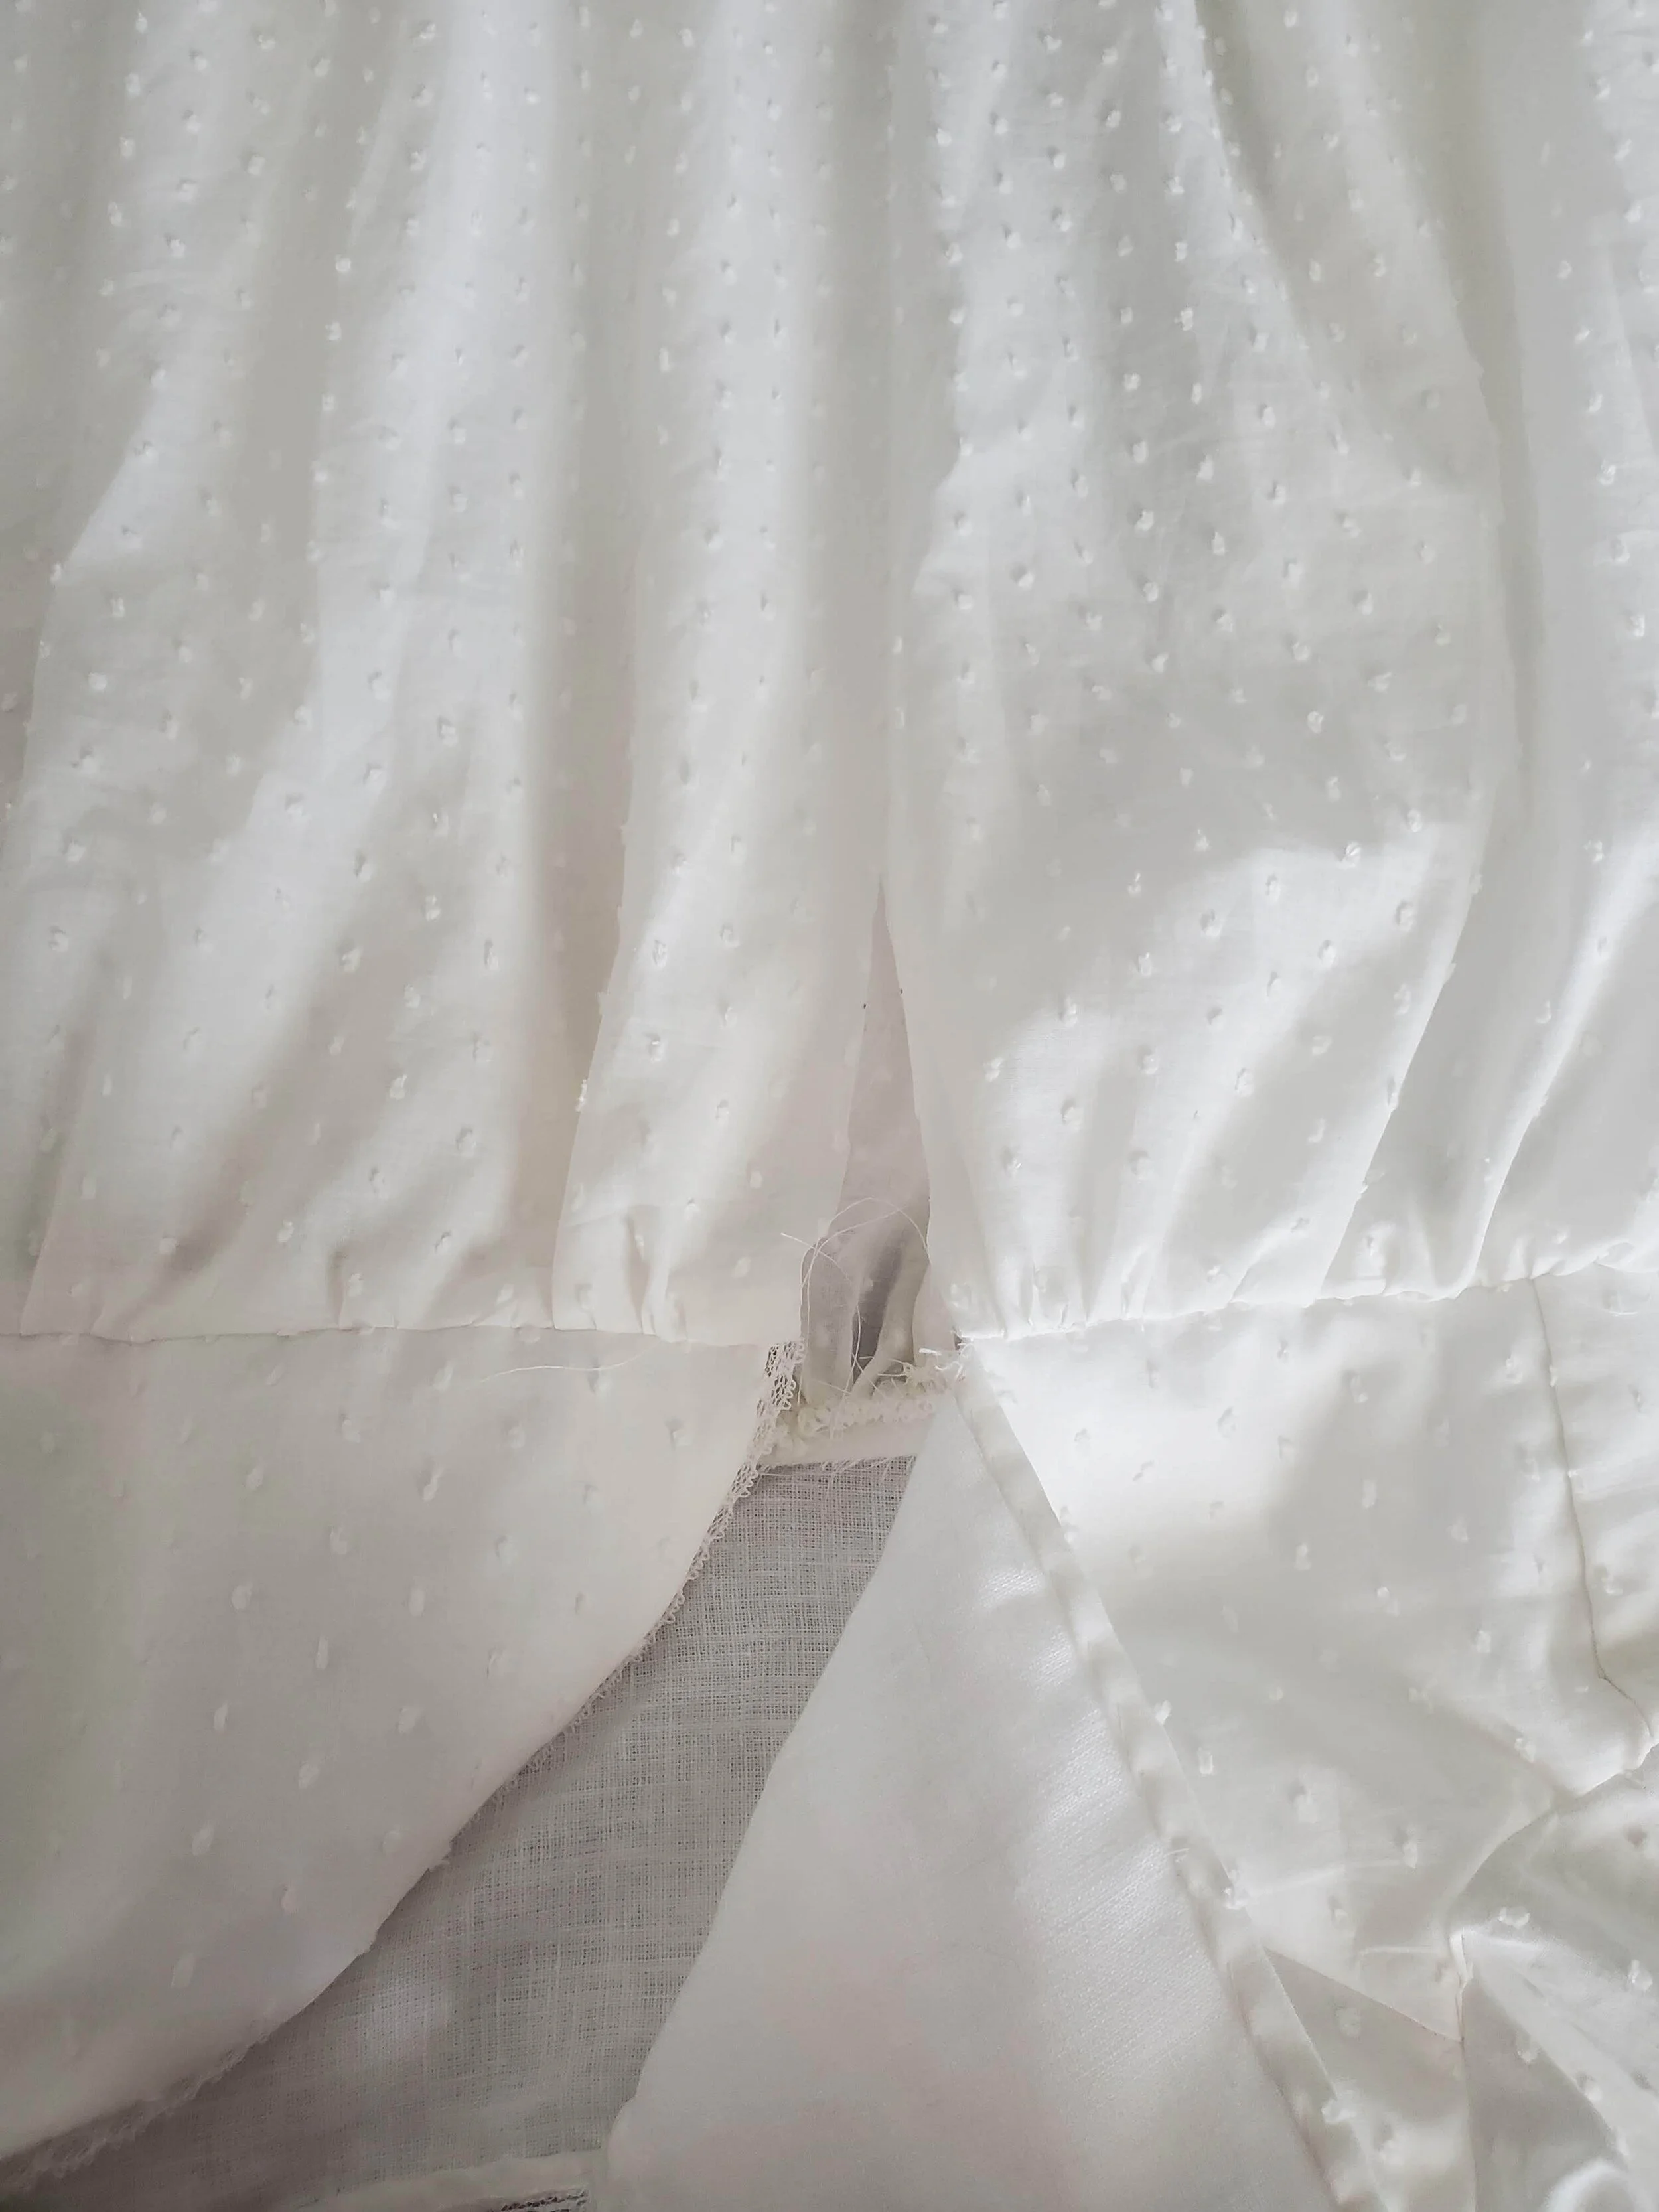
After attaching the skirt to the bodiceI cut a slit in the front of the skirt about 5” long, this will allow me to get into and outof the dress easily.

I then finished the slit by hand using a rolled hem stitch and reinforced the end of the slit with buttonhole stitches.
I then sewed a length of twill tape to the waist seam and sewed it dodwn by hand to finish that seam. The dress closes with two straight pins, one to attach the left flap to the stays/petticoat and the other to attach the right flap to the dress.