
Regency “Julia” Bonnet

The great thing about the Regency era is the abundance of accessorizes that can used to create entirely new looks, based around the same dress! This is my second time using the Julia Bonnet pattern from Timely Tresses and I love how it turned out. This type of bonnet has a soft crown, aka a circle of fabric, and a buckram brim and is appropriate for years 1800-1810.

The first step was to cut out the pieces. For the soft crown there was a piece cut from my fashion fabric, a pale pink silk satin (no longer available), as well as a one from tarlatan for stiffening, and muslin for lining. For the brim a piece of satin was cut to serve as lining and a piece of buckram for the base. The fabric for the top of the brim will made up later.

I then handed stitched some 18 gauge wire around the perimeter of the brim.

I then covered the edges of the piece with 1" twill tape to smooth the edges. The tape was sewn carefully by machine.

I then covered both sides of the brim piece with cotton batting to further smooth the piece. Since the twill tape already provided coverage around the edges, I brought the batting just to the point where the twill tape started to reduce bulk.

I cut out the brim’s top layer at this time. It was a piece of pinks satin that was pleated to match the curvature of the brim. I then sewed it to the brim lining piece, right sides together, with a 1/4” seam allowance.
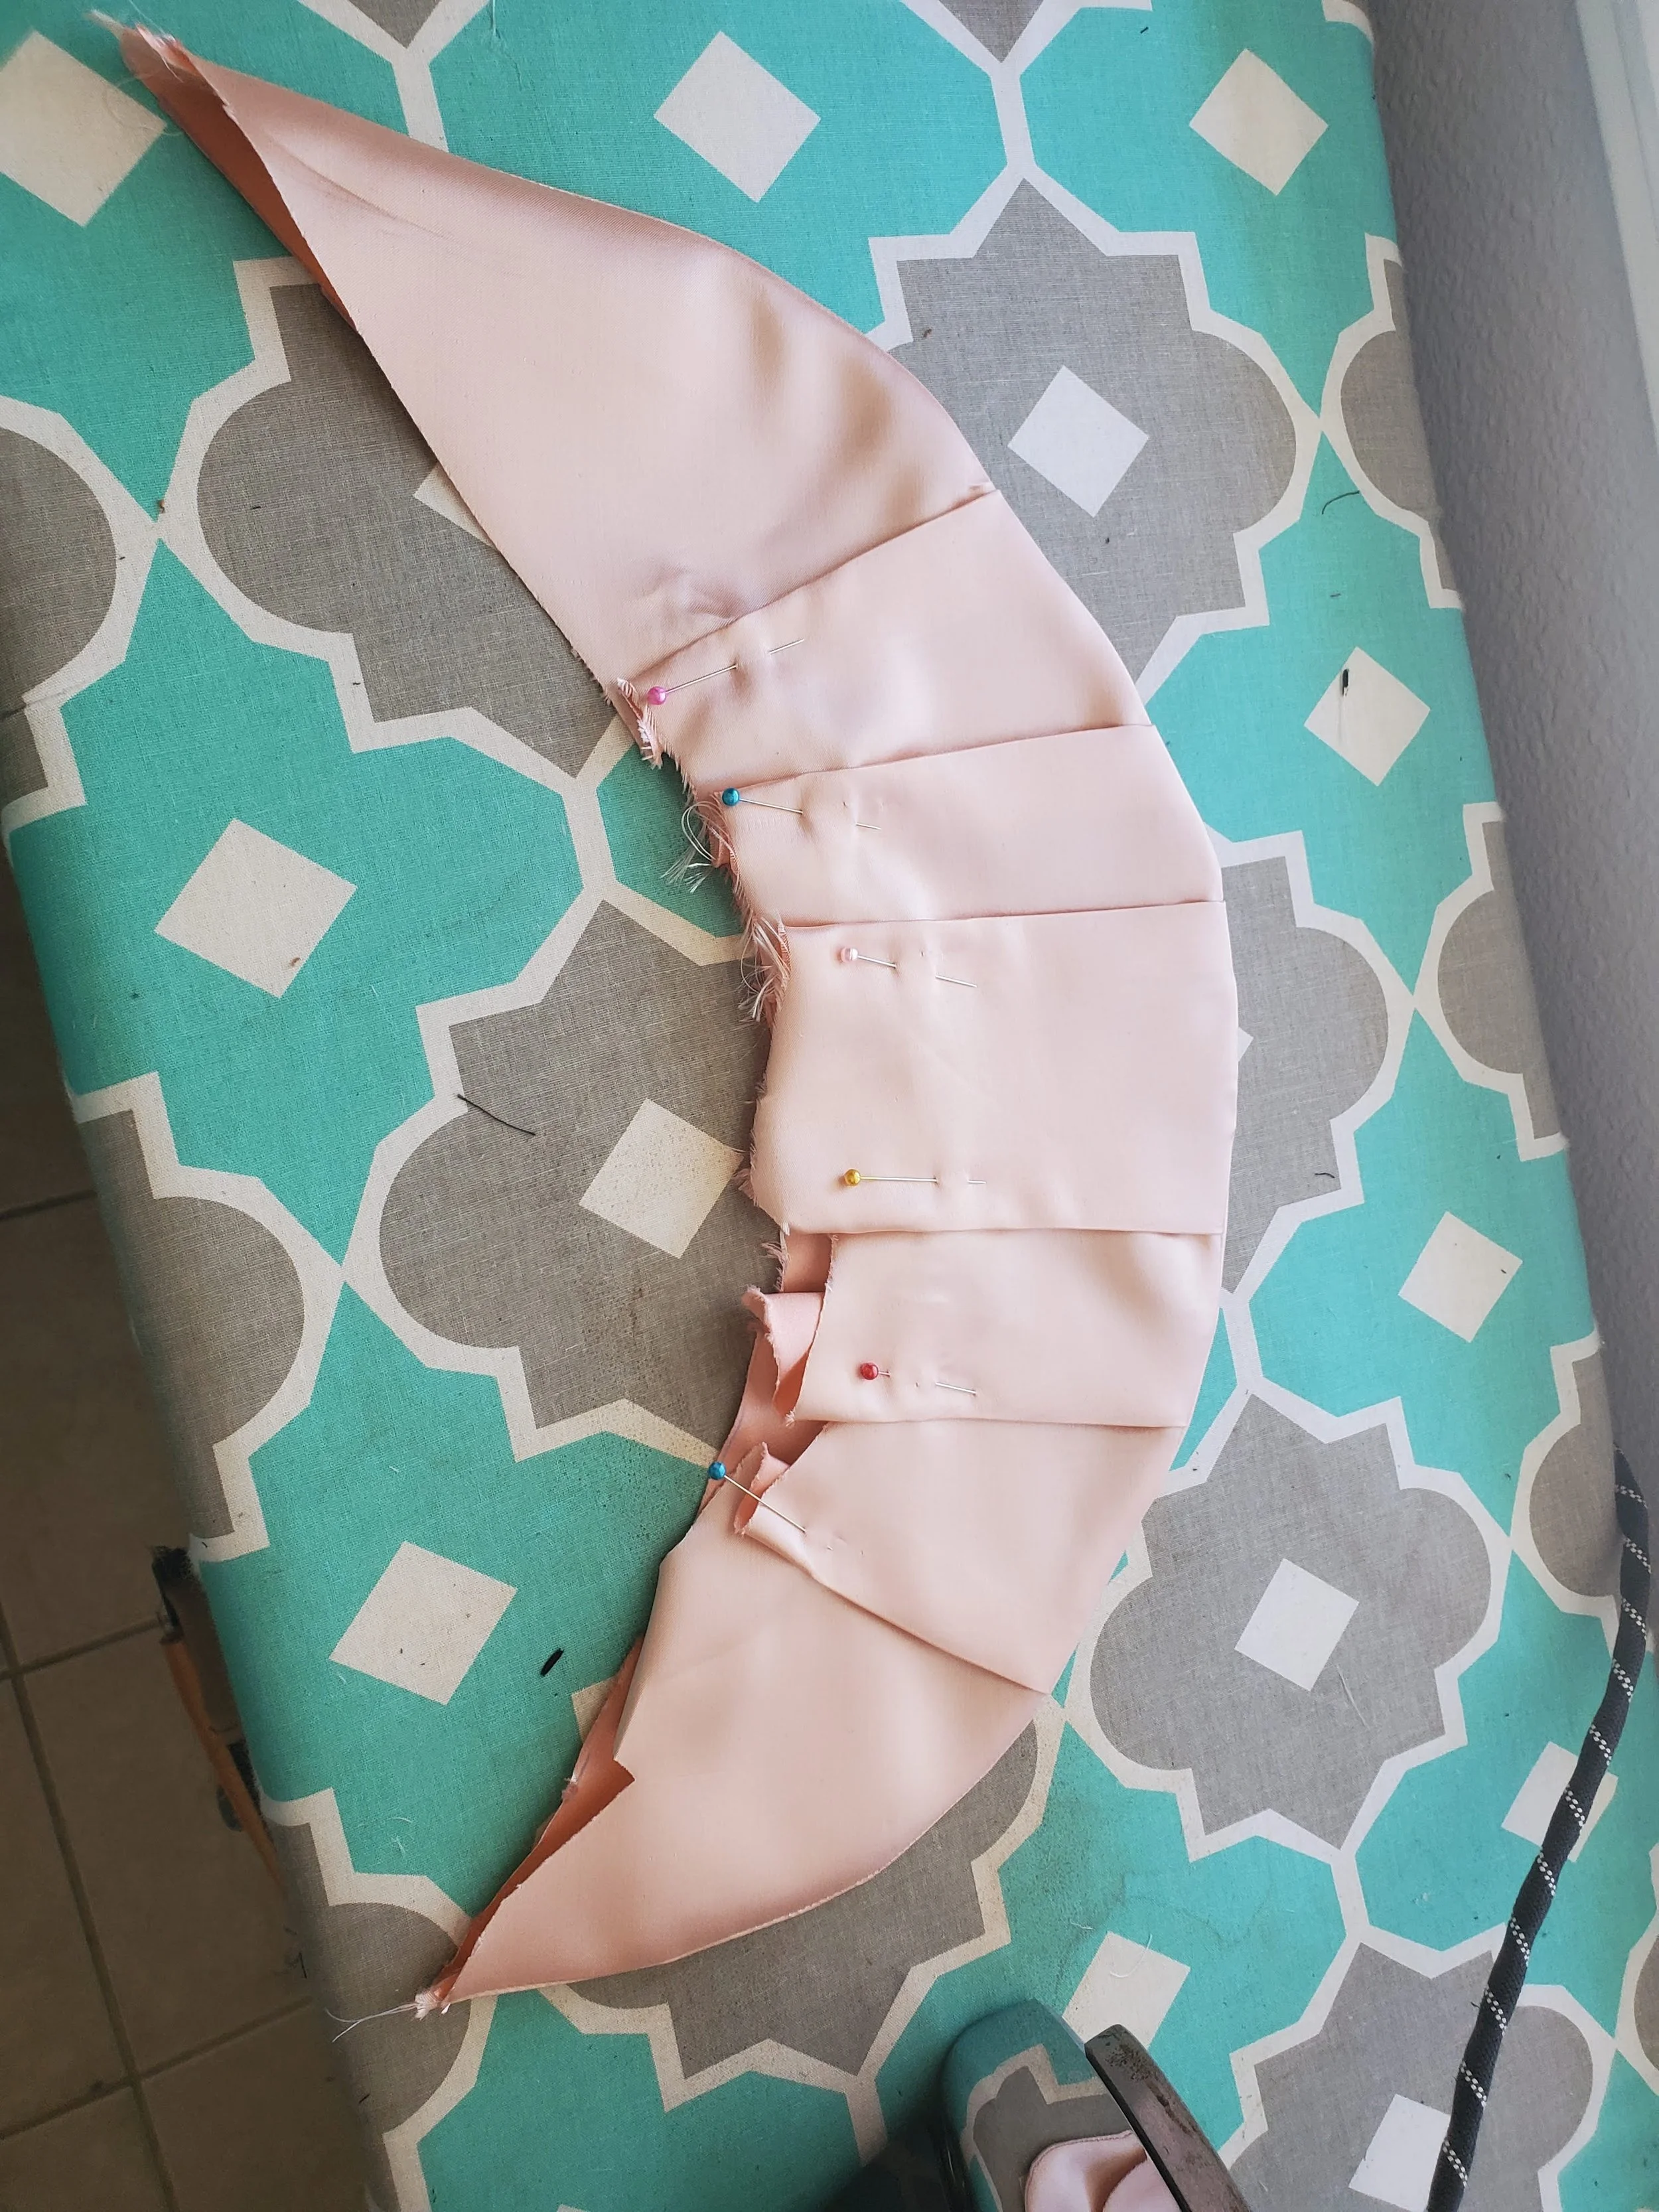
Here is how the brim piece is looking from the right (top) side. I concentrated the pleats to the center of the brim because that is mainly what is going to be seen once the bonnet is constructed.

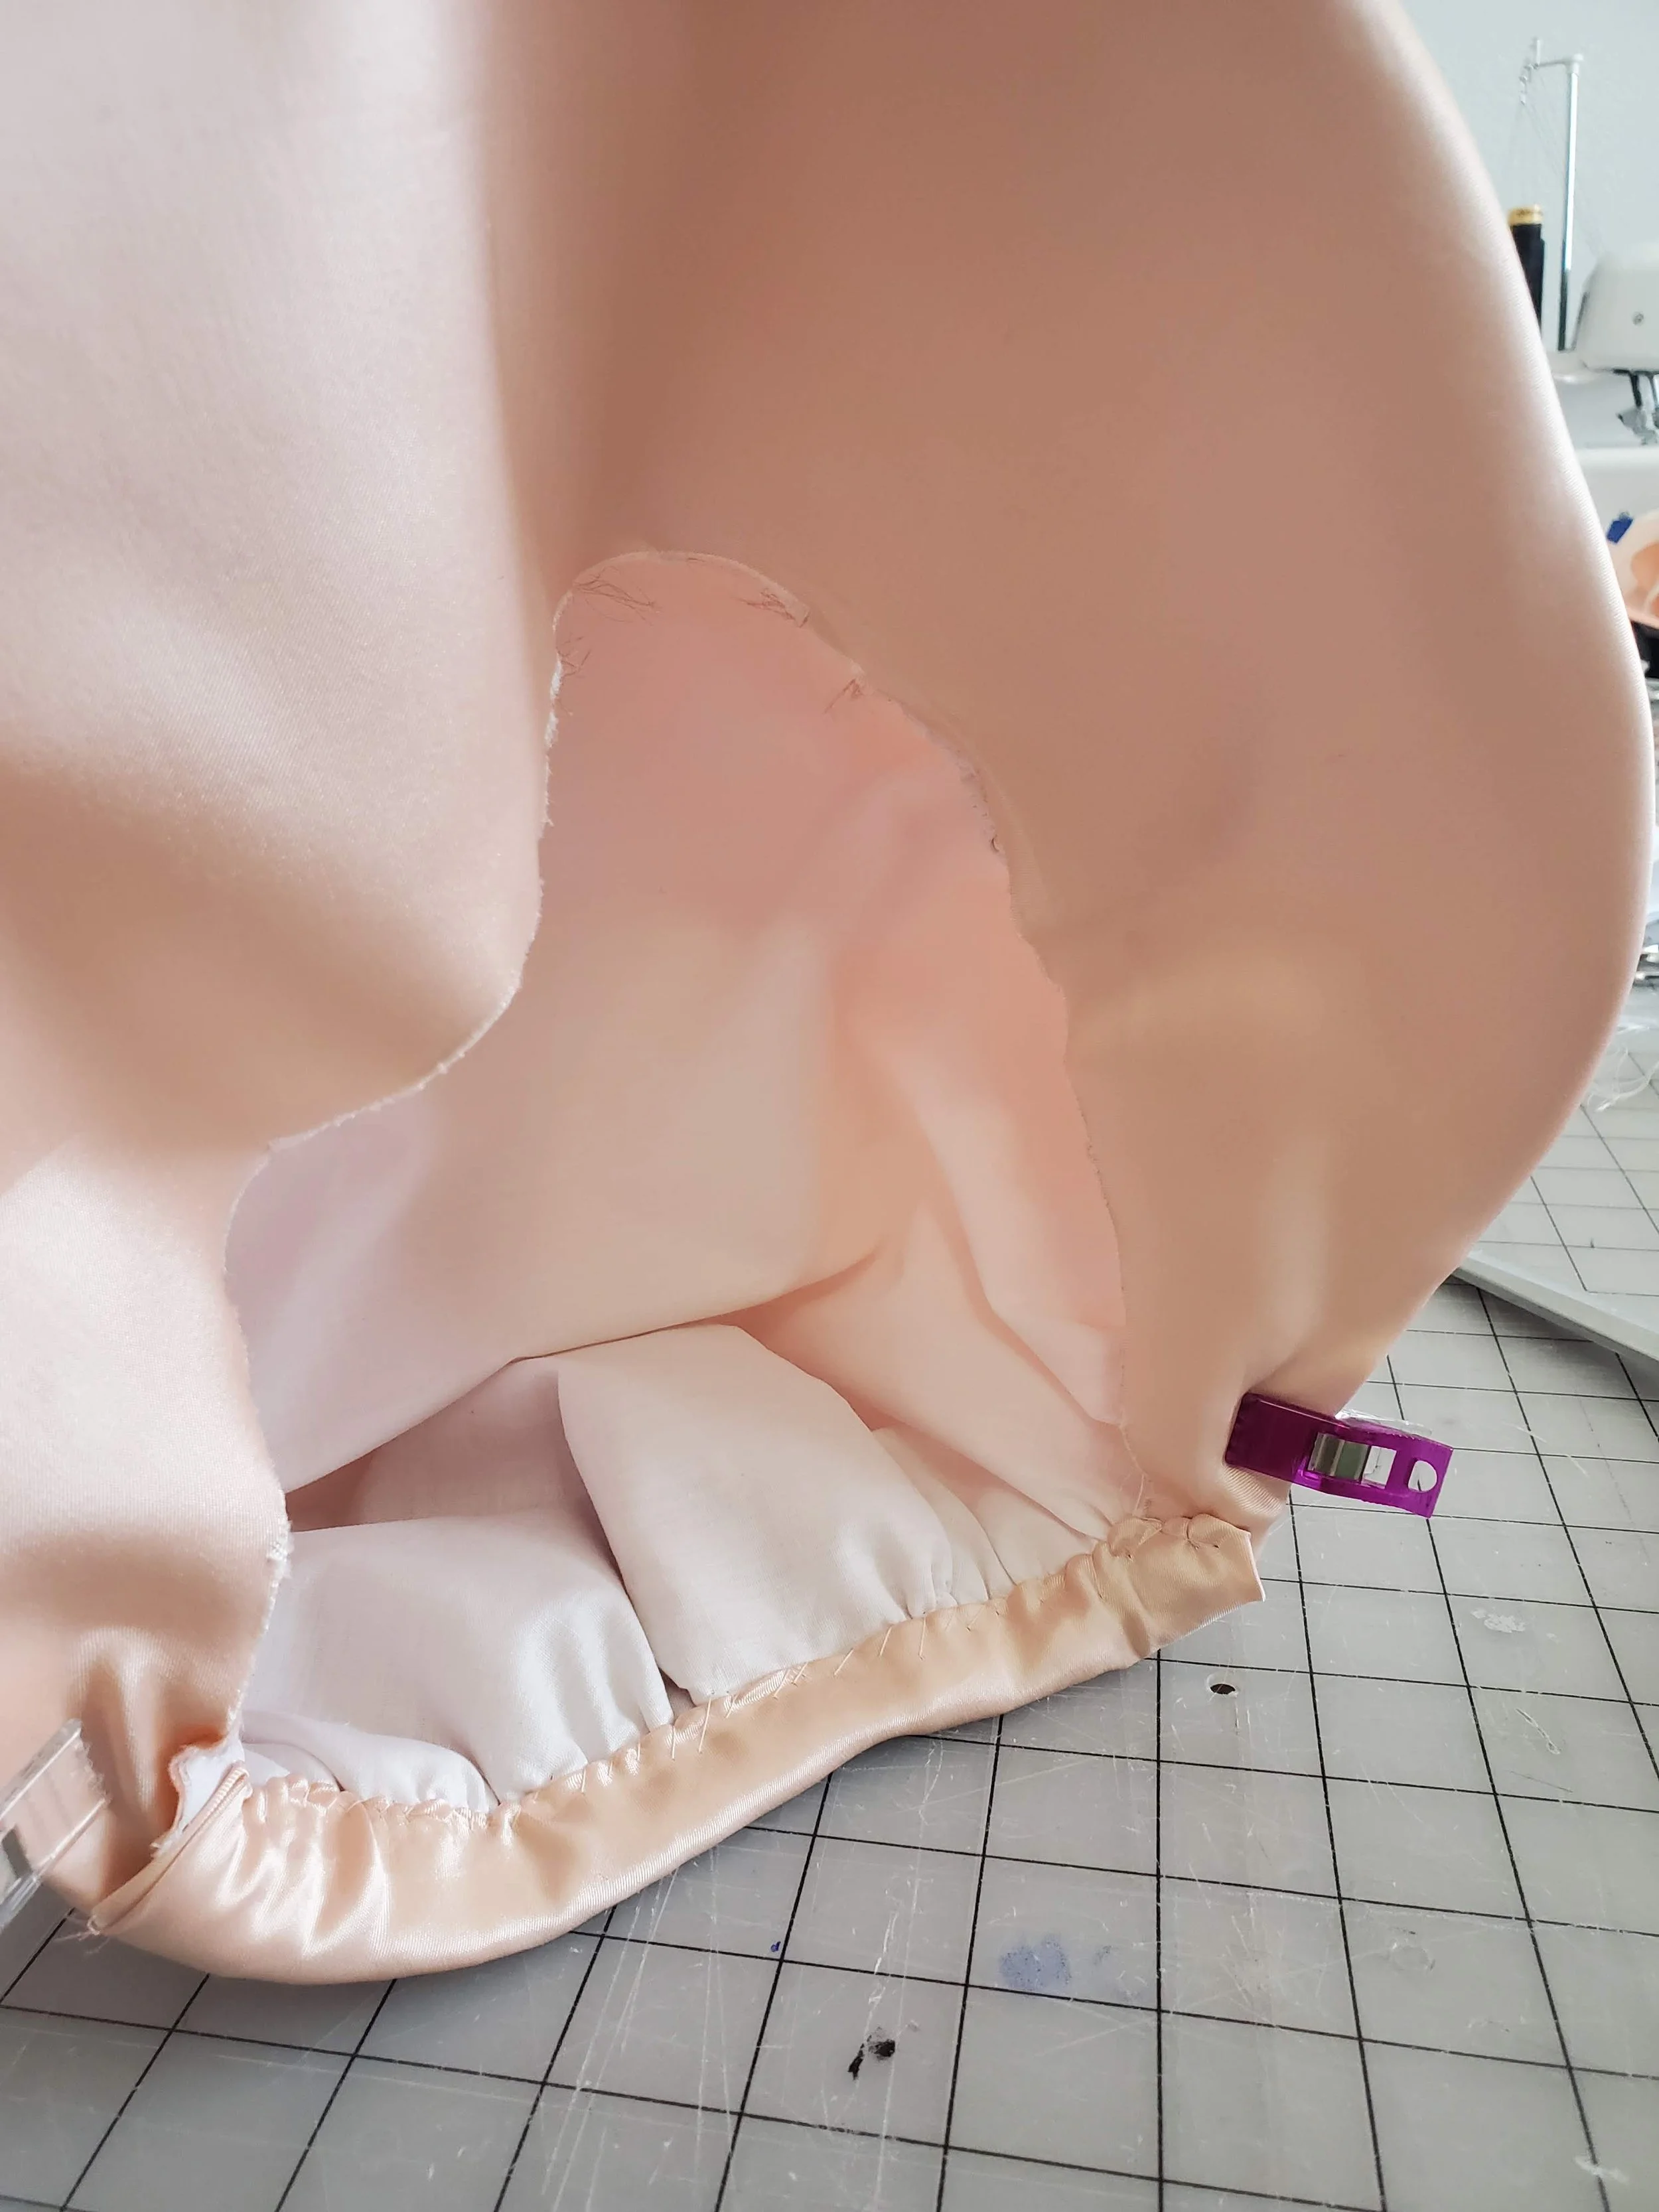
I then placed the (buckram) brim inside the fabric croissant. I lined up the seam with the outside edge of the piece and used wonder clips to hold it taut. I then turned under the excess of the top fabric into the buckram piece, further securing it with wonder clips. The lining was left free at the point, because it will be secured later.

The top fabric of the brim was secured to the buckram piece by hand from the inside (buckram side) of the brim.

Now that the brim was done I turned my attention to the crown. Two lines of gathering stitches were sewn along the perimeter of the circle. These stitches secured all three layers, the pink satin, tarlatan interlining, and muslin lining together. They will now be treated as a single unit.

I pulled the gathering stitch to a length predetermined by the pattern.

I then folded the crown into the brim piece and whipped stitched it down by hand. I worked from the the center front of the brim outwards. this secured the crown to the brim and hid the gathering stitches in the crown at the same time.

Here is how the bonnet looked from the outside once that step was completed. Note the lining of the brim is still loose, that will be taken care of shortly.

The final step to complete before the lining could be taken care of was to bind the part of the crown that was not covered by the brim. I just used a bias cut 3” wide strip of the fabric for that. I sewed it with a 1/2” seam allowance, turned in under and over, and finished it will whip stitches from the inside of the crown.
Here is how the back of the bonnet looked once that step was completed. Before you bind the back of the bonnet this is your chance to try it on and make any last minute adjustments needed, by pulling the gathering threads tauter/looser to adjust the sizing of the bonnet.

Now I can finally tack down the lining. I used wonder clips to position and secure the satin seam with the edge of the buckram. I then pulled the lining taut, turned it under and secured it with pins to cover the joint where the crown and the brim meet. I sewed it down by hand using whip stitches.

Now that the bonnet was constructed it was time to trim it! The problem is that I had no fabric left. I managed to scrap together a 6” wide strip that was look enough to around the brim with some excess to play with. The strip was sewn using a 1/4” seam allowance a turned right sides out.

I then placed my strip onto my bonnet and made four box pleats. I then tacked those pleats down, trying to hid the stitches as much as possible.

I then folded up the ends of the pleat and tacked them down, here is how the bonnet looked once that was completed. I didn’t add ties to this bonnet because 1. I didn't have enough fabric and 2. because this bonnet stayed on just fine without it. Ties or no ties are your choice and both choices are historically appropriate.