
1770s “Augusta” Stays
stays are worn over a linen chemsie and a dilken petticoat

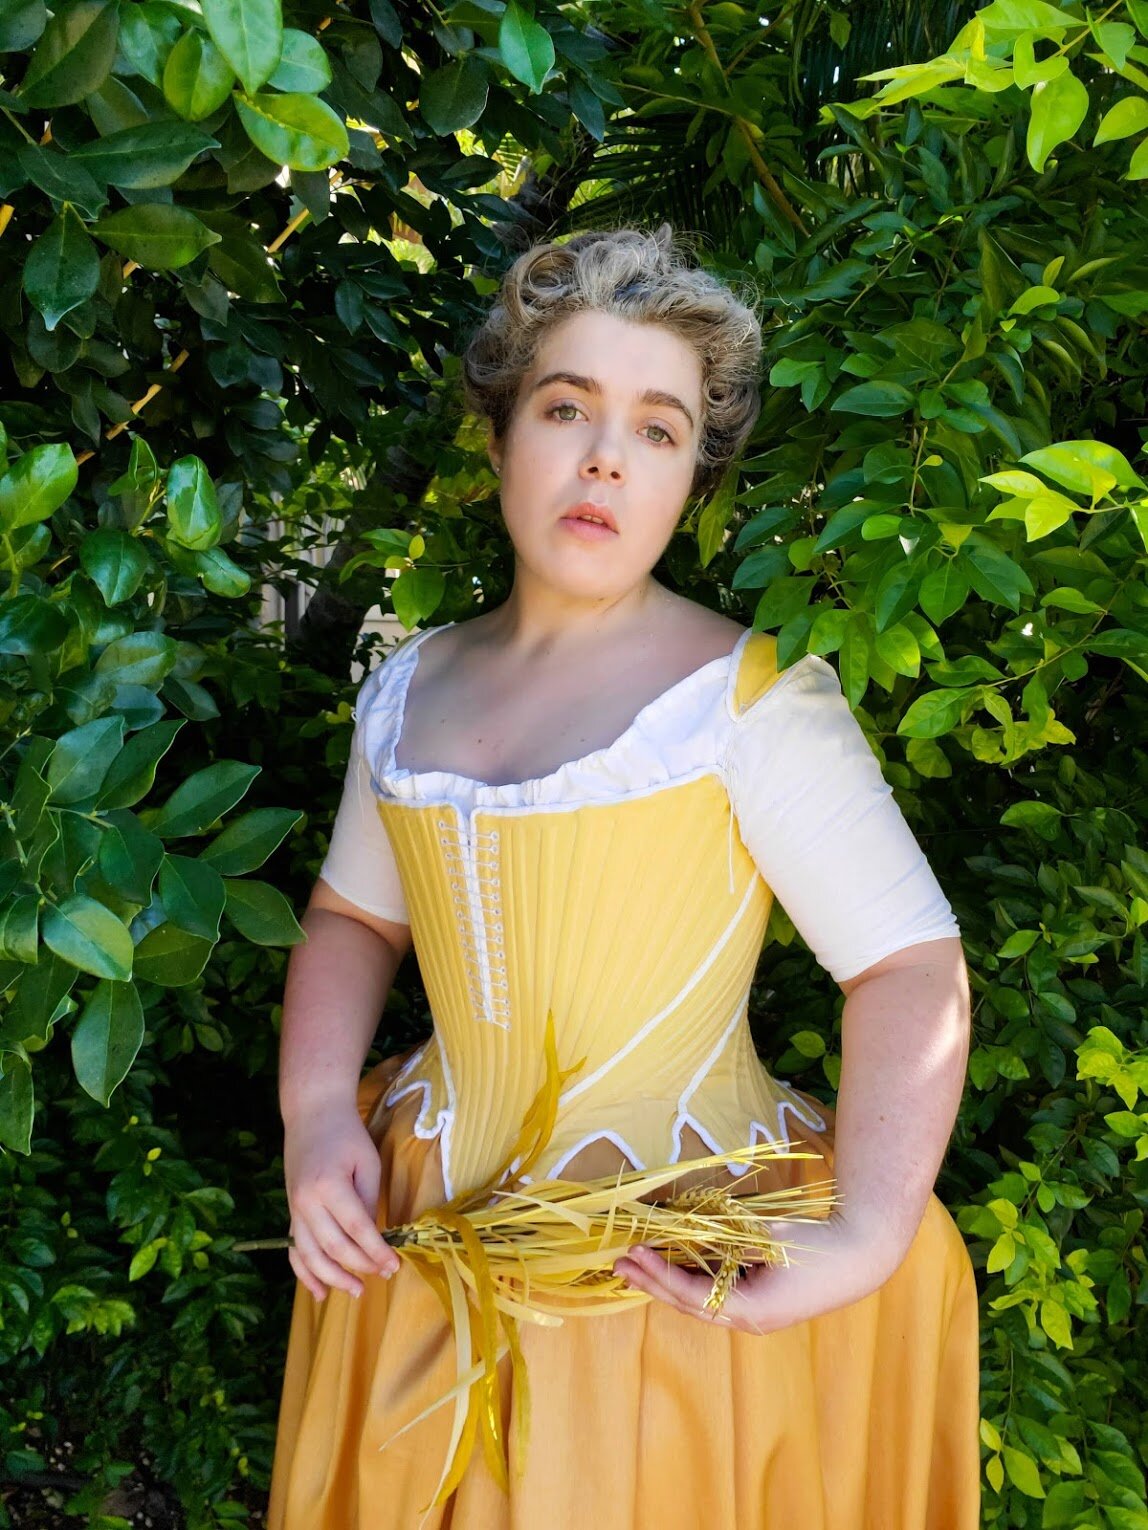
Inspiration - Extant example (5)
My first pair of stays were made from one of American Duchess's first Simplicity patterns and I used many videos from American Duchess Youtube channel primarily this one to make it more historically accurate. The changes I made to the pattern is that I omitted the front lacing and made it lace just in the back, I hand sewed the eyelets, bound the stays before adding the lining, eliminated the straps and used tapes instead as shown in the video, and I fully boned it in synthetic whalebone. I am still very proud of those pairs of stays, and they give me a great shape because I boned them in synthetic whalebone which with wear has molded to my body. The reason I deiced to make myself another pair of stays even though I was pleased with my original pair is that they close entirely in the back, meaning they are a bit too big. My journey into 18th century stays began once again.
The pattern I went with was Scoop Pattern's "Augusta" 1775-1789 Stays. This is a relatively new pattern, but the pattern photos blew me away; they looked so flattering on such a variety of body shapes. The pattern has two different patterns you can cut out as well as two methods of construction. The two different patterns are meant for different body types; one is a "curvy" cut meant for a body that compresses easily and a "straight" cut meant for body shapes that have less a dramatic ratio when compressed. I chose to cut the "straight" cut because of how my body compresses in foundation wear. The two methods of construction are theatrical and historical. I chose to do a combination of the two. I machine stitched the boning channels and pieces together but used historical finishing techniques, which you will read more about later on in this post. I made a mockup of the pattern as the fit was great is the waist but a little too big in the bust area, so I subtracted 1/4 from every seam (save center front and center back) tapering to nothing at the waist. Another change that I made was subtracting 3/4 inch from each strap. Overall there was little alliterations I had make to the pattern. Now that the mockup was over, I was able to move onto the real deal.
My inspiration for the pair of stays was this pair of stays currently held at the Museu del disseny Barcelona. I used a Kaufman Linen Blend in "Buttercup" instead of the silk damask used in the original as well as coutil as a strength layer. I also drew a lot of inspiration from the test makers for this pattern, as well.
The first step was to cut out both the strength layer (the coutil), paying attention to grainline, and marking on the boning channels. This pattern has 5/8 inch seam allowances, which were also marked on the fabric during this step. Then the strength layer was placed on the fashion layer (the linen) was cut roughly around it, a trick I learned from watching Anglea Clayton. The next step was that all boning channels were sewn in contrasting white thread. After the boning channels were sewn, I cut the fashion layer down to their proper size.

Here is the strength layer with the boning channels marked laying over the linen fashion layer
The reason that the fashion layer was not cut out precisely beforehand is that is was much easier when sewing the boning channels, not having to worry about making the layers line up perfectly in the process. The pieces were then sewn together, and the seams were then ironed open. Then I boned the stays using synthetic whalebone, filing the edges round before inserting them into the channels. After the stays were boned, which took forever, I basted along the upper and lower edges of the stays marked earlier with thread to assist in the binding process.

Insterting the boning filing each end using a nail file and tin snips

Here is how the stays look after insterting over 20 + yards of boning
This is when the historical techniques mentioned above come in. I used 6mm cotton twill tape and hand-stiched it over the seam lines for strength as well as aesthetic purposes. After placing these tapes, I was able to attach the straps. Then the next step was cutting the binding for which I used a linen fabric cut into 1.5-inch strips per the pattern's instructions and sewed them together until I had enough to go around all the edges of the stays. Then I used a 3/4 inch bias tape maker to form the stripe of linen into proper binding. When the binding was ready, I hand sewed it around the bottom of the stays, carefully working around all the curves of the taps. The tops edges, center backs edges, and center front edges were finished in a similar manner. After the binding was sewn down, the next and final step was to sew the eyelets, for which I used an awl to pierce the fabric and white buttonhole twist to sew the 30 eyelets. A cotton cord as used as laceing for the front, the back, and for attaching the straps to the front of the stays both lacing was done in the spiral lacing method.
Overall, I am very happy with this pair of stays, they fit well and I am very happy with they way they are finished, hand bound and line tape over the seam. A negative with stays was something that I should have payed more attention to in the mockup stage. The top of the stays under the arm should have been about a 1/2 inch shorter, for once bonded the bones poke into my underarm slightly when I sit down. The pain isn’t a consent issue, but sometimes it becomes uncomfortable and requires a change of position.