
Vintage Inspired Bishop Sleeve Blouse

I had just enough fabric left over from making my 1955 Plaid Skirt to make a matching blouse. I deicded to draft my own, bishop sleeve blouse, a very popular style from 1930s-1950s. For those interested in flat pattern drafting I HIGHLY recommend TheClosetHistorian on YouTube as she has many excellent tutorials many of which lend more vintage in terms of the items being drafted. I will not go into the process of drafting the basic bodice block my I will attempt to show you how to draft a bishop sleeve.

I started with my basic sleeve draft then went from there. I drew two vertical lines, one from the shoulder point and another from the back notch. Where the former line met the bottom of the sleeve was marked D. I then measured 3” away from that point then connected that point with the top of the sleeve (highlighted red portion).

I then slashed the left line (with the point D) and spread it until there was a 3” gap (highlighted red portion). I then taped some pattern paper in to fill this gap.

I then repeated the same process with the left side of the sleeve. I marked a line from the front notch to the bottom of the sleeve (marked E) and extended that 3” away (highlighted red portion).

I then slashed and spread that line till there was a 3” gap (highlighted red portion) and taped in some more pattern paper.

I then marked 1.5” away from point E and curved the bottom of the sleeve around this point. I then taped on some pattern paper to the bottom of the sleeve and extended it by 3/4”. (highlighted red portion) I personally drafted by sleeve with seam allowance already included but if you did not remember to add it at this point.

I then drafted the cuffs. Mine where 11” long, 9” of actually length, 1” overlap on both ends, and 1/2” seam allowance. To figure out how long you need to make your cuffs, take a measuring tape around your hand in the nock of your thumb. I also curved the edges of my cuffs.

The cuff itself is 4” wide which folds into a cuff that is 2” wide. Make sure to add seam allowance at this point like I had to do.

The first thing to do was to cut out my pieces and interface (*) them:
front piece
back piece
back facing *
two sleeve pieces
two cuff pieces *
back neck facing*
front neck facing *

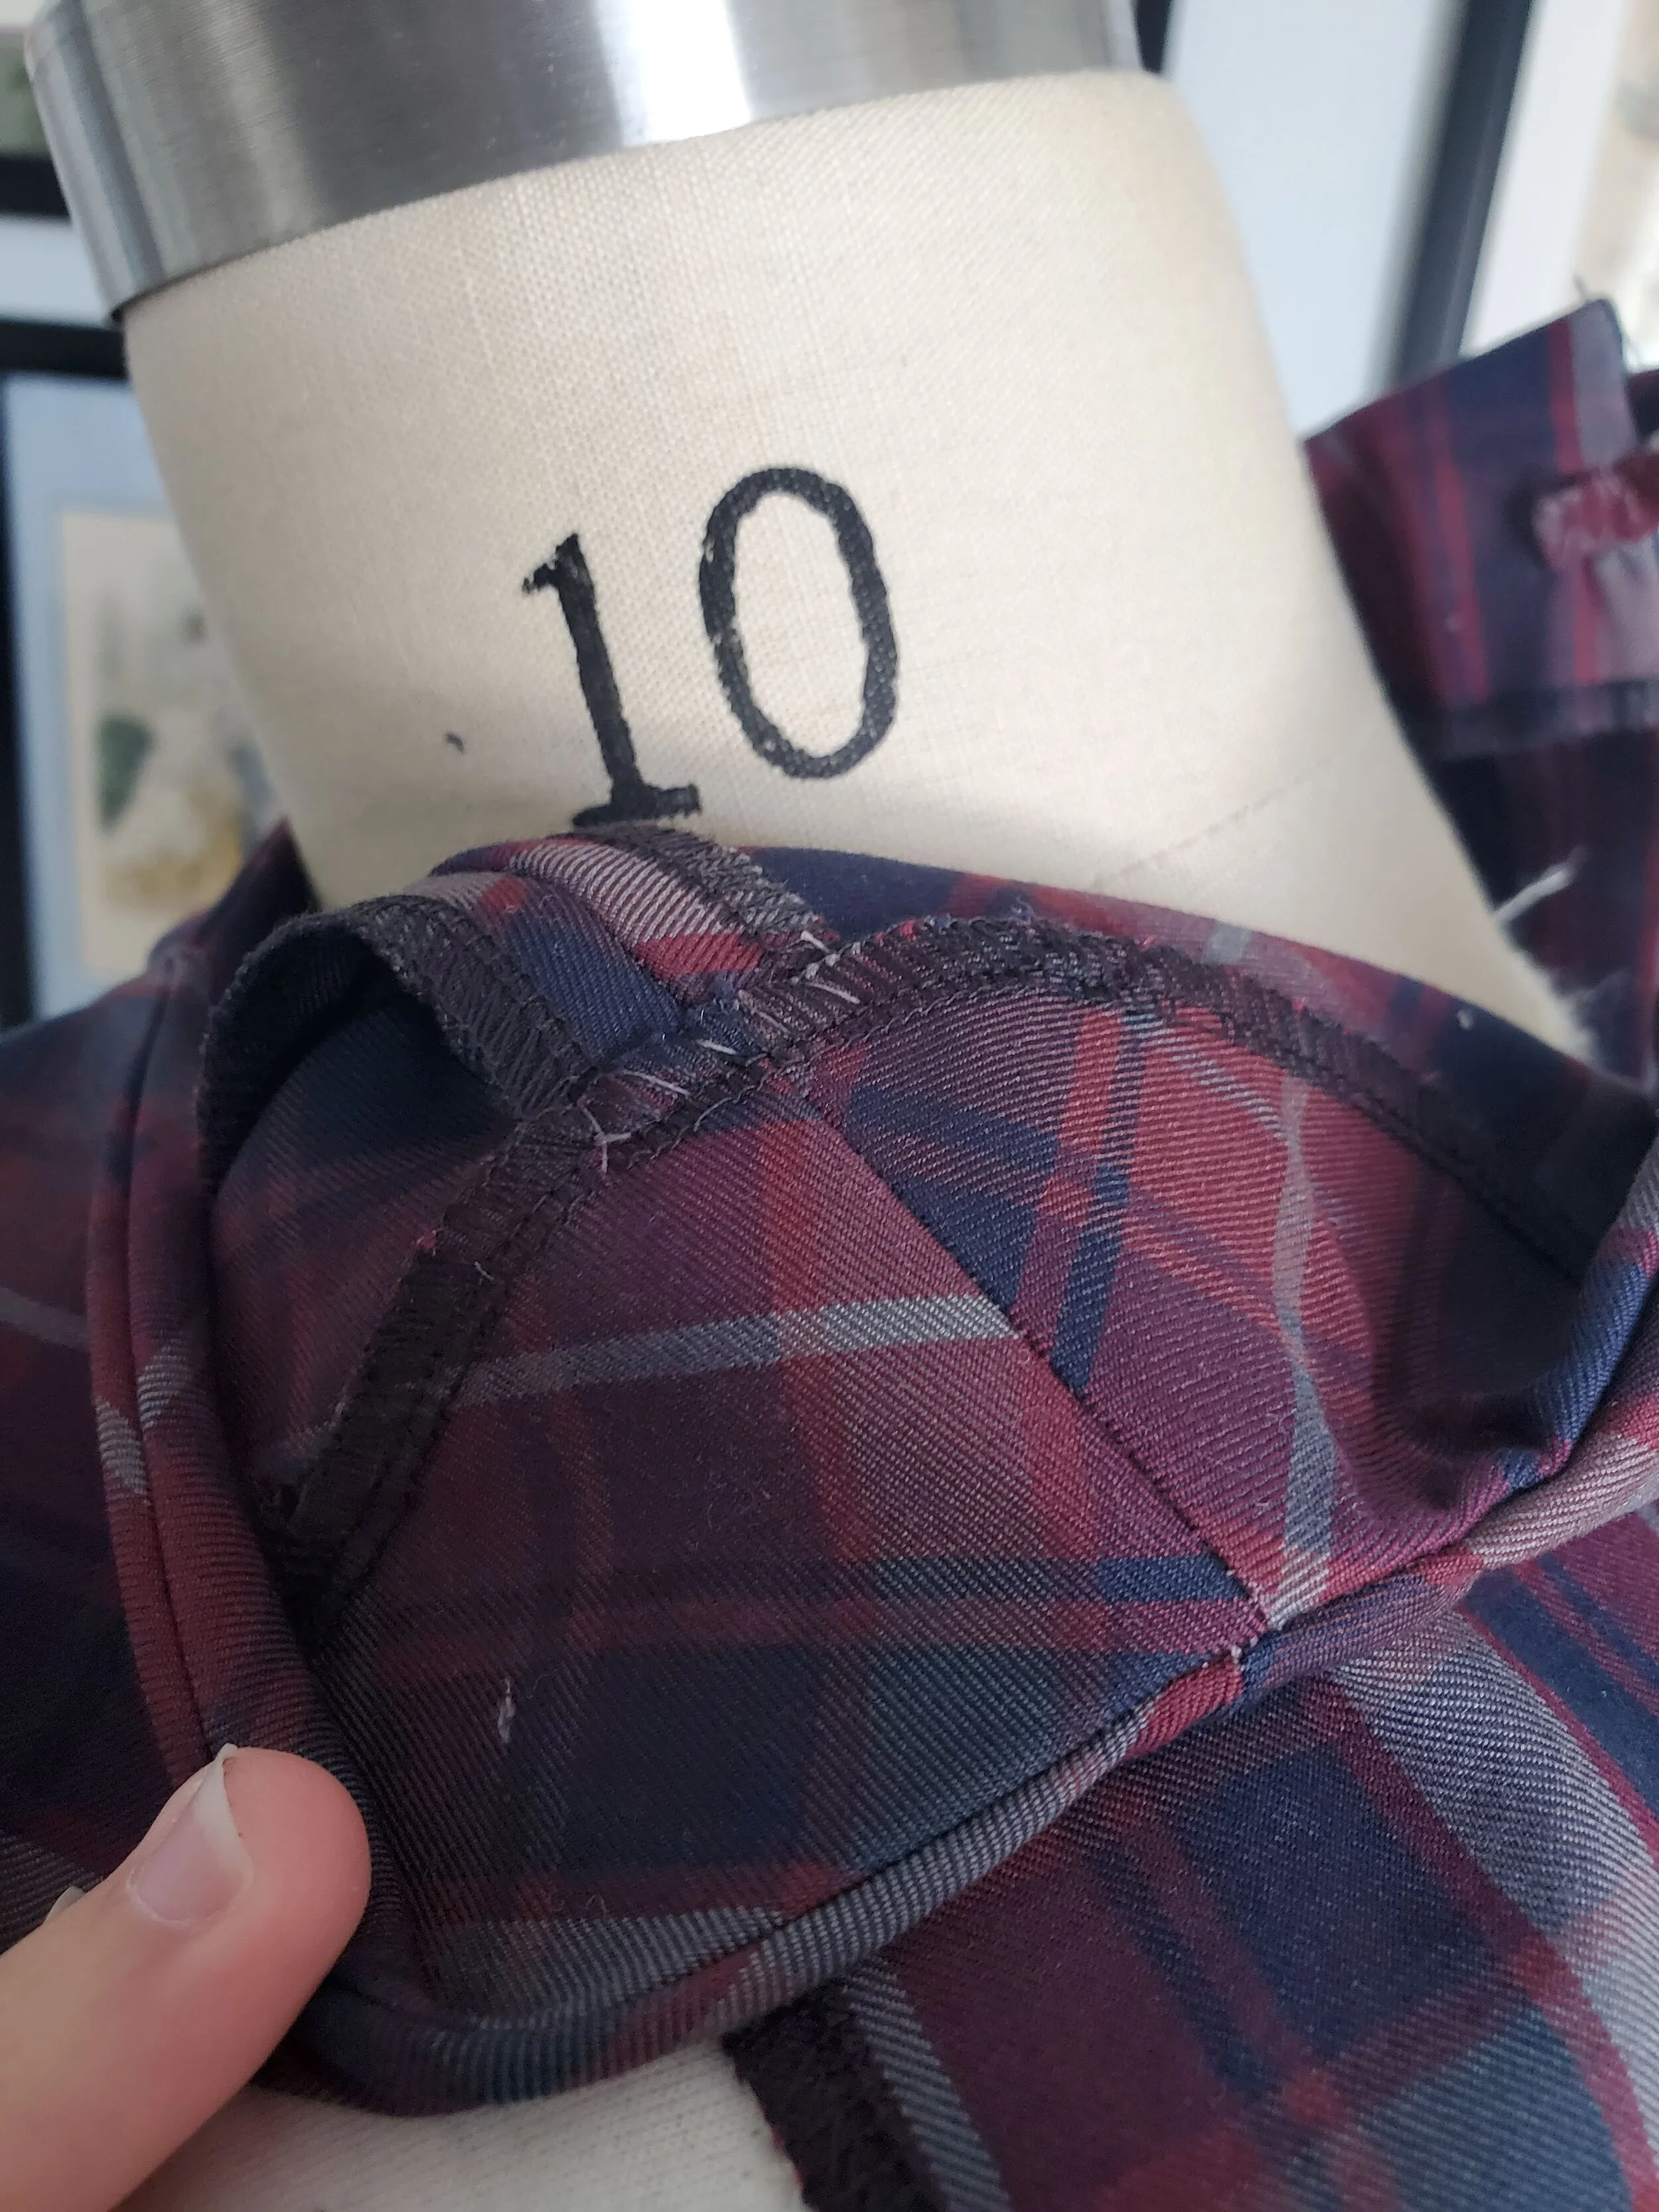
The first step, after serging all the pieces, was to sew together the shoulder seams with a 1/2” seam allowance.

After sewing together the front and back neck facings at the shoulder seam, I pinned then onto the bodice right sides together. I then pinned the back facing on to centered over the center back seam. I then sewed the facing uisng a 1/2” seam allowance and sewed the center back opening narrowing until I met the end of that white chalk line. The opening was then cut and the facing ironed inwards.

I then sewed a fabric loop to one side of the top of the center back opening.
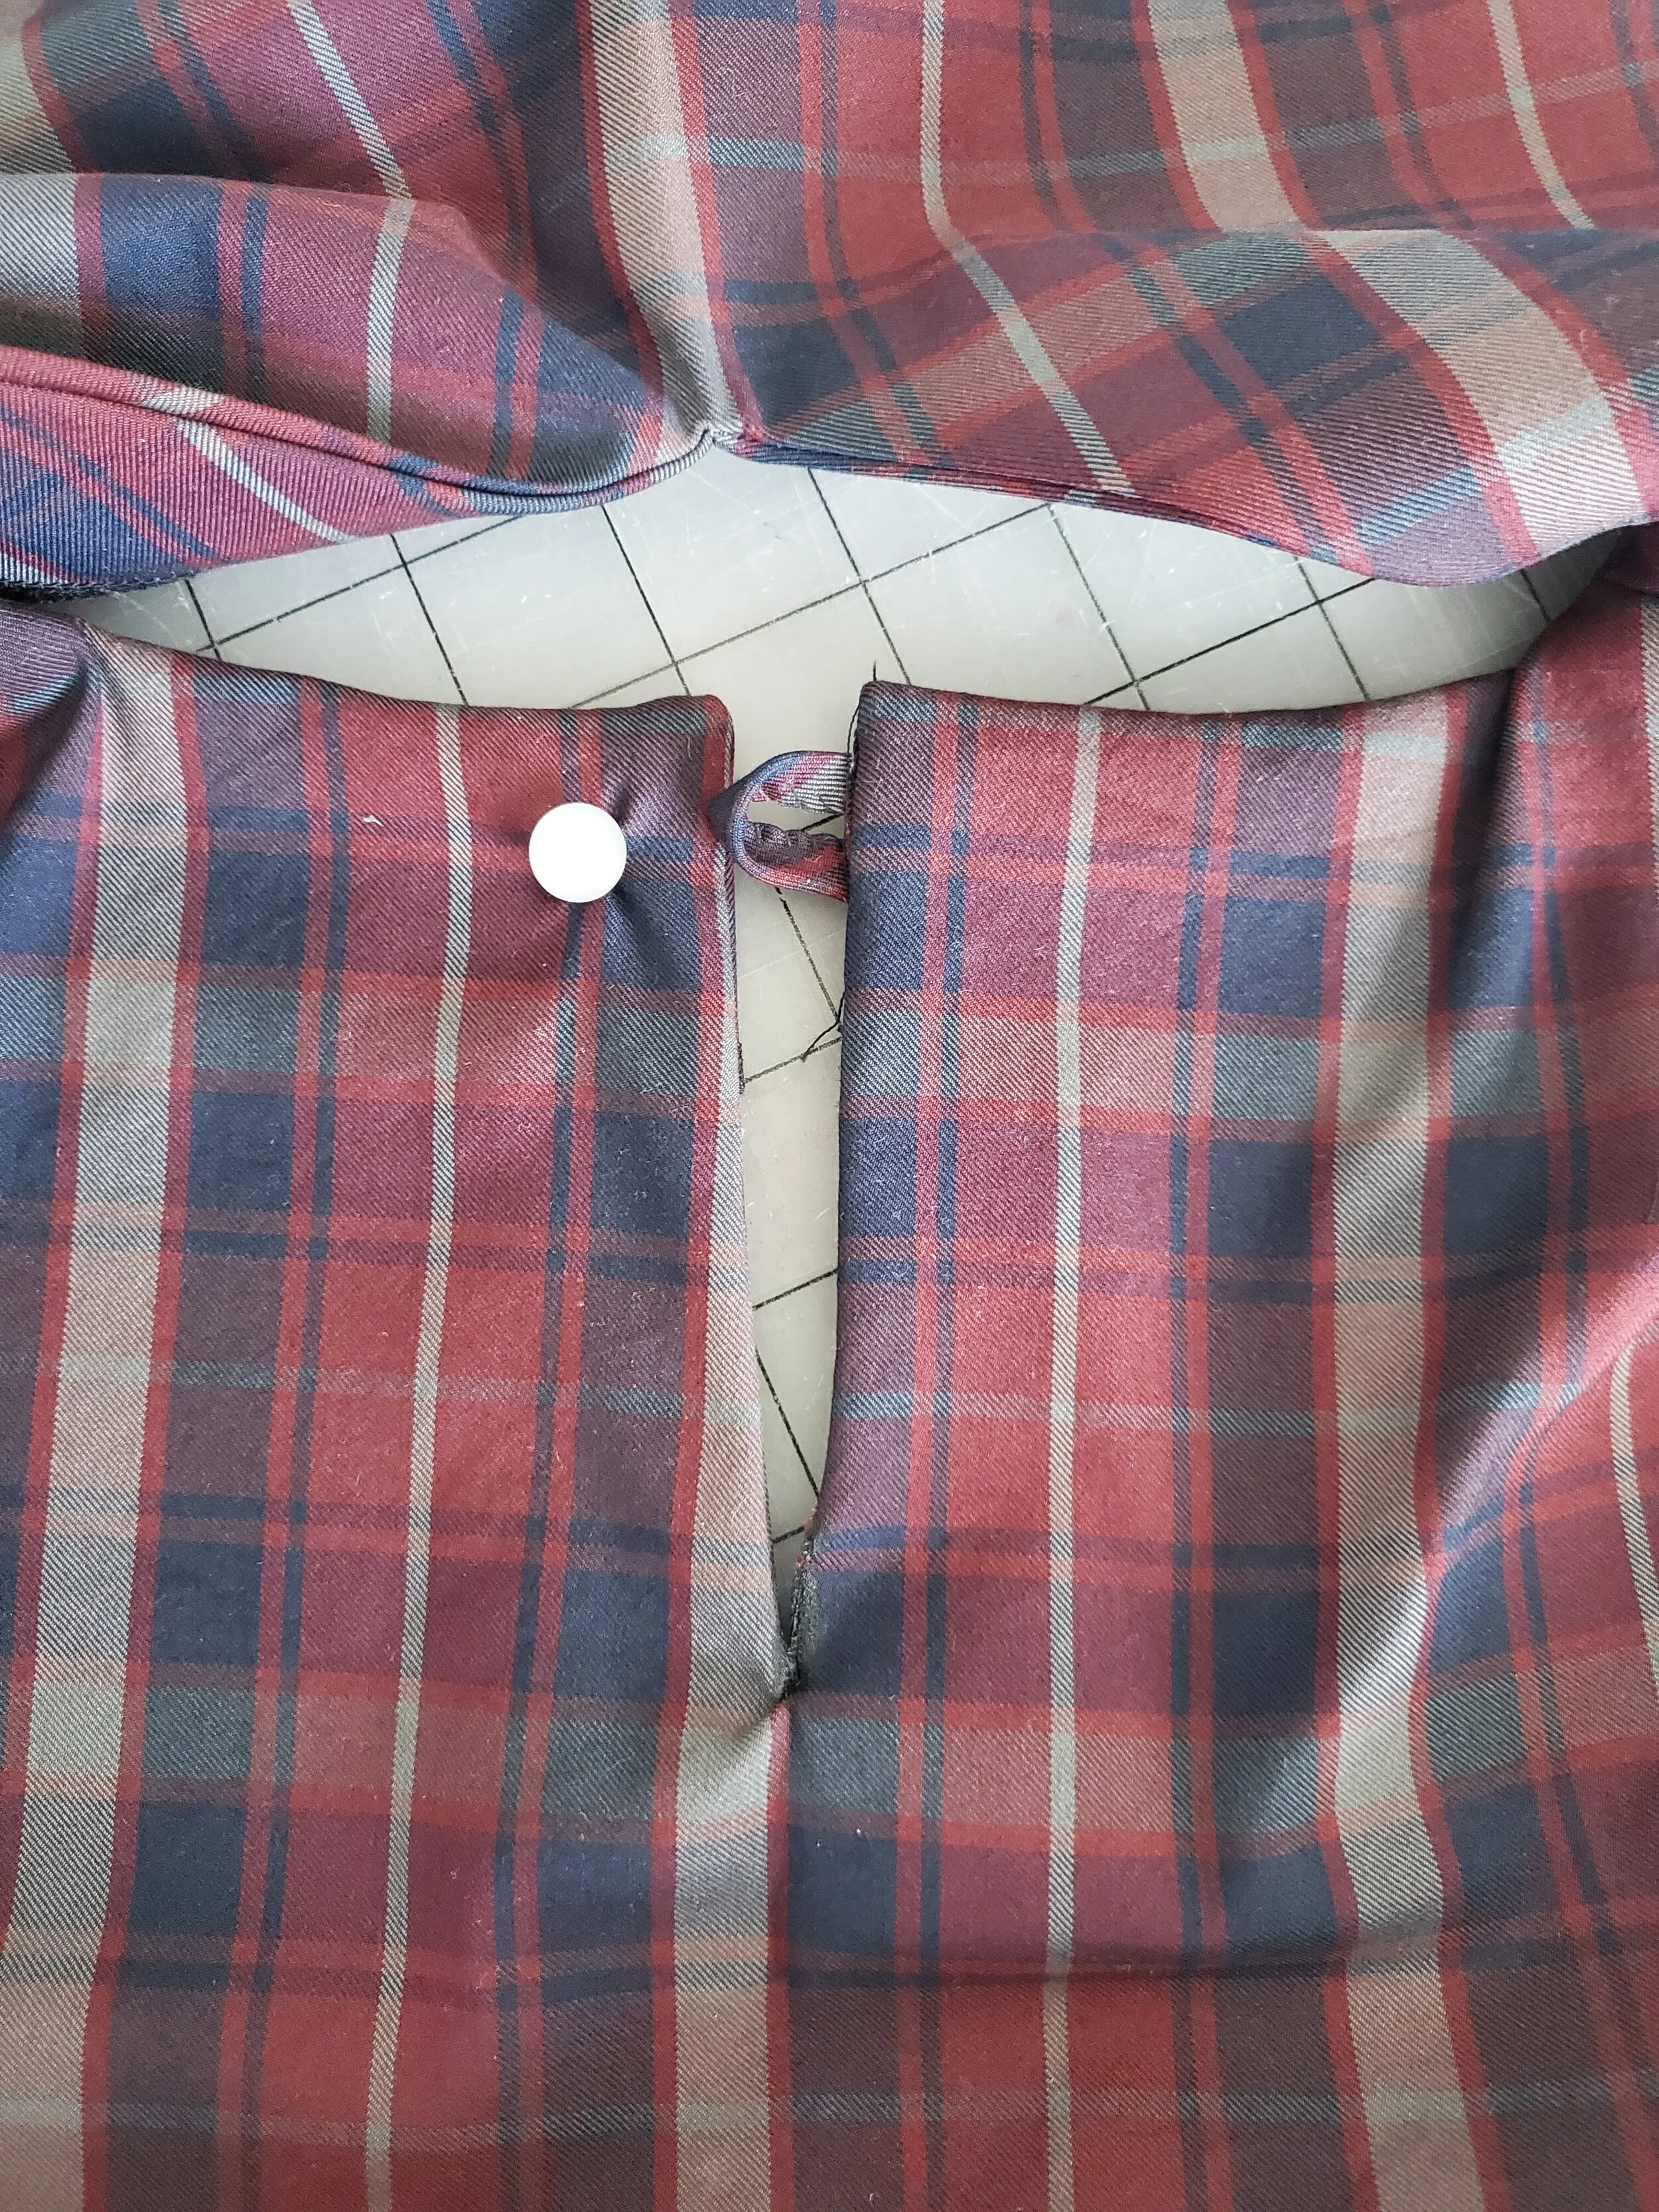
I then sewed a pearl button to the other side of the center back opening.
I then tacked down the facing at the two shoulder seams.

I then marked and sewed the two front and the two back darts.

I then sewed the side seams with a 1/2” seam allowance.

I then turned under the bottom of the blouse by 1/2” then 1/2” again and sewed the hem by machine. Since I never plan to wear this blouse anything but tucked in, the visible machine stitiching doesn’t bother me.

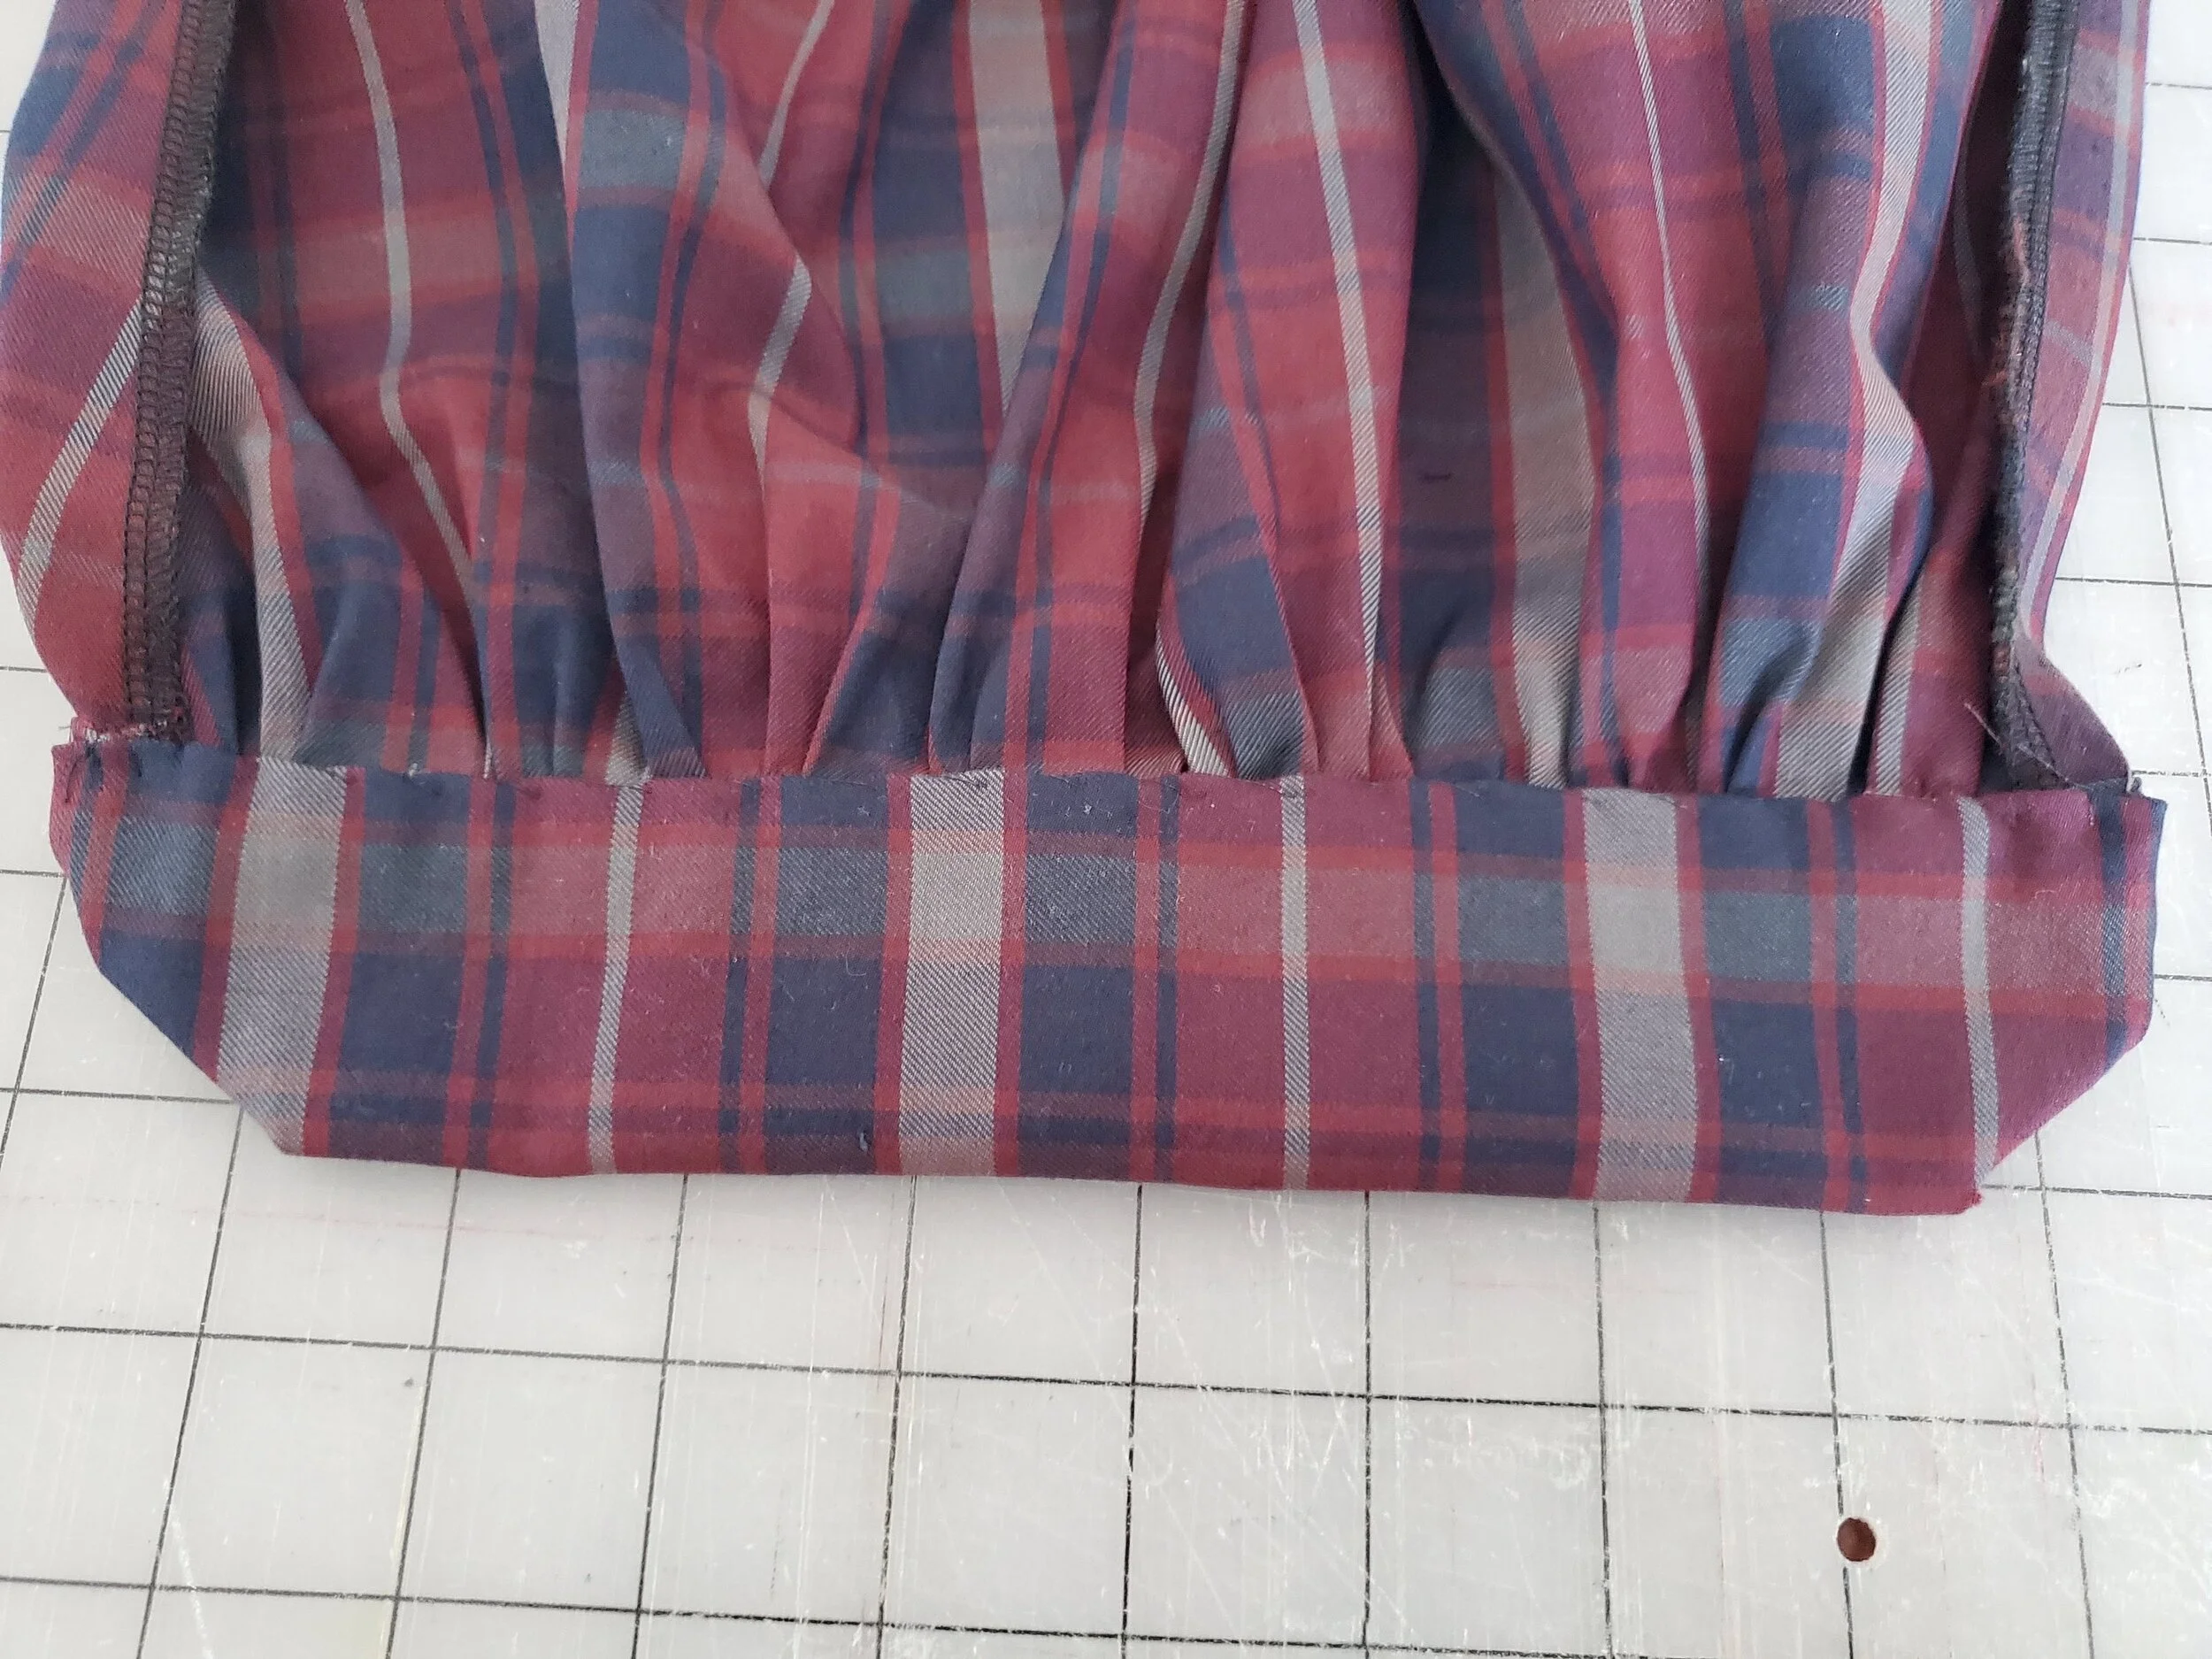
I then turned by attention to the sleeves. I gathered the bottom of the sleeves by machine using two rows of gathering threads.

I then pinned and sewed the sleeves to the cuff.

I then sewed the ends of the cuff, right sides togther tunred the cuff inside out and pressed.
I then finished the interior of the cuff by hand using whop stitches.

I then sewed the undersea, seam stopping 3” away from the cuff and ironed the seam open. (I didn’t need to tack the opening down because it stayed put because of how it was attached to the cuff).

I then pinned and sewed the sleeves to the blouse matching underseam and shoulder seams and gathering the rest to fit.

I then made a handsewn button hole on one end and attached a pearl button to the other on both cuffs.