
1949 “Mt. Fugi” Dress

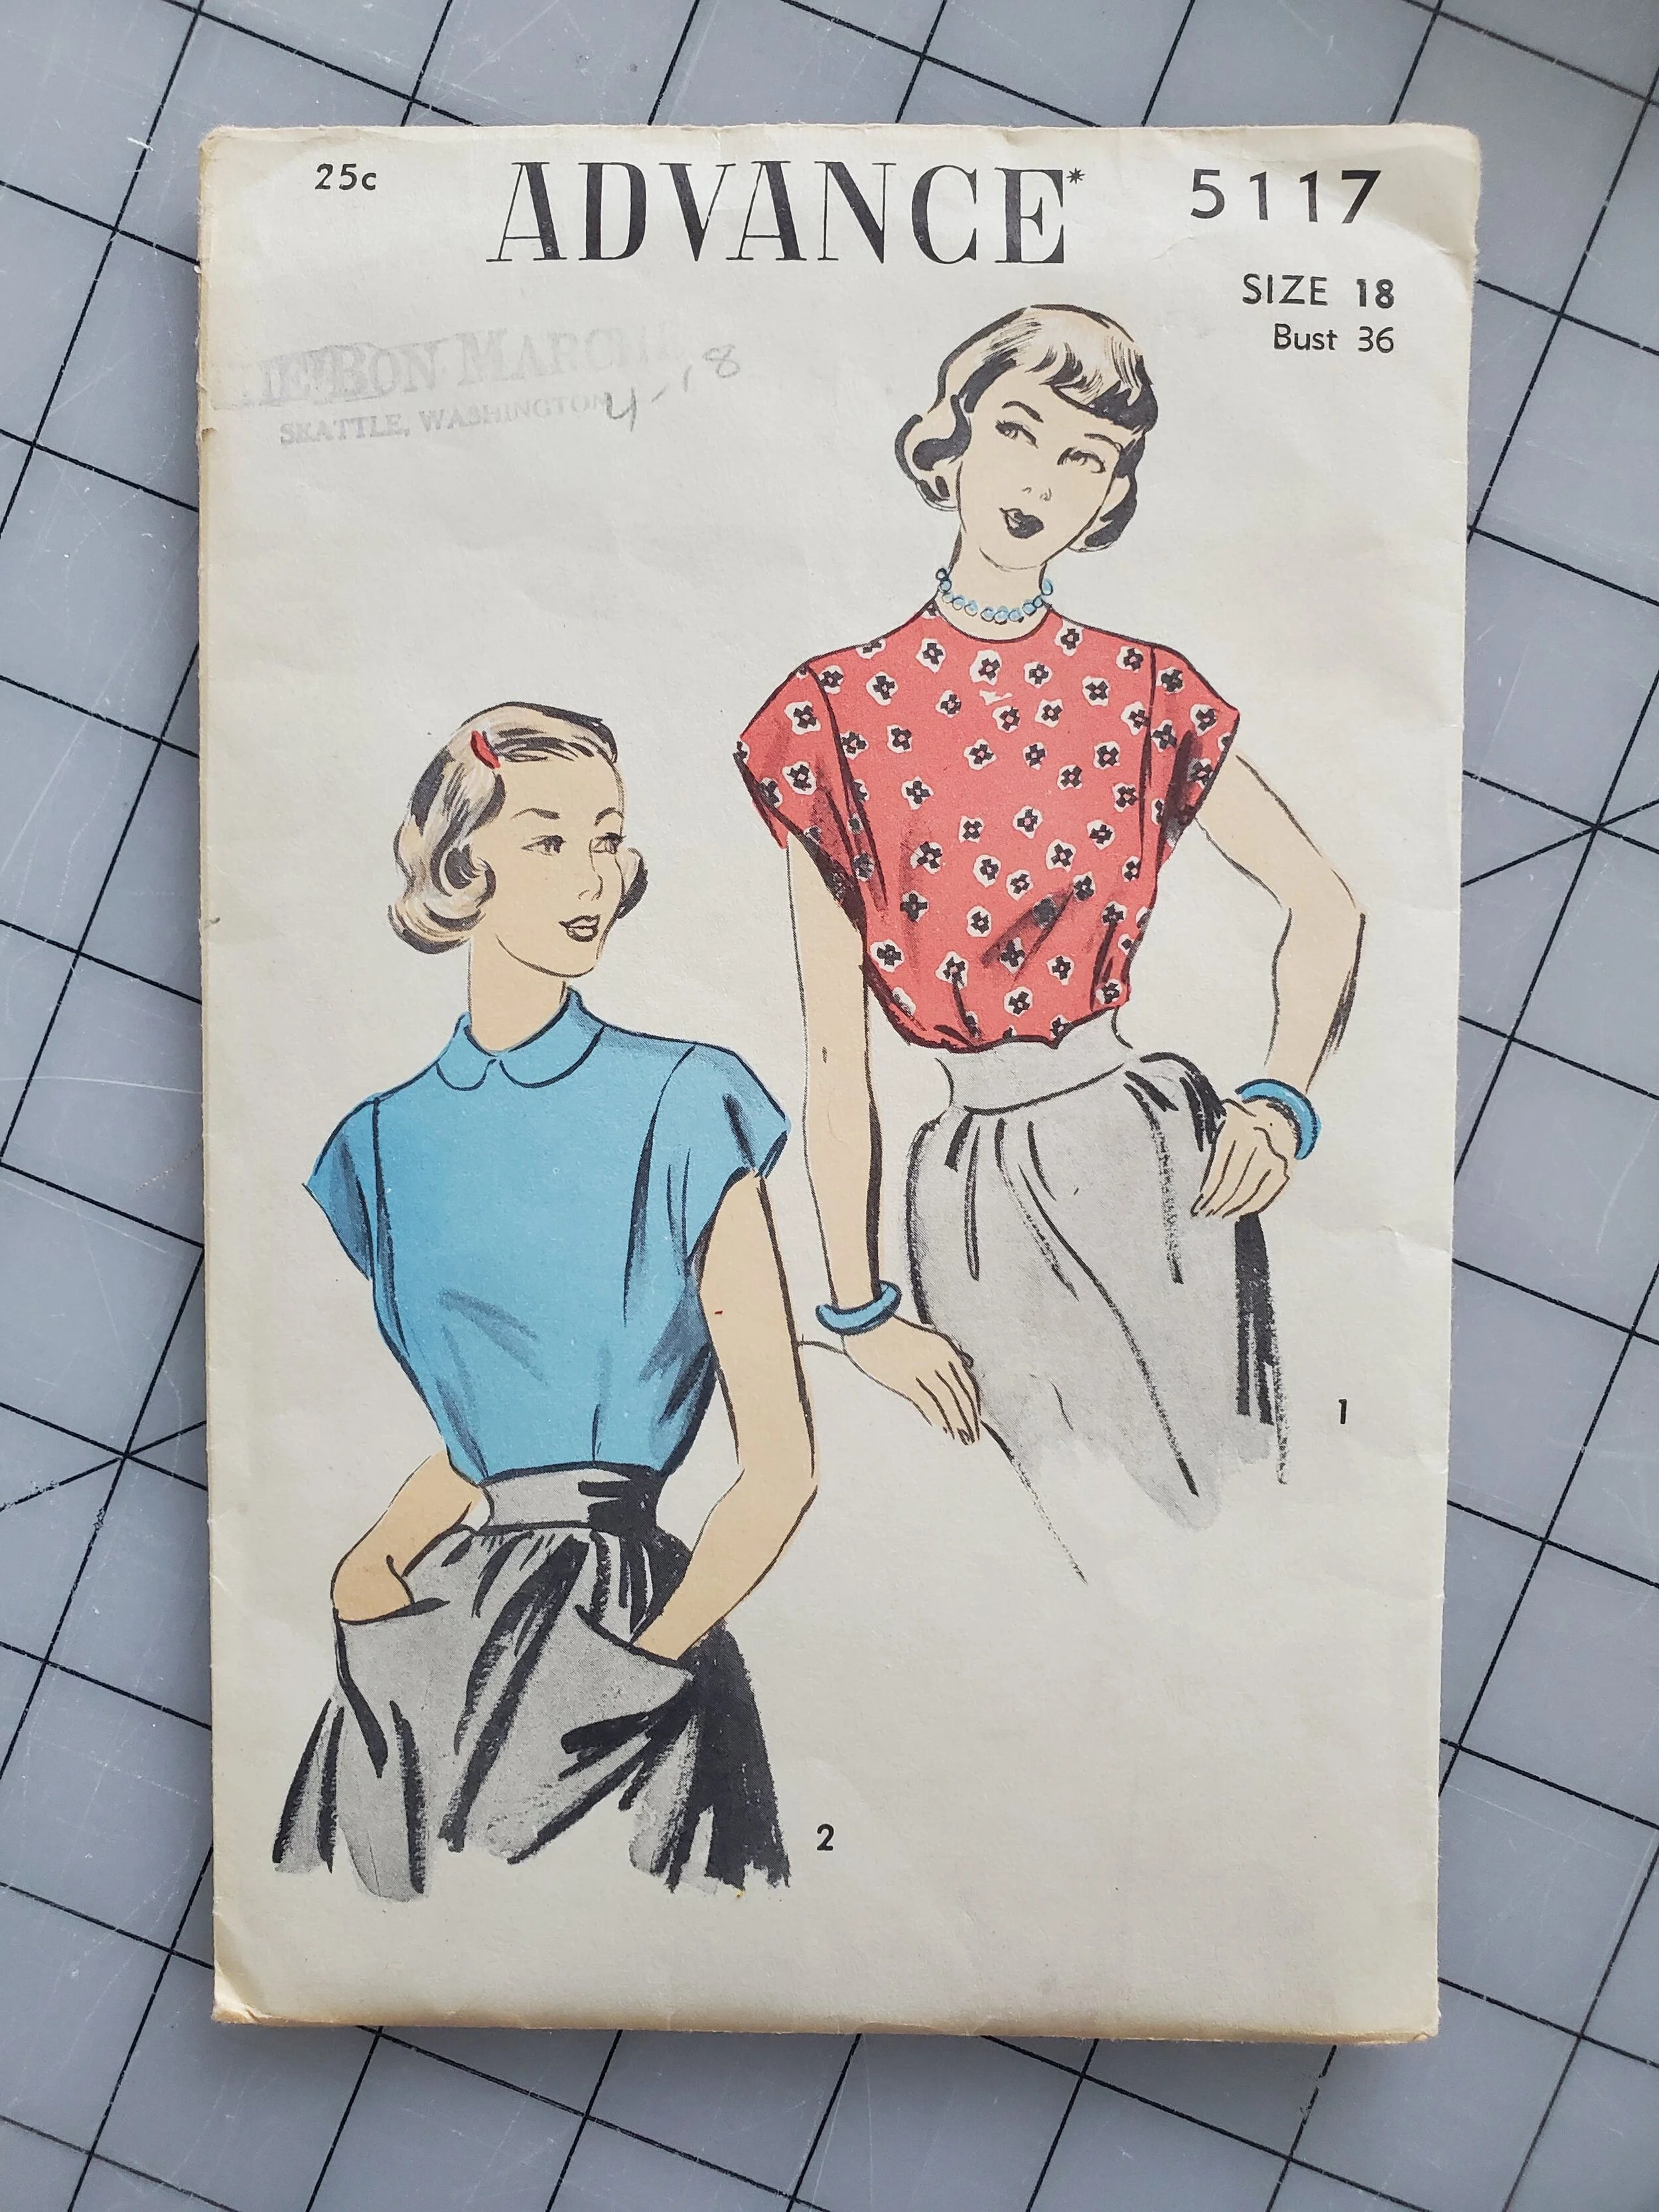
Now I throughly enjoy my blouse I made from this 1949 pattern, making of process can be found here. It has kimono “sleeves” and a peter pan collar. I found myself thinking when I out on said blouse that it would make a really cute dress if I just extended the lines of the blouse to the floor, which is prescisely what I did. The pattern I used in an Advance vintage pattern from 1949, number 5117. The fabric I used is a Japanese linen cotton blend with a graphic of Mt. Fugi which has been in my stash since January. (here is a similar one I found online).
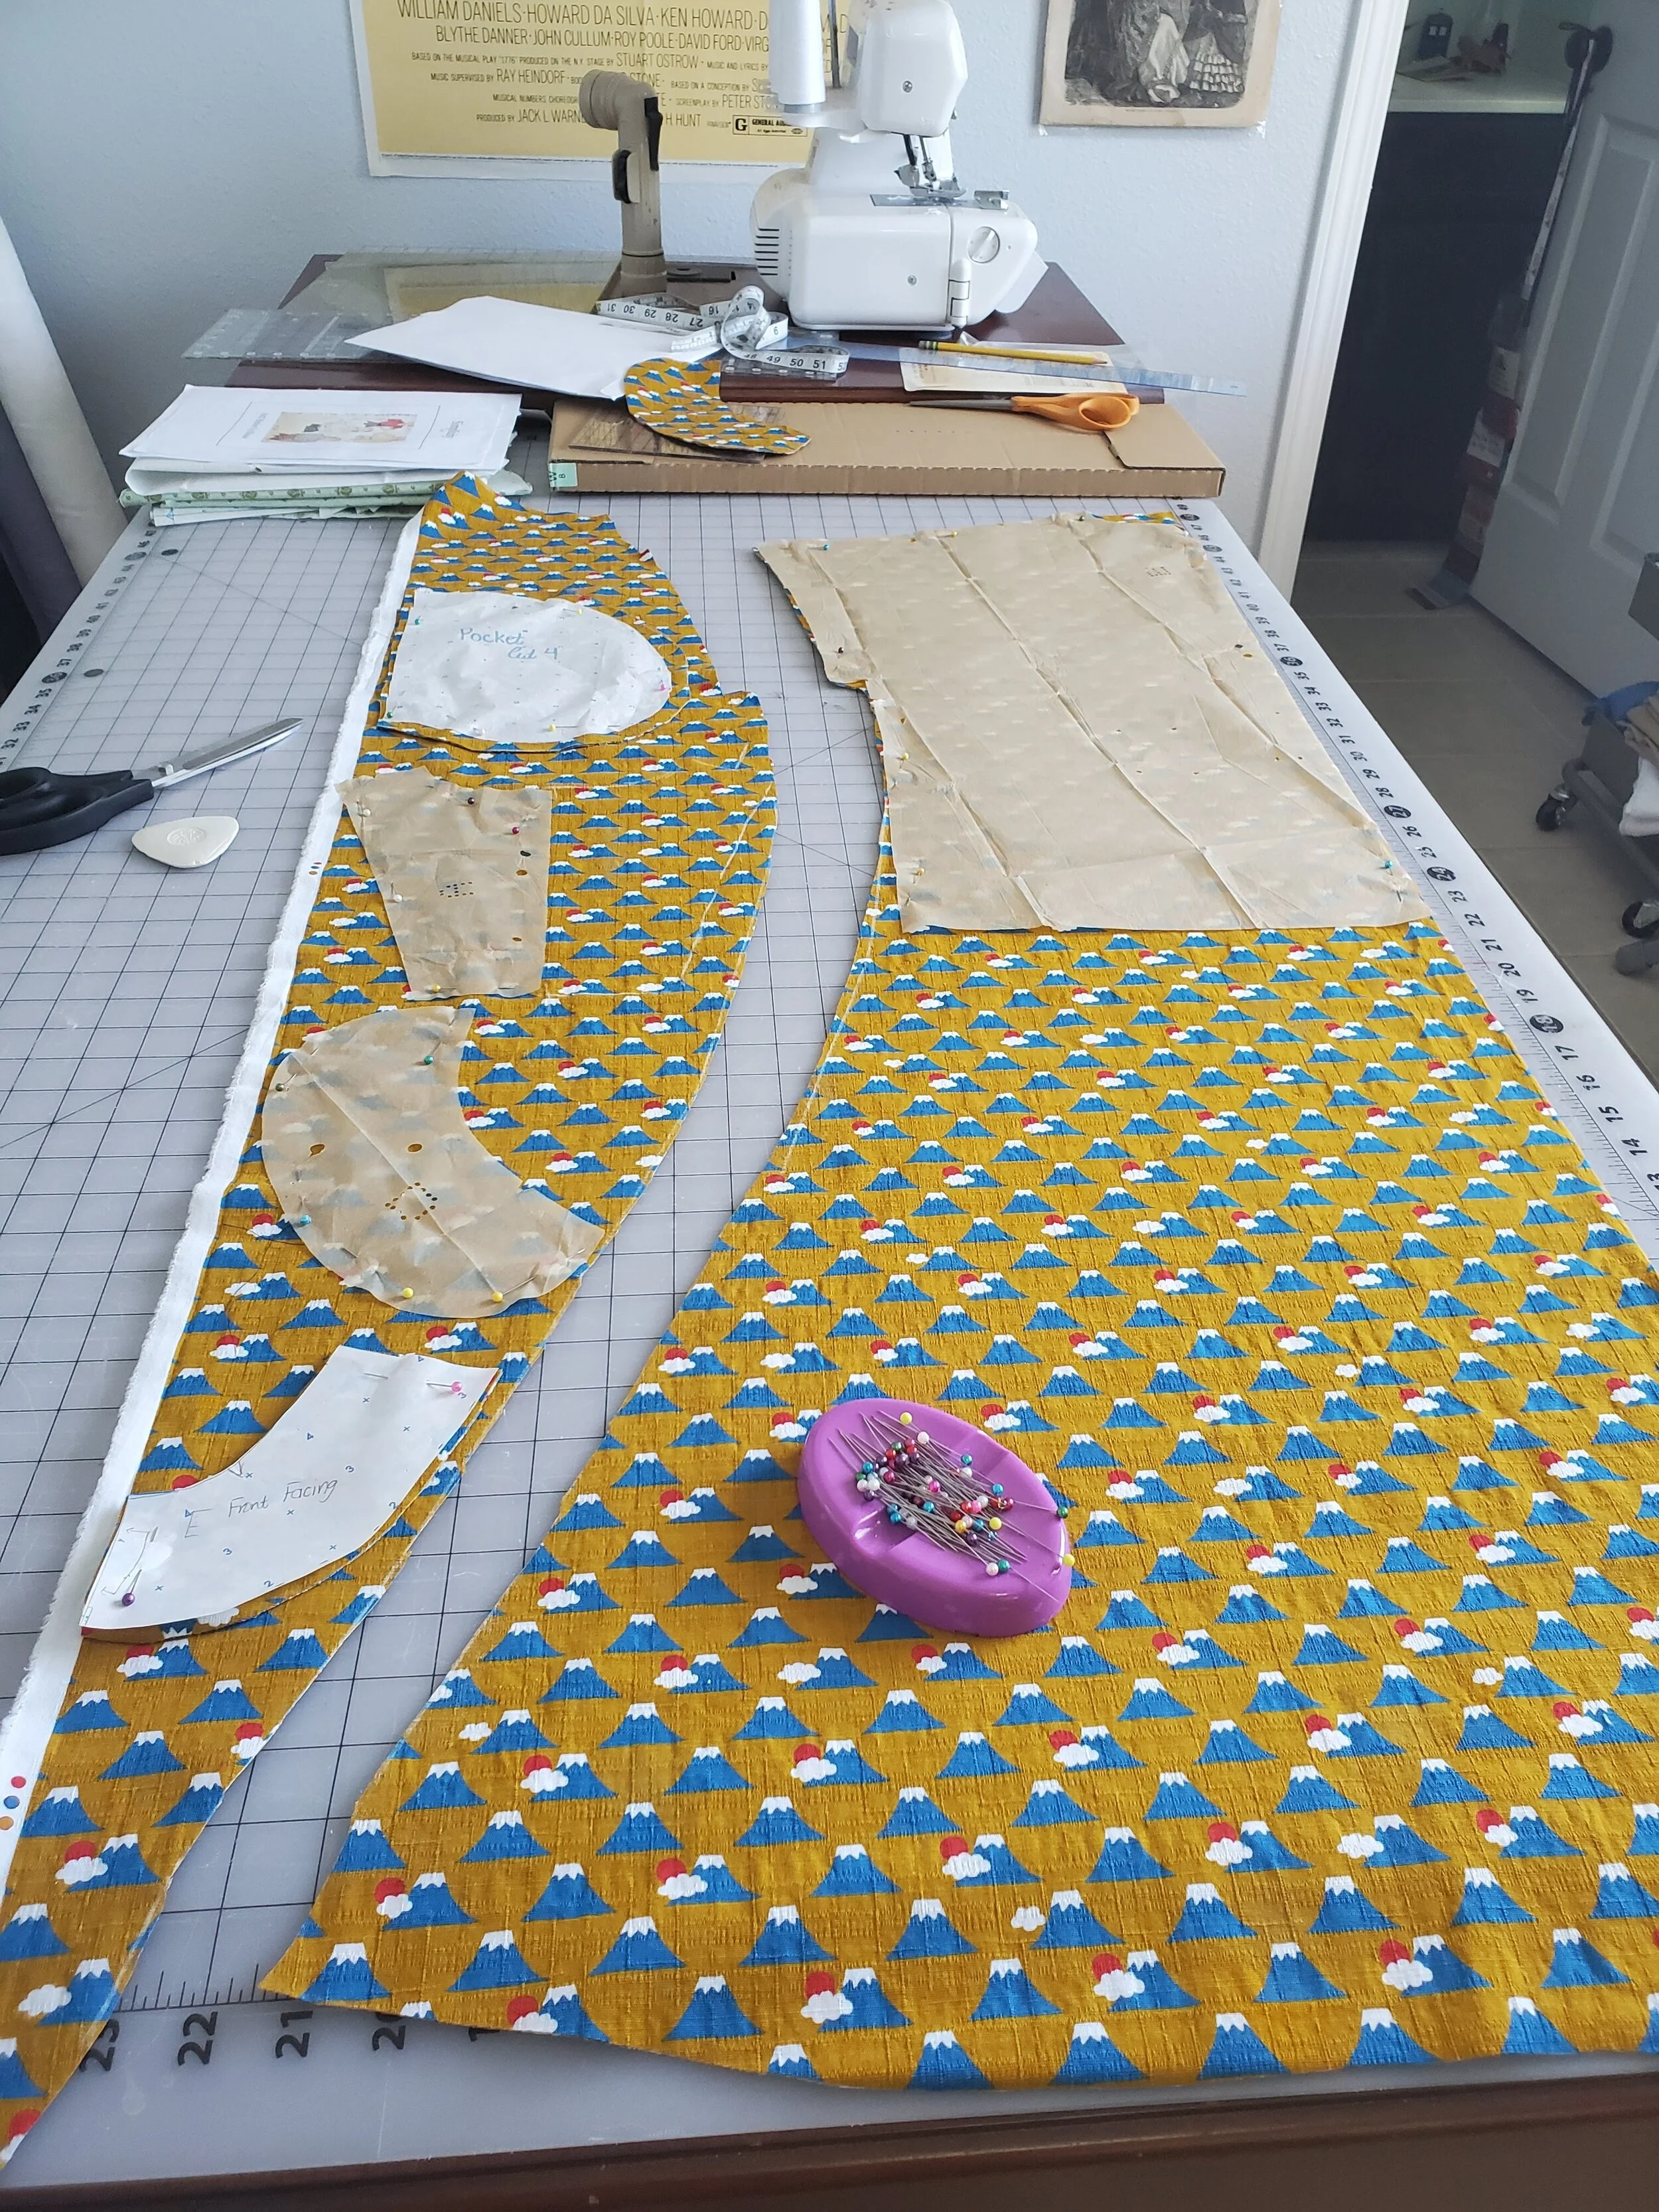
After I pre-washed my fabric I moved onto the patterning process. I knew from how the blouse was constructed that there was just enough room in the hips I would be able to just follow the side seam of the blouse all the way to my desired hem length (31 inches), in order to make it a dress. So that is what did. I then cut out the front, back, collar, front facing, back facing, and pockets out of the fabric.
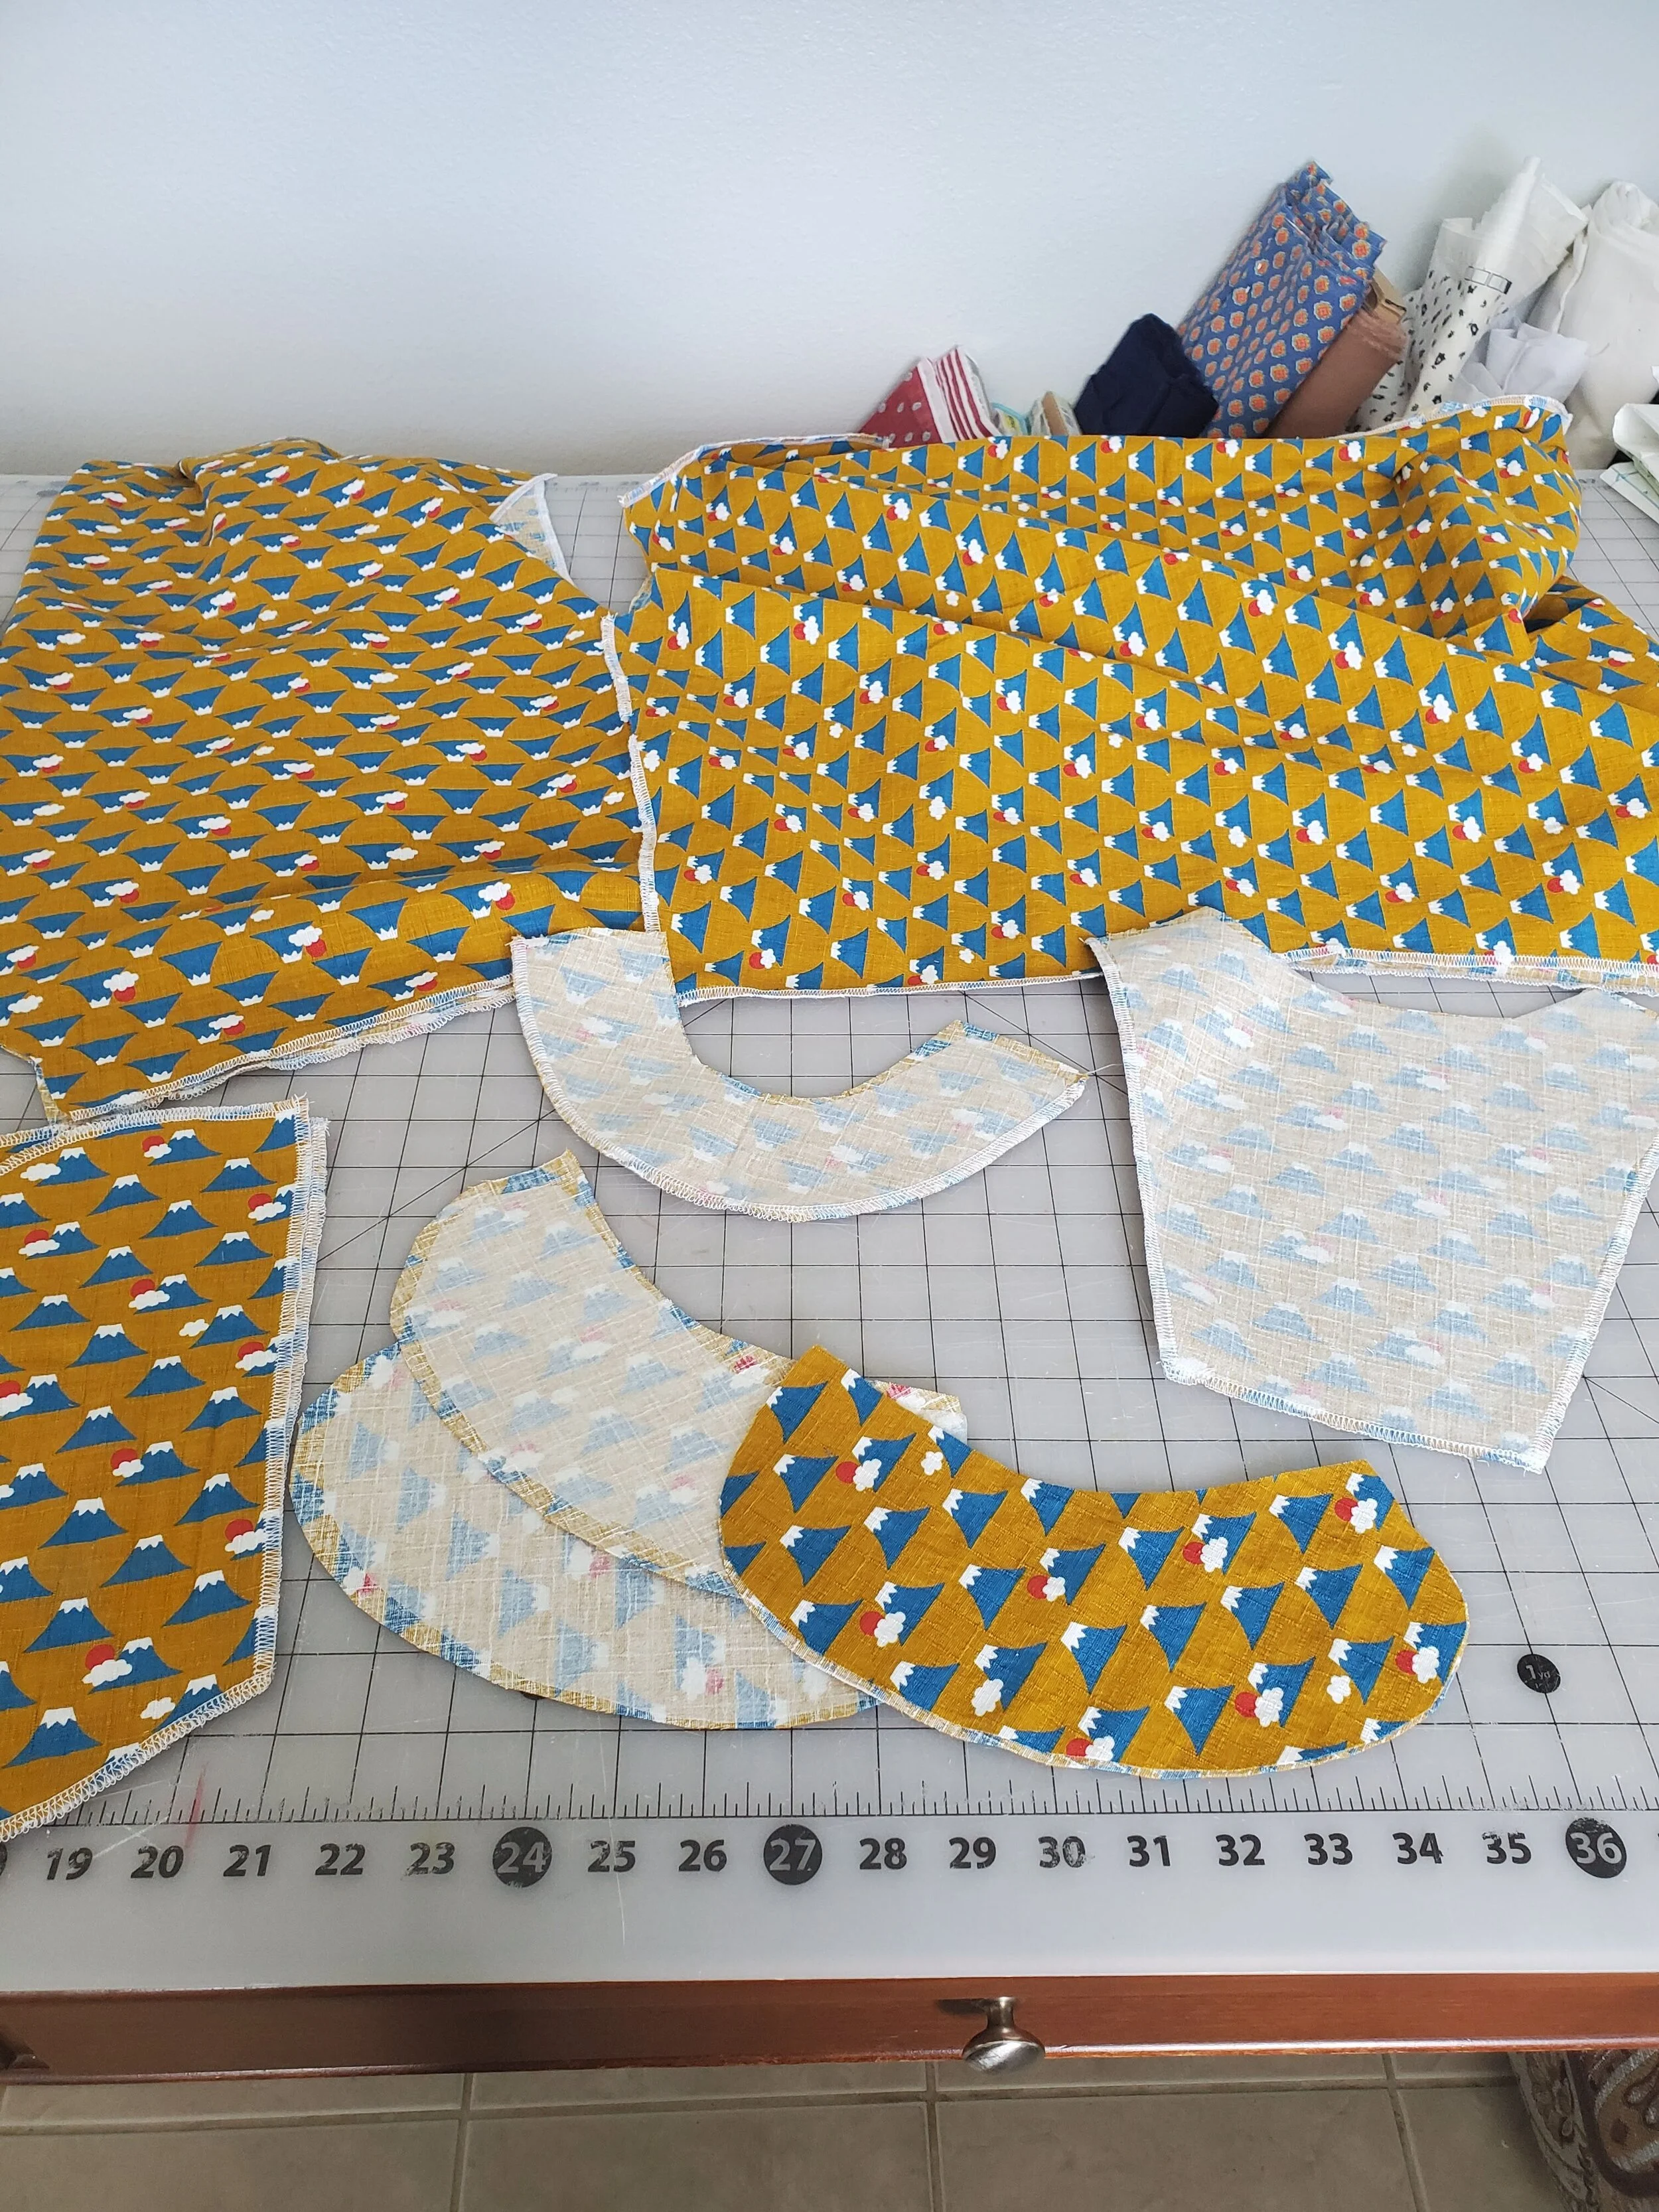
The next step was to interface the pieces that needed it, the collar, the front/back facing, with a lightweight iron-on interfacing. Then all the pieces were ran through my serger to finish the edges.

Now onto the assembly process. I attached the back facing right sides to right sides to the back panel. I then slashed the center back to a notch indicated my the pattern. I also attached a little loop of fabric on the right side of the center back seam while I was sewing it. The loop is meant to loop over the button closure. You can’t see that here but you will be able to see that later on.

I then sewed the tucks onto the front and back panels, which is the only shaping the entire dress has. The tucks were ironed towards the center back and towards the center back respectively.

Then I sewed the front and back panels together at the shoulder seam. Which was then ironed open.

I then turned my attention to the collar, which I sewed right sides together, cliped, and turned right side out and ironed.

Now it was time to attach the collar to the dress. The collar was attached to the dress matching notches indicated by the pattern and the front facing sewn on top to finish the raw edge. (see photo) Also, I attached the back facing to the front facing at the shoulder seam. After being sewn on the facing was turned inwards and ironed.

I then understiched the facing which helps the facing stay on the inside of the dress and not peek out.

I then sewed a faux pearl button closure to the top of the center back. Here you can see the fabric loop I sewed on earlier.

I then tried on the dress and determined where I should place the ever important pockets. After their placement was determined they were sewn and the seam allowance ironed towards the pocket. I then sewed the side seam which was ironed towards the front of the dress.

After trying the dress on I decided that I needed a matching belt. Which I made using a 2 inch strip of fabric the length of my waist measurement plus a yard on either side of that length, for the tie. I then interfaced the belt using a mediumweight purse interfacing and wrapped the farbic around it finished it by hand. The interfacing ended where my waist measurement did so the rest of the belt was folded in on itself and finished by hand. The cool thing about this belt, since it is completely separte from the dress, I can tie the bow at the front, back, or the side.

The final step was to hem the dress and the “sleeves”. The hem was folded up an inch then up another inch, ironed, and finished by hand. The hem of the “sleeves” were folded up an 1/2 inch then another 1/2 inch, ironed and finished by hand.