
1770s "Shepherdess" Ensemble


I dediced to make an outfit inspried by an Antoine Watteau painting. He was a a Rococo French painter. The focus of these paintings were high class people in simple pastoral settings such as forests that contrasted with their often extravagant silks and gowns, hence why I’m refering to this as my “shepherdess” outfit. The painting that I took particular inspiration from is his "Declaration of Love". Even though this painting was made in 1717 I dated my recreation to the mid 18th-century just because I have occasions to wear the type of clothing. My stays were made out of the Redthreaded Early Gegorian Pattern and made out of a “lagoon blue” silk taffeta from Renassiance Fabrics. The skrit is made from a pink sheet I picked up from my local Goodwill.

The first step of the stay making process was to cut out the pieces (the front, side fronts, sides, side backs, backs, and straps) from the strength layer for which I choose a cotton coutil.

The next step was the cut the pieces out of the fashion layer, the silk. I did not cut this layer exactly flush with the pattern piece though, to give me some leway in assembly and make things generally easier for myself. The excess will be trimmed away latter.

Now I also cut an interlining of cotton muslin. Its purpose to provide “padding” between the silk and the coutil. I will be slipping the bones in between this layer and the coutil so the bones have less of a risk of poking through the silk. After I cut this layer I also tranfered the boning channels to the coutil layer using a pencil.
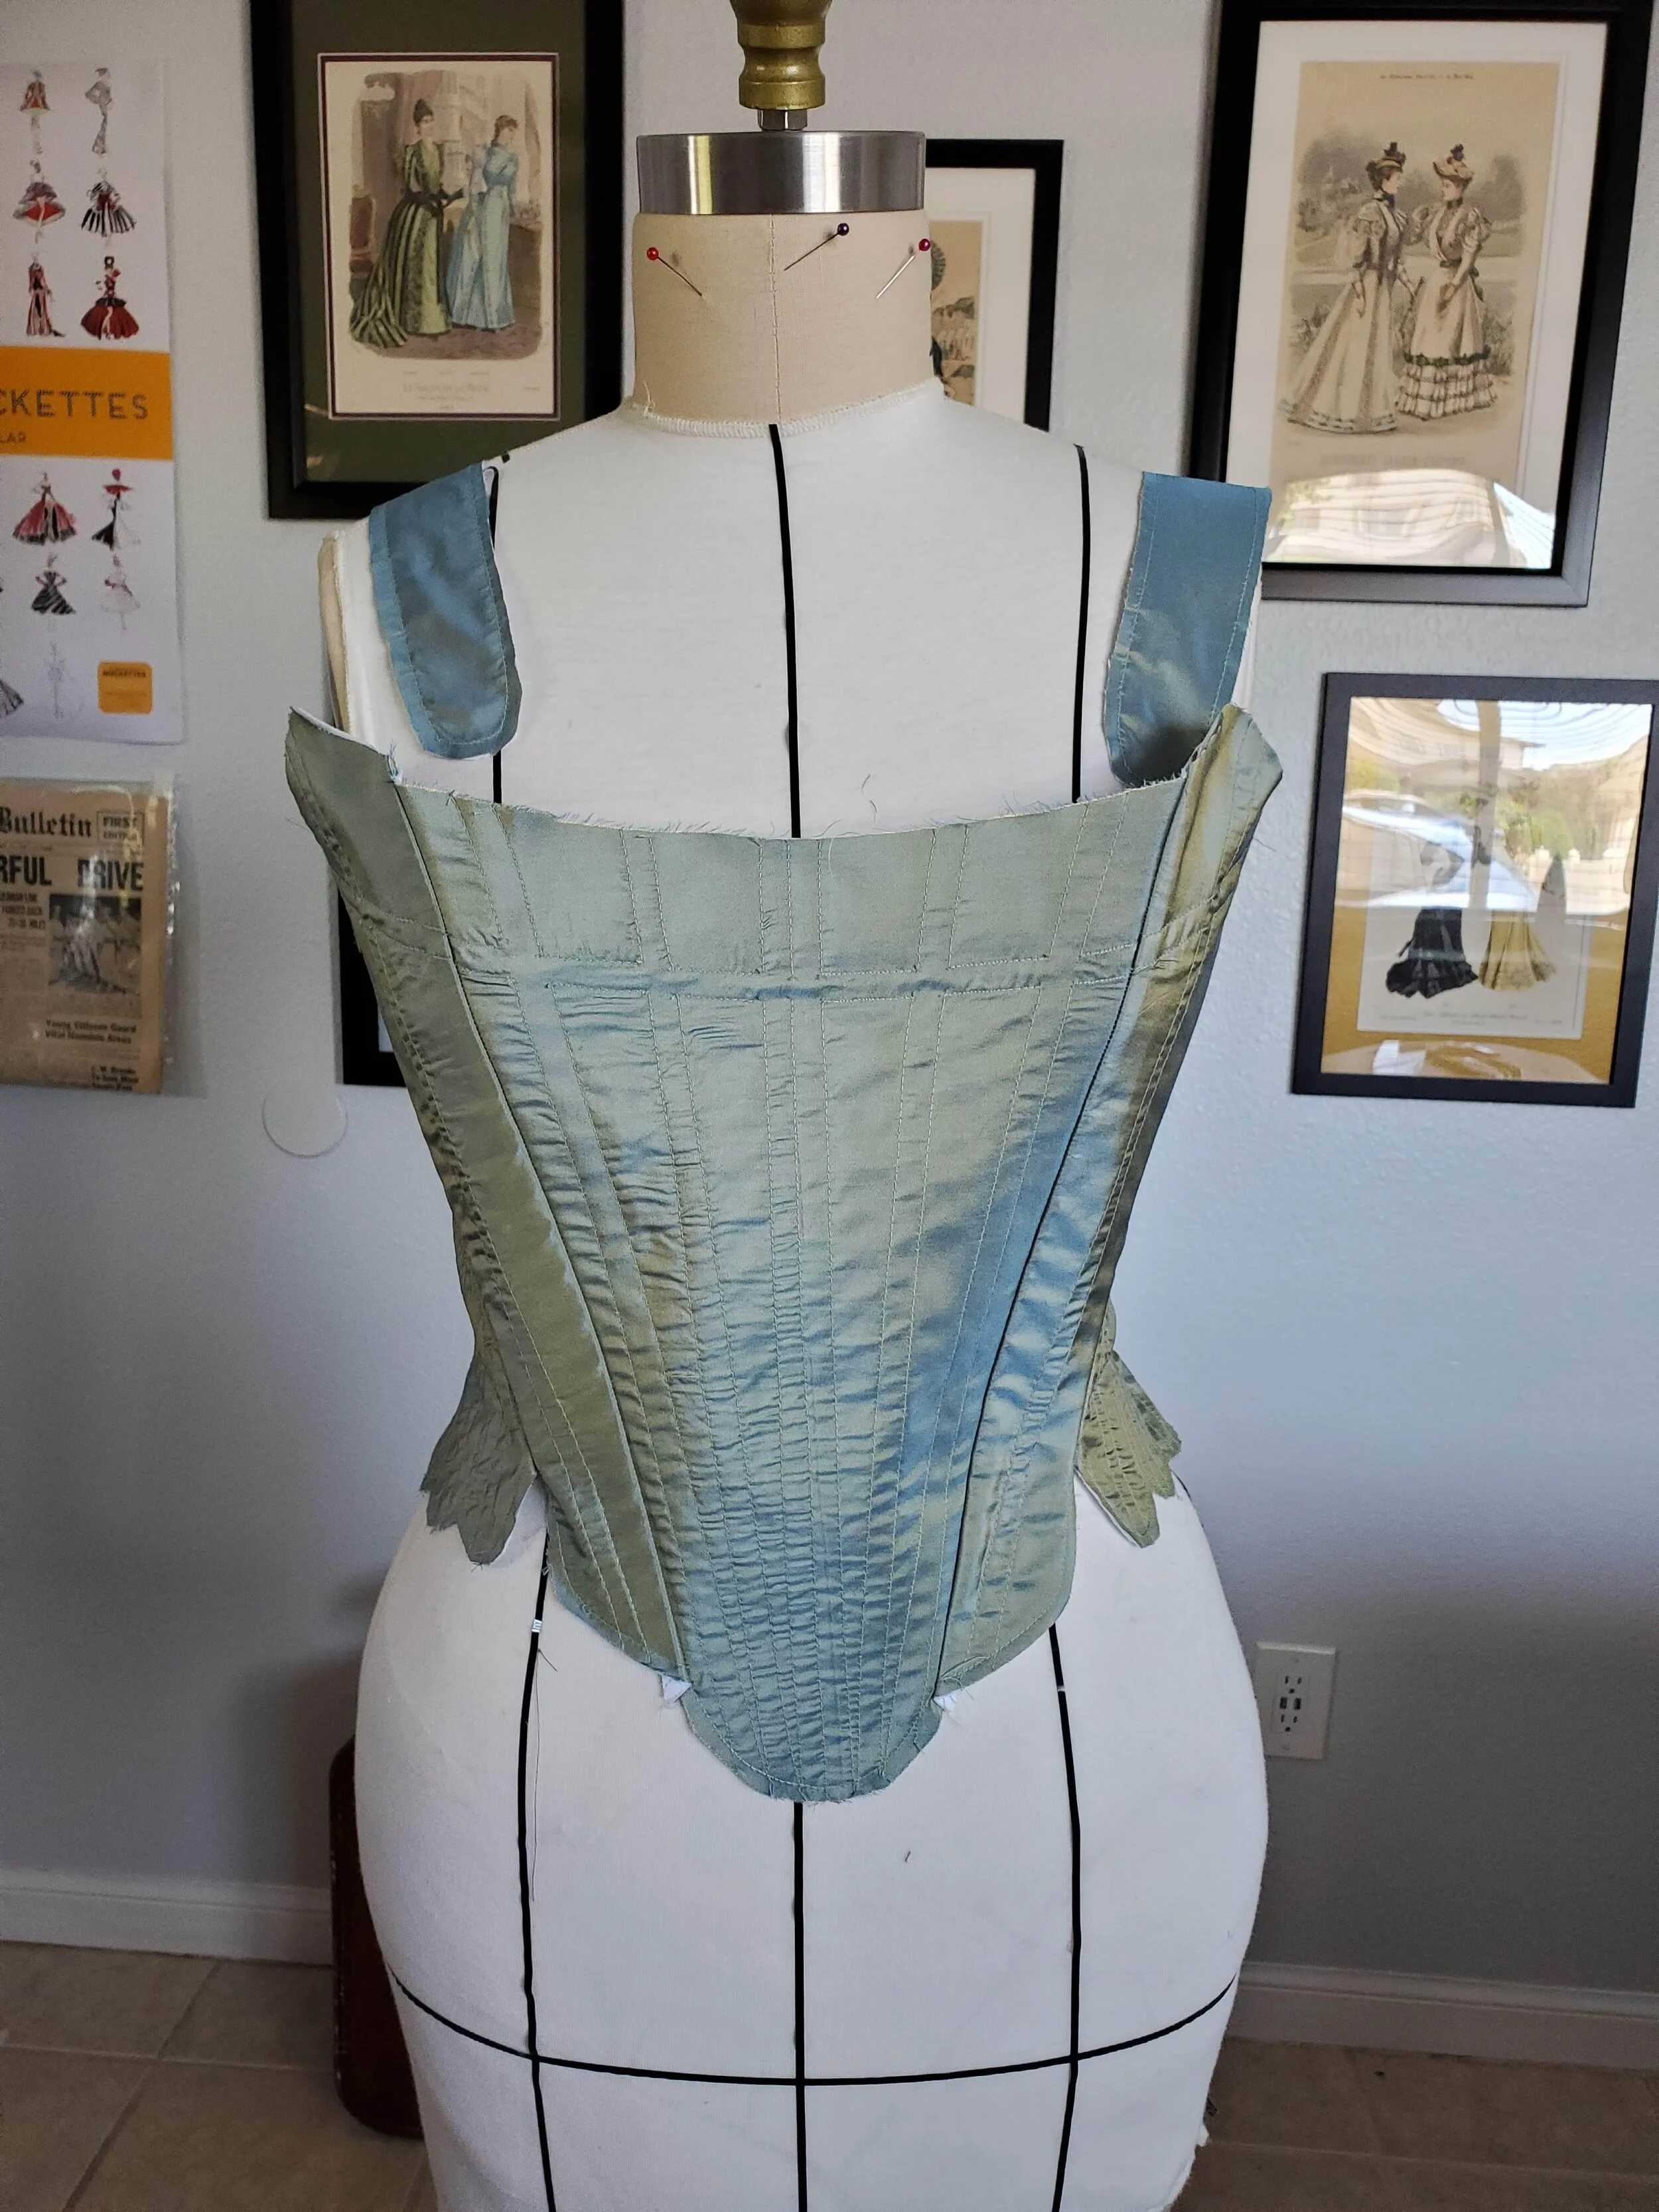
I then sewed all the boning channels from the wrong side of the stays (I know I like to live dangerously) using a matching thread color, and trimmed away any excess fabric. After the boning channels were sewn the pieces were all sewn together, save for the straps which will be sewn on after the boning in put in.

Now it was time to insert the bones for which I used 7mm synthetic whalebone, which is a platic boning which mimics the properties of boning of the period which was cheifly whalebone. (which know of course is illegal to procure). I cut it to size used tin snips and filed the ends of it using an nail file. The boning that ran hortizontally across the bust was inserterd into the front then whip-stiched to the side front.

After sewing on the straps, I cut out the binding from my scraps of silk taffeta. The binding was sewn on by machine and then turned into the interior of the stays and finished by hand using whip-stiches. I first bound the back of the stays.

Followed by the bottom of the stays.

And fianlly the top of the stays were bound as well.
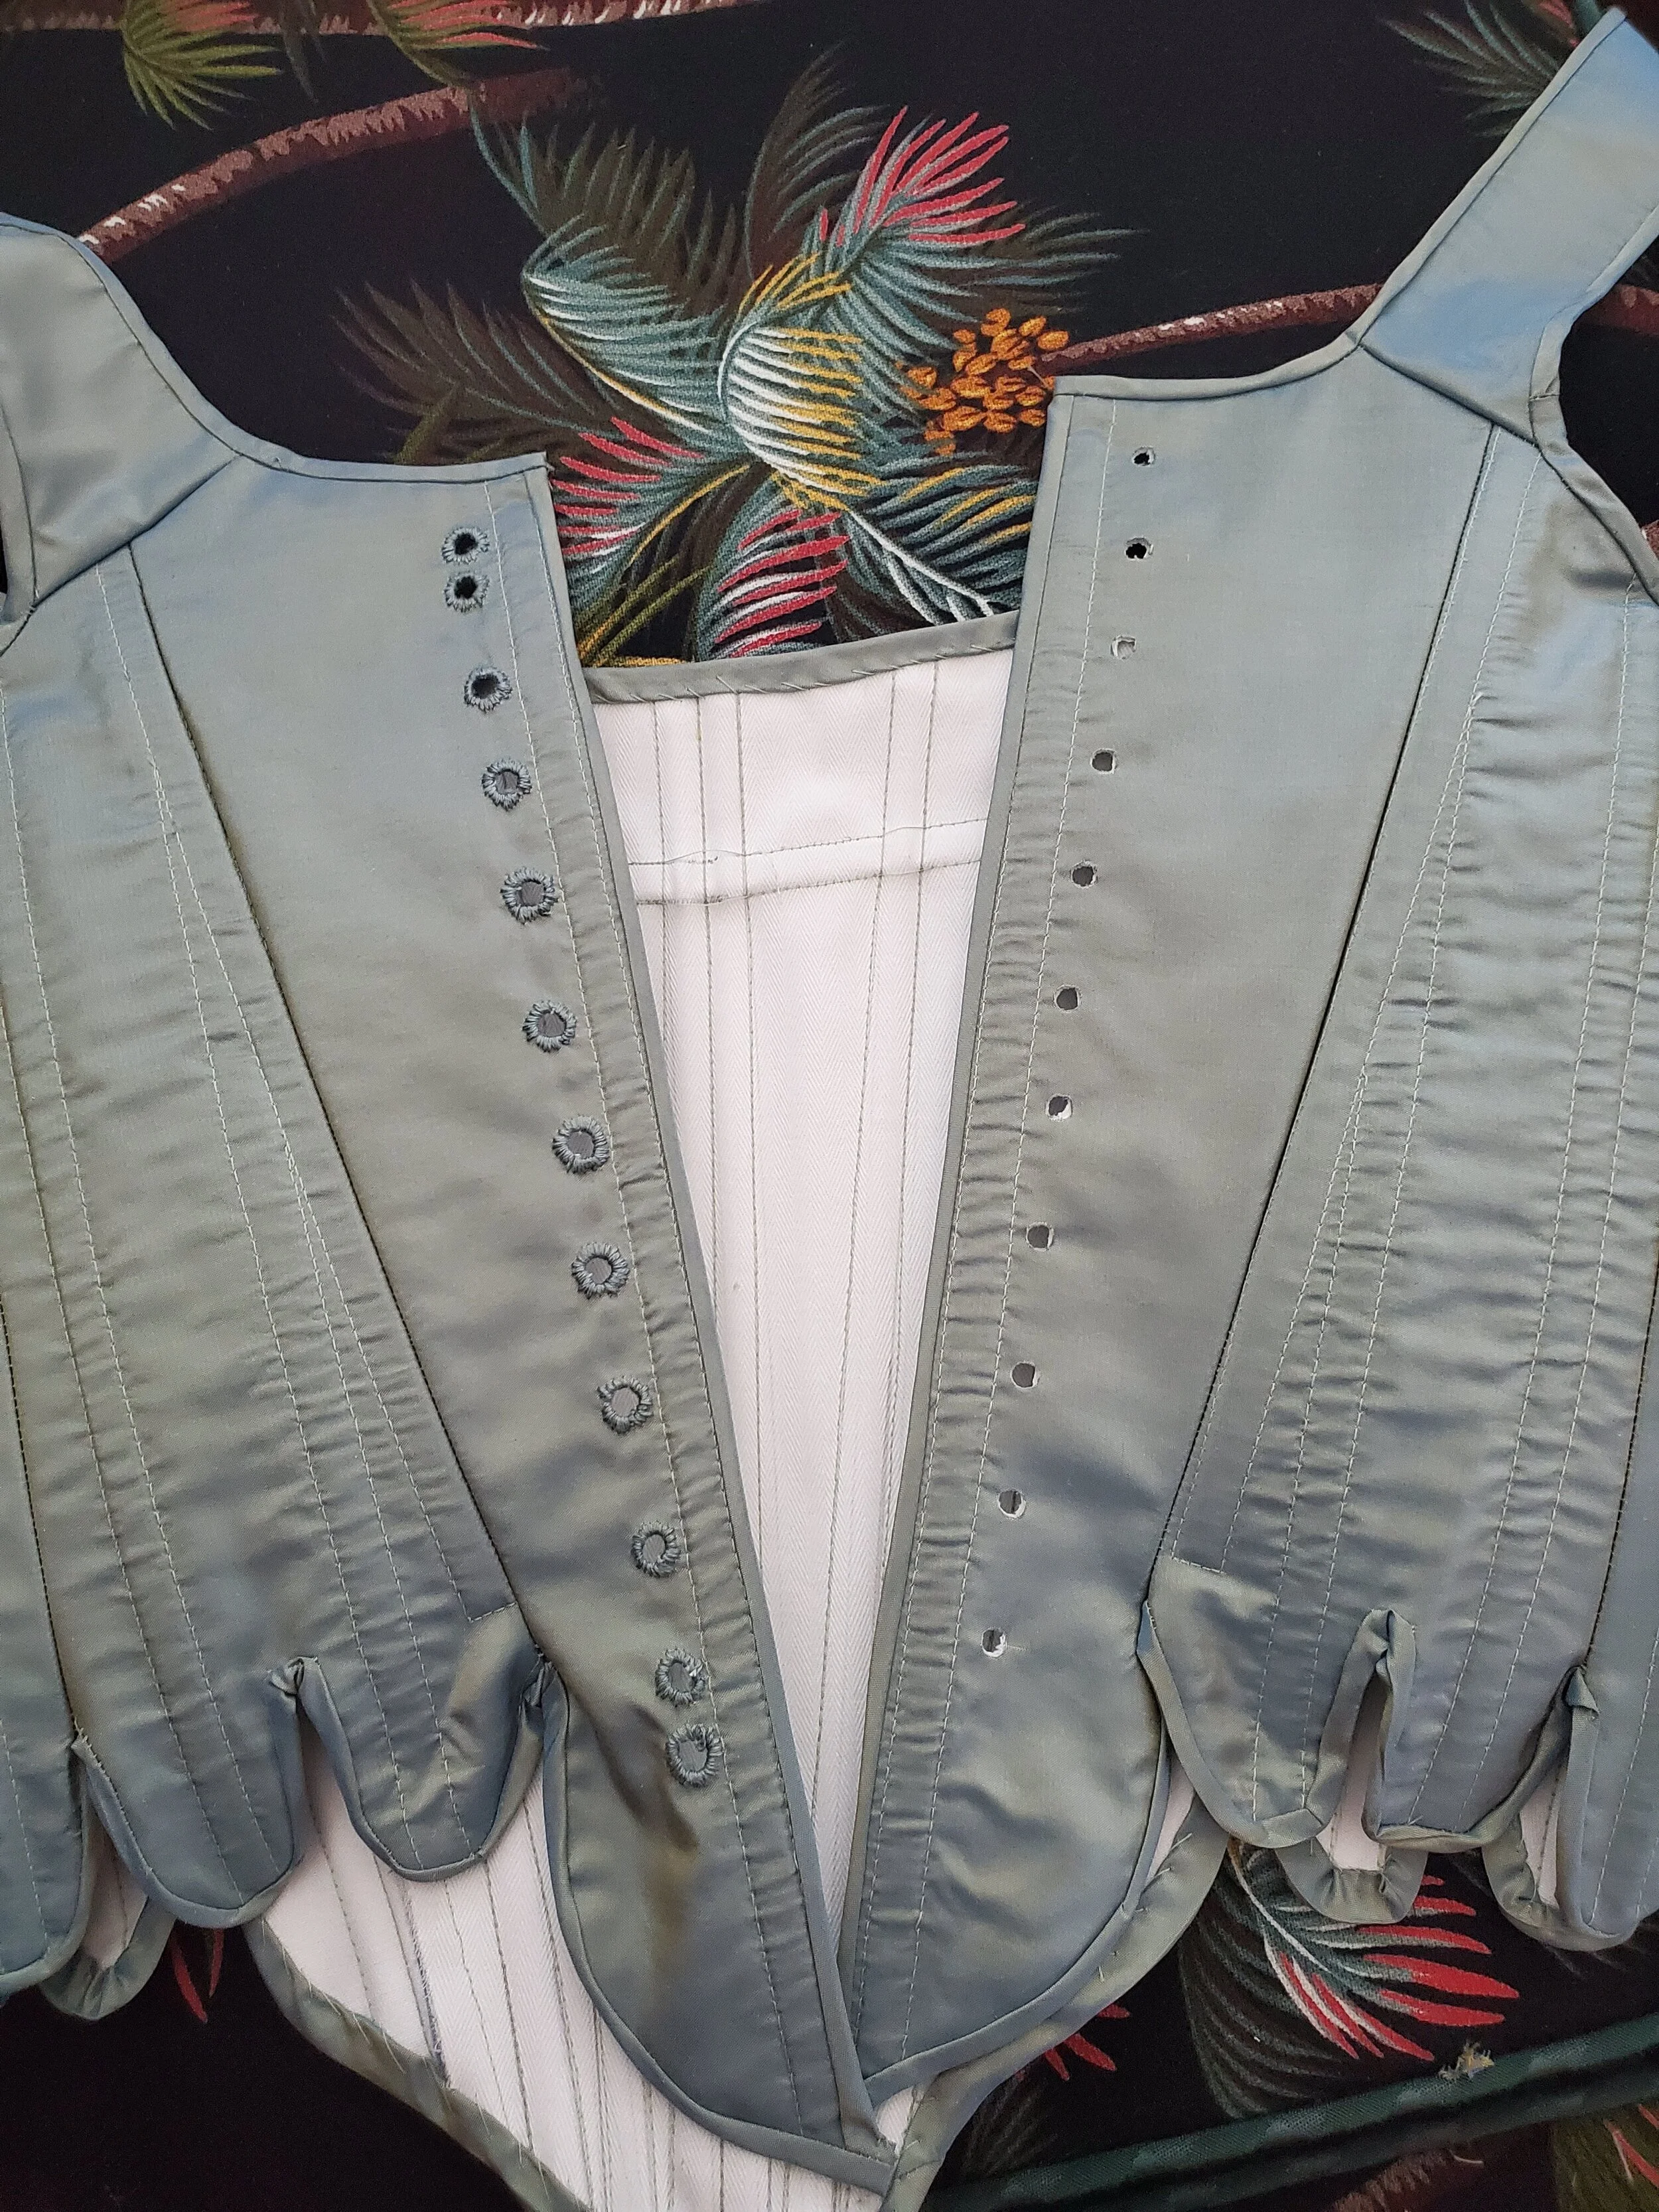
I then punched out the holes for the eyelets using a tool and rubber mallet. There were eyelets in the back as well as a pair on each strap to attach them to the front of the stays. I sewed the eyelets by hand using dense whip stitches and 3 strands of a matching cotton embroidery floss. The final step of the stays was to cut out another length of bias tape, this time for the lacing to close the stays. I folded that strip in on itself and sewed it by machine to finish. I used the method instead of a tradtional lacing cord becaucse I knew the cord would show and I wanted it to match the stays.

Here I am cutting out my skirt which is arounf 40” inches wide by the full length of the fabric across. I then cut it into two equal pieces, for 18-century petticoats close at the sides. I then sewed the pieces together
using french seams
leaving a 9 inch gap at the top to get into the skirt.

The next step was to pleat the petticoat for which I used SnappyDragon’s wonderful tutorial. After the skirt was pleated I sewed both the front and the back onto a piece of twill tape which will tie the petticoat closed.

The final step for the petticoat was to hem it. I put on my bum roll and leveled the hem using the process explained in Burnley and Trowbridge Co.’s Petticoat Bum Hack video. I sewed by hem by hand using whip stiches and a matching thread.