
“Balletcore” Inspired Bustier Dress


Back in February I came across the “balletcore” aesthetic. I then saw this bustier dress pattern and decided to merge the two together. I thought the bows at the shoulder of this pattern gave off very much ballerina, tutu vibes. I used this shell pink cotton twill from Renaissance Fabrics.

The first step was cutting out the pattern and serging all the edges of each piece. The pattern has 28 pieces:
two back pieces
two side back pieces
two side front pieces
one front piece
four side cup pieces
four front cup pieces
two top cup pieces
four strap pieces
four pocket pieces
two skirt back pieces
one skirt front piece
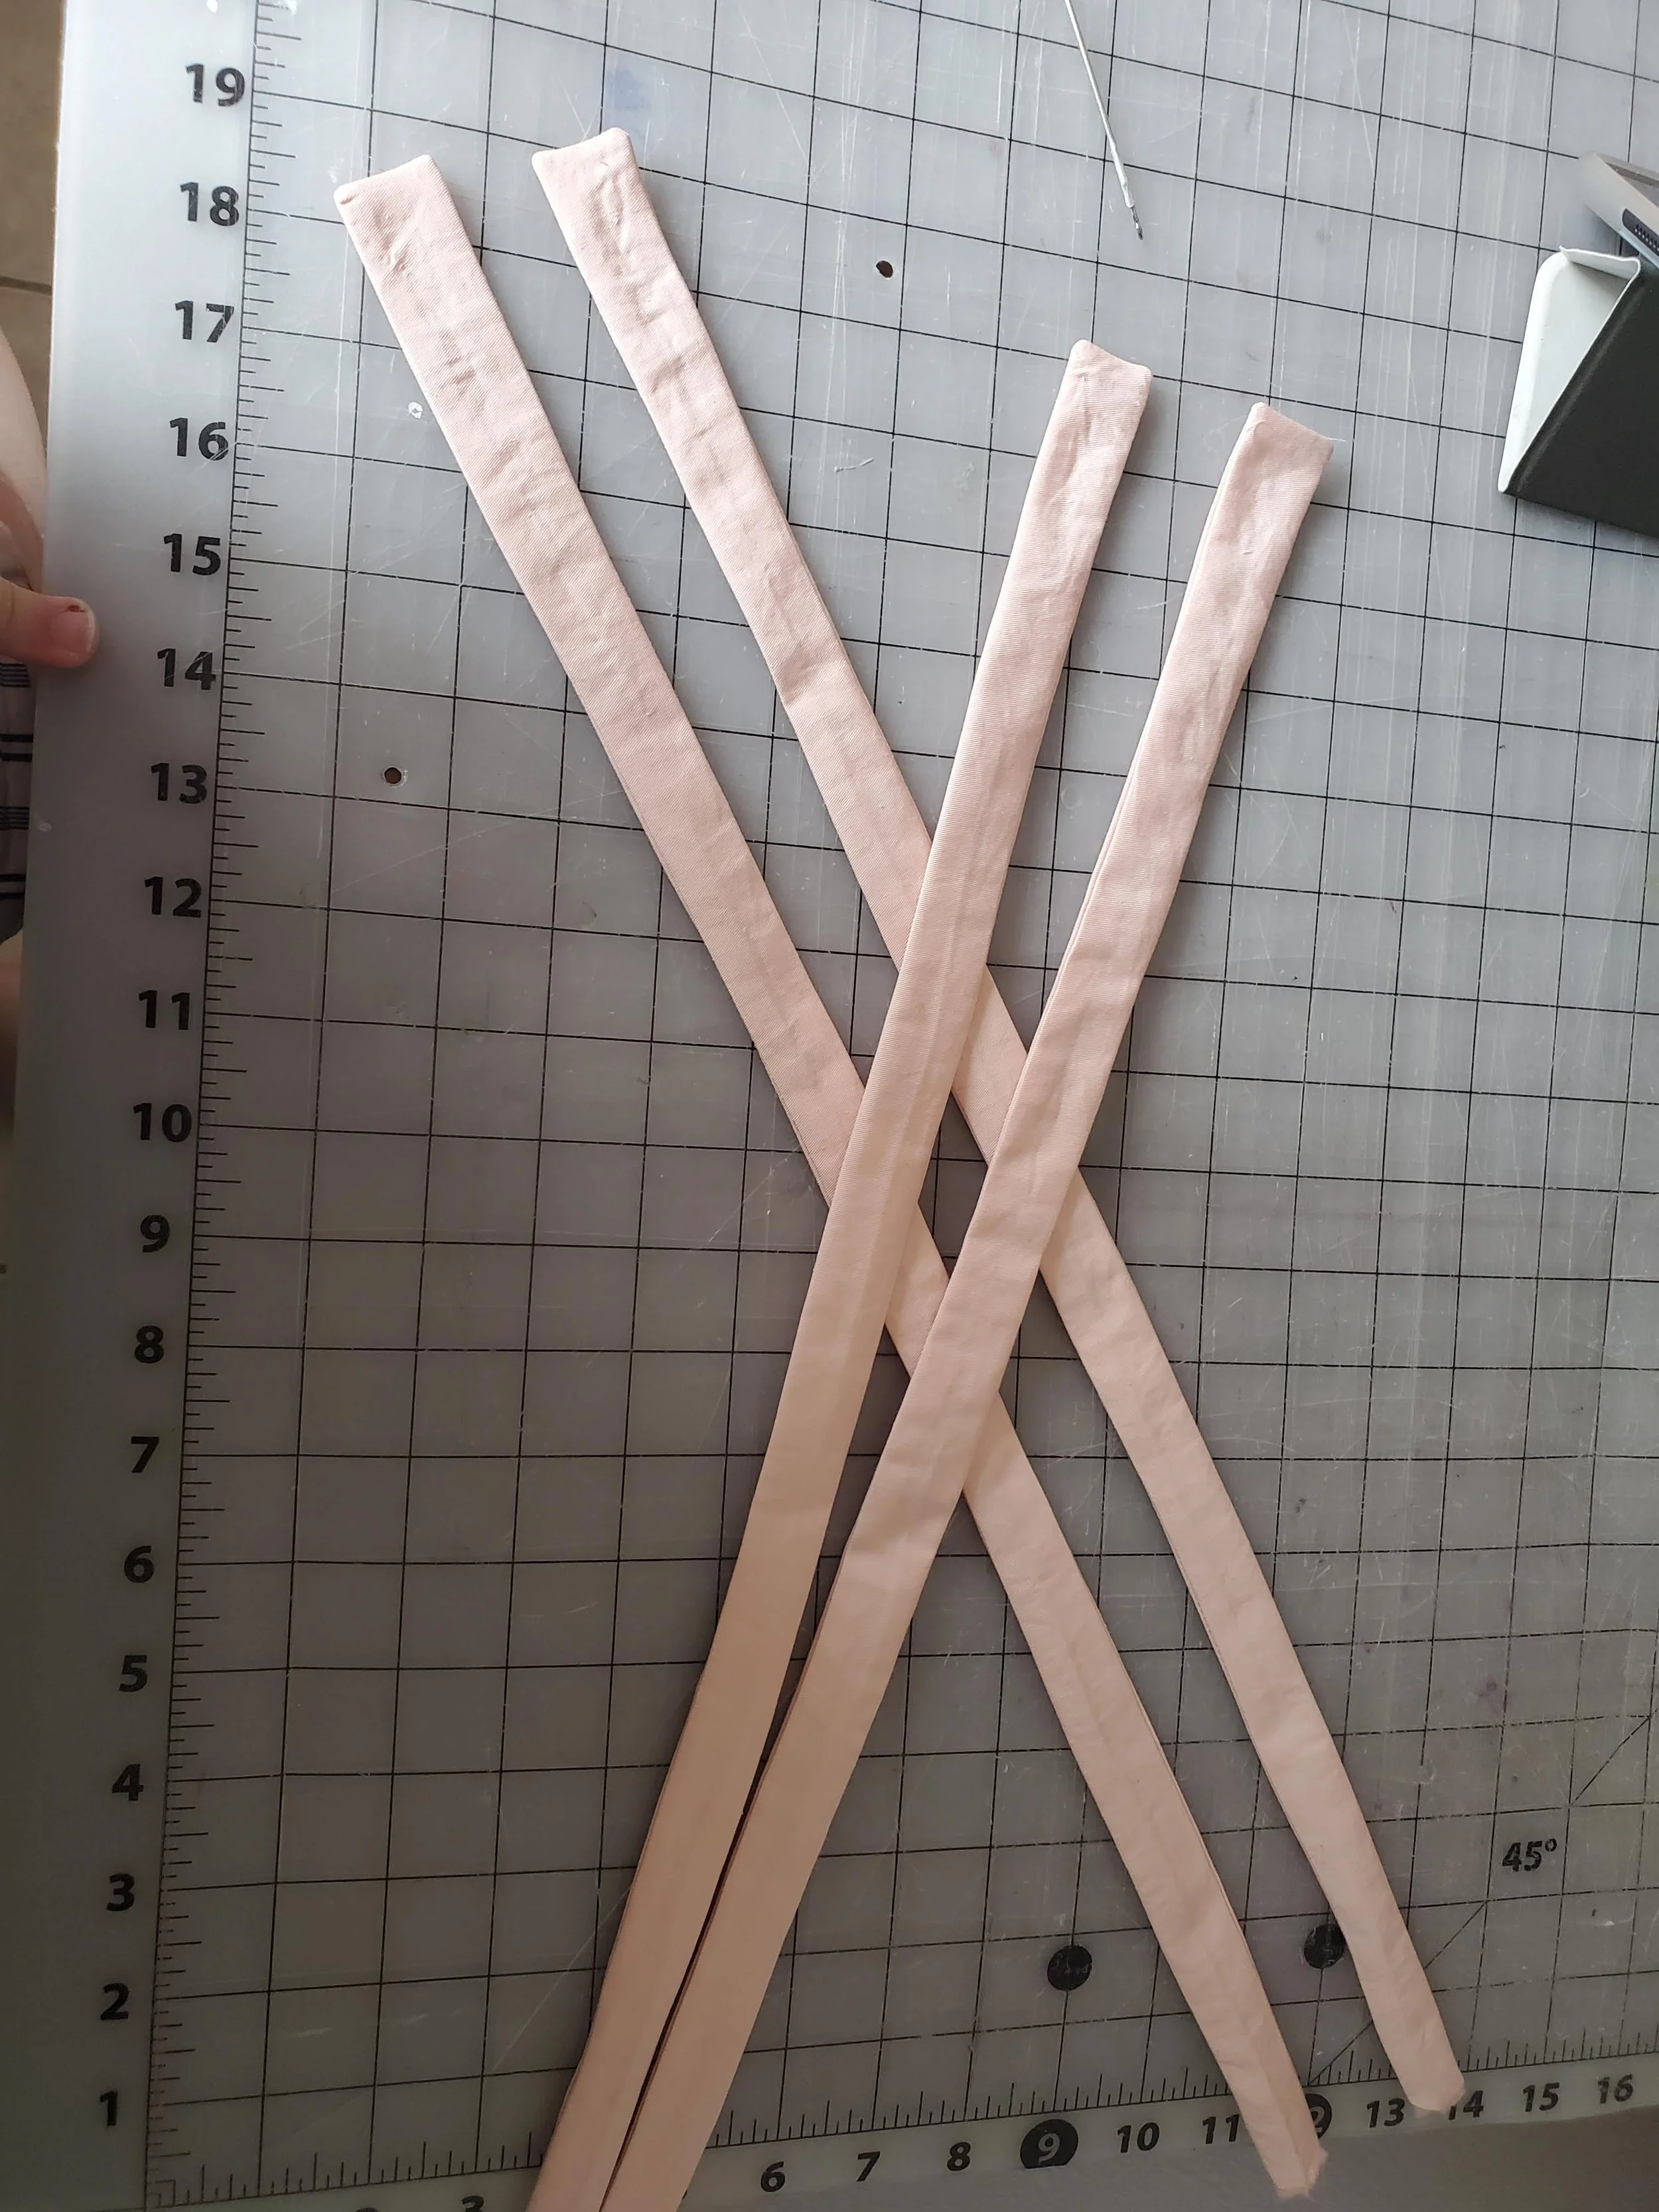
I then sewed the strap pieces together and turned them inside out. I made my straps 1” wide and 22” long (half the width of my fabric). I will cut them down once I pin them onto my completed dress and see what length them should be.

After the straps were taken care of, I sewed all the bodice pieces together minus the cup pieces. The seams were them ironed open.

The side and front cup pieces were then sewn together.

The top cup piece was then sewn onto the two previously sewn cup pieces to form the entirety of the cup piece.

Now I decided to make two cups for each side of the dress instead of the one per side the pattern called for. The reason being is that I planned on adding foam cups to this dress for support and I didn't want to do a full lining, so I just lined the cups. Here you see my sewing the cups wrong sides together to the main bodice.

Here is how the bodice looked from the inside once that step was completed.

I then interred the foam cups and pinned the top of the cups closed.

I then folded under the neckline of the bodice and sewed it in place my machine. This finished off the neckline of the bodice and secured the foam cups within their fabric shell.

Now that the bodice was complete for now. I moved on the skirt, which was a gathered rectangle twice the width of my waist and 31.5” long. Of course though, you have to have pockets which is what you see me inserting here.

After the pockets were attached to the main skirt, the rest of the side seam could be sewn. The pocket and the side seam were then pressed towards the front.

The center back seam was then sewn and pressed open, leaving about 10” at the top free to insert the zipper later on.

The bottom of the skirt was then turned under by 1/2” then 1/2” again and hemmed by machine.

The skirt was then gathered and attached the the bodice with a 1/2” seam allowance. The top of the pockets were also caught up in the seam, this helps the weight of whatever you put in your pocket not drag the skirt down.
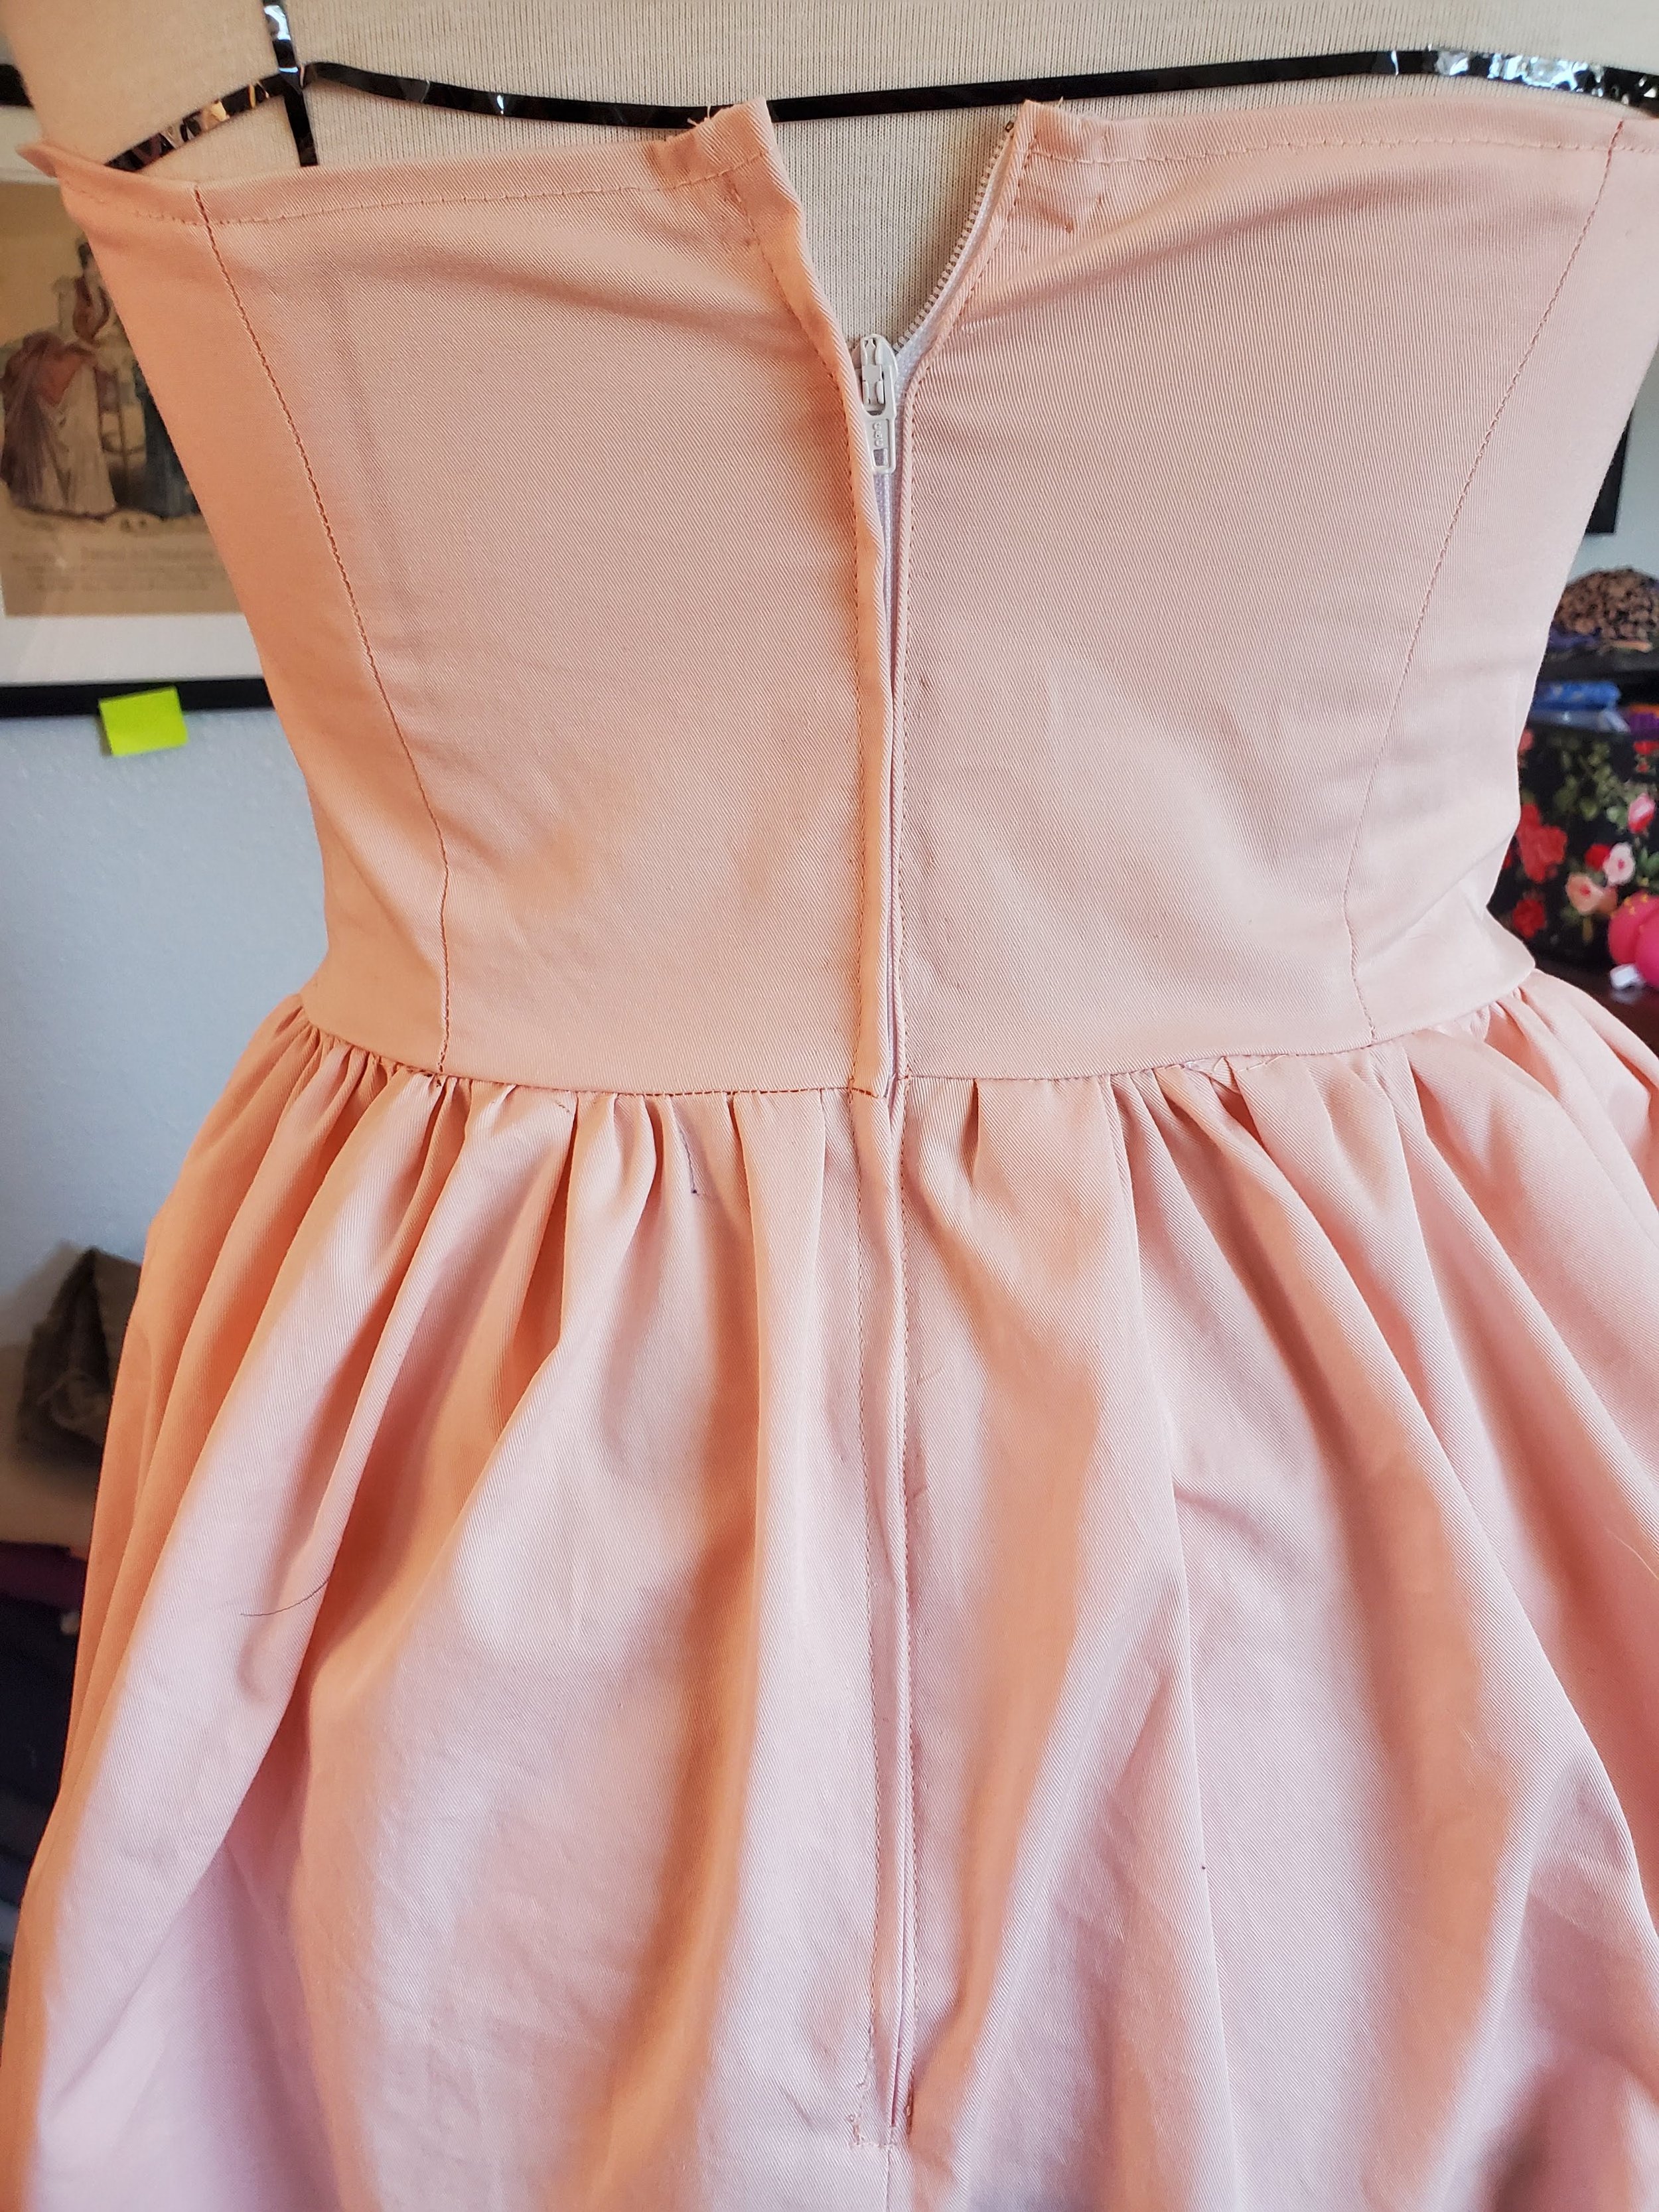
A zipper was then inserted at the center back of the dress.

The straps were then pinned on and adjusted until right. I think they ended up being 18” long. They were then tied into a bow at the shoulder and sewn in place my hand to the inside of the bodice.

Due to the tension of the tight fitting bodice I decided to add some boning to the side and side back seams. I sewed some 1/2" boning casing by hand and inserted some
6 mm boning within it. The addition of the boning definitely helped the bodice lay smoother. The final step was adding a label!