
1955 “Lei Poʻo” Dress


This dress was inspired by the cover art of the September 1955 edition of the Australian Home Journal (right.) I used a beautiful cotton sateen with lei poʻo (head lei) on it. The lei features various native and endemic Hawaiian flora. I simply love this dress and I even wore it to my university graduation!

The first step was to cut out the tiers for the skirt. Since I wanted a ~29” finished length the math for the tier length came out as follows:
bottom tier 11.5” (includes 1.5” for hem and seam allowance)
middle tier 10.25” (includes s/a)
top tier 10.25” (includes s/a)
The top tier was as wide as my fabric, which was 54”. The middle tier was two lengths of the fabric width, at 108”. The bottom tier was four lengths of the fabric width, at 216”.

To avoid having seams run down the center front of the skirt, I cut the wide panels in half and staggered the join spots to be less visible (aka at the side.)
After constructing the panels I went to hem the skirt. It is much easier to hem the skirt at this stage before gathering starts to get involved. I sewed some bias tape along the bottom tier and some 1” horsehair braid to the inside for structure.

The hem was then tucked under and the bias tape tape folded under and sewn by machine.
.

The bottom tier was then gathered and attached to the middle tier.
(the seam allowance throughout this project is 1/2” unless otherwise noted)

The next step was to cut the contrasting trim from some solid Kona cotton. In total I used about 7.5 yards of 1.5” trim on this project.
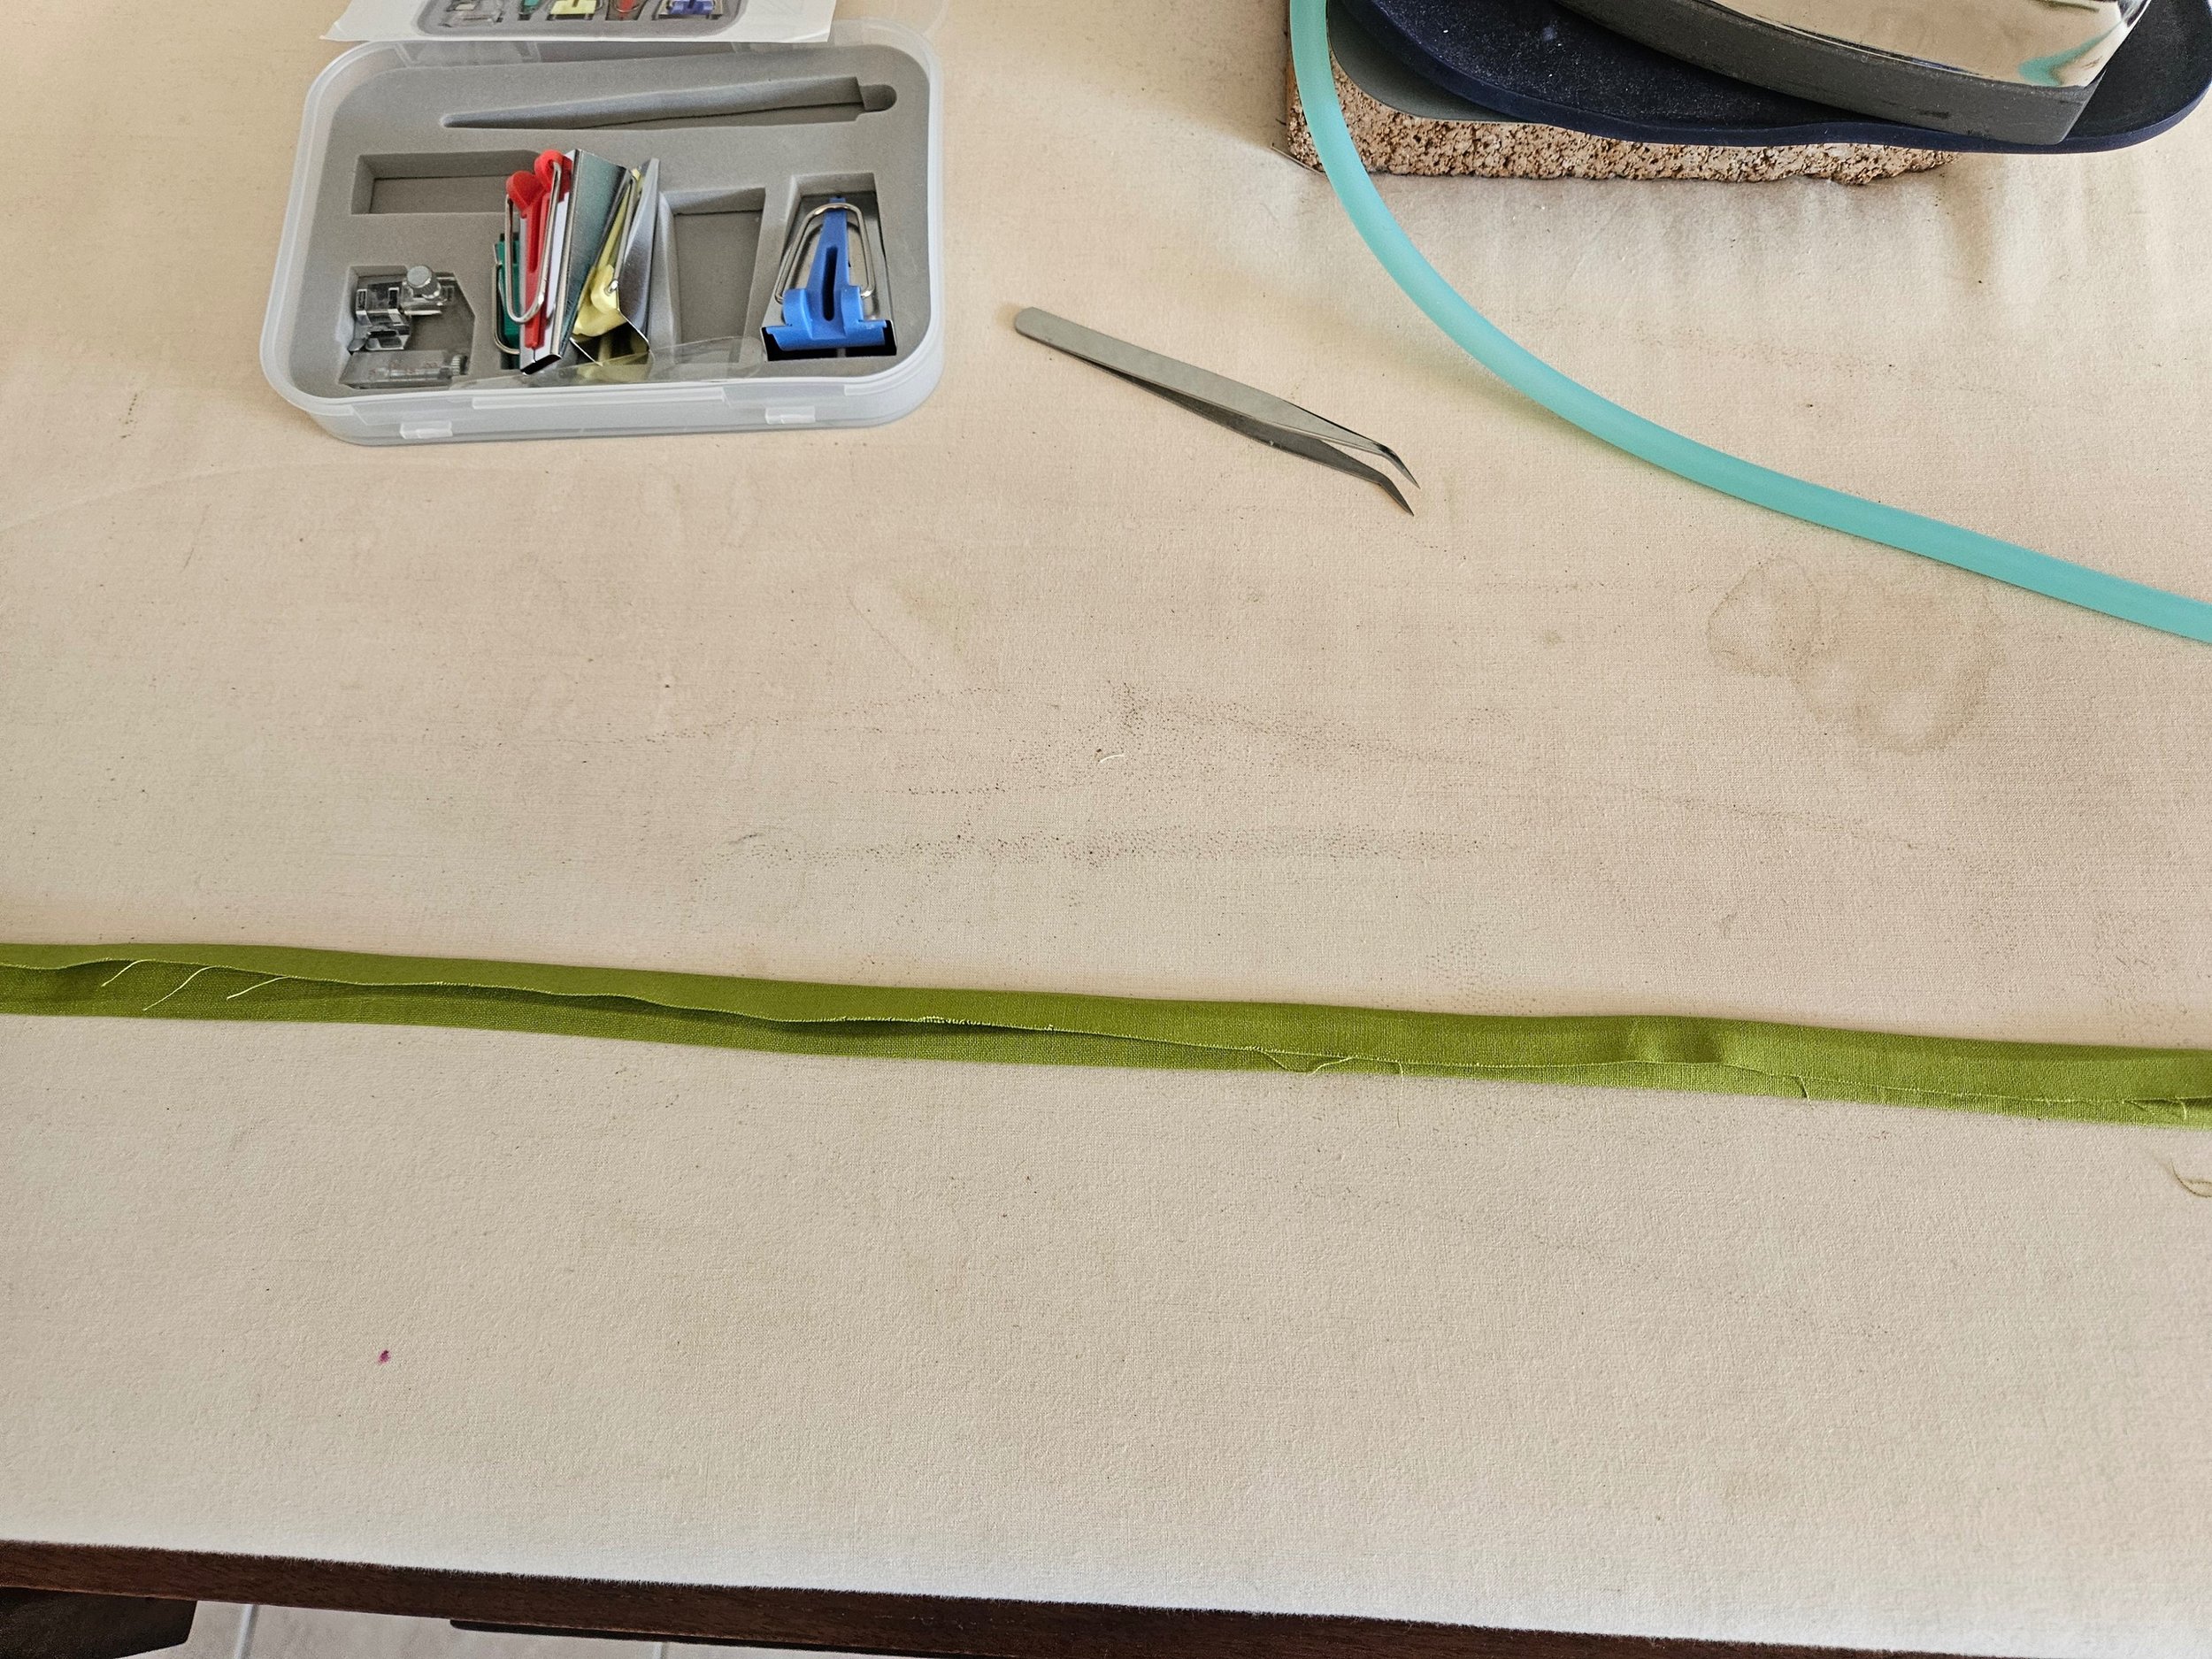
That trim was then ironed into 7/8” “bias” tape. It was not actually cut on the bias, but rather cut on the straight grain. Because it was not going over curves I did not see the need to make more work for myself.

The trim was then top-stitched along the seam that joined the bottom and middle tiers together.

I cut the top tier into thirds, thus creating side seams, and attached pockets 2.5” down from the top of the skirt (once sewn to the bodice.)

The top tier was sewn to the middle tier just as the middle tier was sewn to the bottom. A band of trim was then top-stitched atop that seam.
The center back seam of the dress at this point had not been sewn, this makes gathering all of these tiers and sewing on this trim sooo much easier.

Now it was time to cut out the bodice. The bodice consisted of two back
pieces and a front piece with a keyhole neckline.
I made sure to line up one of the lei when I was cutting it out so that it aligned with the keyhole. The bodice features cut-in-one sleeves.

After sewing the two back darts (one per piece) I attached some 1.5” trim on the neckline. I am doing this now before sewing on the shoulder seams because having a break in the trim at the shoulder makes adjusting that area much easier.

The trim was ironed over and top-stitched to match the stitching on the skirt. Here is how the back pieces looked once that was finished.

I then sewed the darts on the front bodice and attached some trim in a similar manner.

This is how it looks from the front after the trim had been top-stitched.

The shoulder seam was then sewn and pressed towards the back. The little raw edge of the trim was turned under and hand-tacked down to prevent it from fraying. The disjointness of the trim does not bother me, I much rather have the ease of alteration.

The sleeves were hemmed at this time by turning them under twice and stitching by machine.

The next step was to sew the bodice side seam and press them towards the back.

The skirt was then gathered to fit the bodice, matching side seams. The side seams of the skirt were ironed towards the front to help ensure reaching into the pockets would not disturb the lines of the dress.

The center back seam was finally sewn and a lapped zipper inserted.

A label was then put in, completely the dress proper.

Now that the dress was complete it was time to move onto the belt.
I cut a 2” wide strip the length of my waist -2” and
two ties measuring 2” wide and 44” long. I’d recommend the waist portion of yours to be 1/2” wider, you’ll see why shortly.

I then cut a strip of heavy-weight interfacing 7/8” wide and as long as my waist measurement -2”. The negative ease you’ll want depends on your squishiness.

I then ironed that interfacing to the waist portion of my belt and top stitched 1/4” away from the edges.

The tie portions got folded in half and stitched with an 1/4” s/a.

The ties were then turned right side out and top-stitched similar to the waist portion of the belt. While sewing the tie portions I decided to make them end at an angle, this helps the bow look nicer when tied.

Now this is why I recommended you to make the waist portion of your belt wider than 2”.
My edges met rather the fold over each other, so I had to cut another strip of fabric and do double the hand sewing to encase all the belt’s raw edges.
If you make this area wider to begin width the edges will simply fold over and encase each other.

Here is how the belt looked once tied.