1956 “Koʻae Kea” Dress
I stumbled upon HNLdesigns a local artist that sells their amazing artwork through Spoonflower. I have a bounty of projects placed with their designs in the future. My first project is with their koaʻae kea on the trade winds design. It centers the koʻae kea, which is a snowy, white seabird related to boobies and frigatebirds. Koaʻe kea are often seen flying over the Kīlauea crater and Kaʻū Desert.
Before I could get started on the construction I had to draft the bodice. Here is the finished criss-cross bodice with midriff detail next to my bodice sloper (left). Hopefully the picture and my measurement (in purple) will give you a sense of how I got the final pattern shapes.
I did the same with the back bodice. The were much less alterations because the bodice was going to close in the center back as normal.
I then cut out my bodice pieces and my facings. For my facings I simply copy the neckline onto some pattern paper and make sure the facings are 2” finished in width. I also serged all of my pieces to finish them.
I started off my sewing with the back bodice pieces. I attached the facings and sewed the darts.
(the seam allowance throughout this project is 1/2” unless otherwise noted)
I then moved onto the front bodice and attached the front facings. There were no darts to sew here only some light gathering under the bust
The facing pieces where then ironed under and hand sewn in place. The criss-cross bodice was then sewn to the front midriff piece matching notches. I designed the bodice to cross right at the center front.
I then finished the facings of the back bodice in the same manner and attached the back bodice pieces to the corresponding midriff pieces.
Next step was shoulder seams. The came side seams. Both of them were pressed towards the back.
Now it was time to move onto the skirt. The skirt is a gored circle skirt. Each panel is also twice the width it needs to be at the waist so it can be gathered down later for a lovely gathered look, while maintaining the fullness that a gored circle skirt provides. The skirt has eleven pieces:
front panel
side front panel (x 2)
side back panel (x 2)
back panel (x 2)
pockets (x 4)
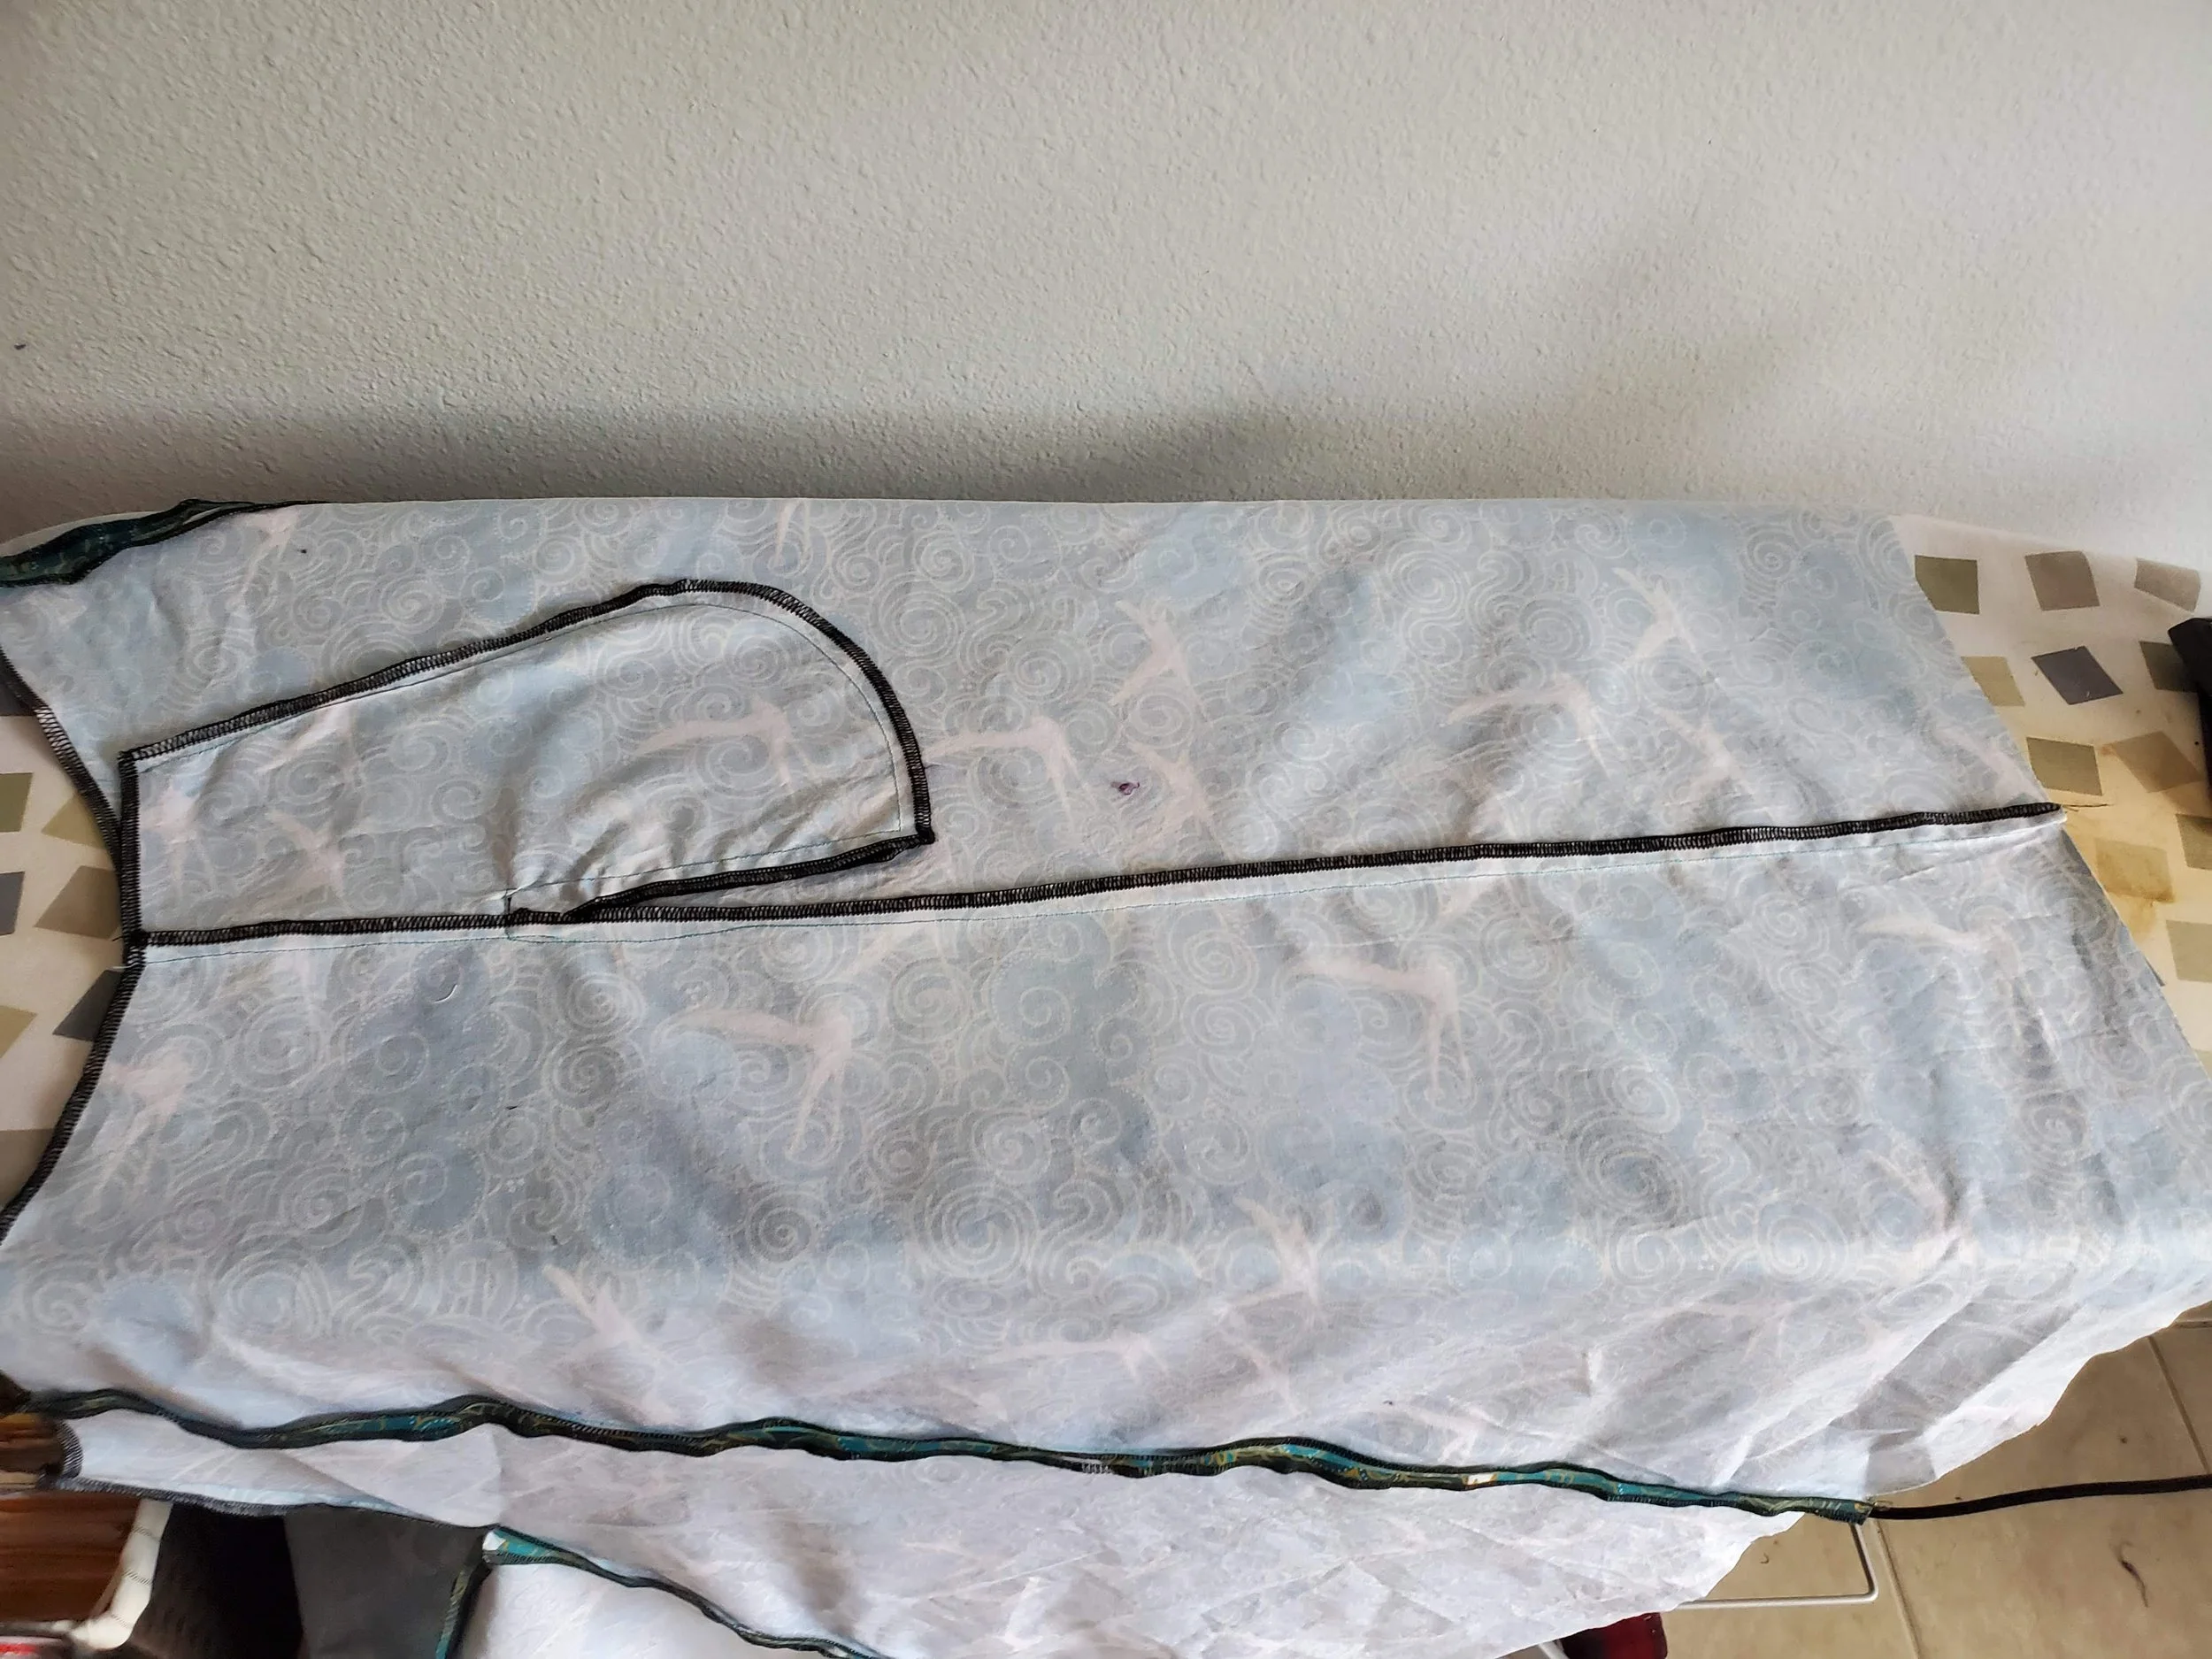
The front panel was sewn to the side front panels using a 1/2” seam allowance. Two of the pocket pieces were also sewn at the side seams.
The back panels were sewn to the side back panels. An ~9” gap was left open at the center back for later zipper installation. The other two pocket pieces were attached at the side seams.
The side seams were then sewn. The pockets were pressed towards the front. This step is important because that is how your hands will enter into the pocket and ironing (and then sewing them) this way means that you using your pockets wouldn’t ruin the lines of your dress!
Now it was time to hem the skirt. For me this is an involved process. The first step is sew some pre-packaged bias tape around the hem, right sides to right sides, with a 1/4” allowance.
Then I flip the skirt over and attach some 1” horsehair with the gathering threads facing the bottom of the skirt, because once I turn everything over than that will actually be the top of them. (bear with me)
I then iron the horsehair over and fold the bias tape under, forming a beautifully finished hem that sports some nice body and weight.
The hem is then sewn by machine, 1/8” away from the edge with a larger stitch length given all the layers involved.
The skirt as then gathered the bodice and sewn. I then trimmed the bodice with some lovely 7/8” white velvet ribbon. I also added a little folded bow to the center front. This trim was sewn on my hand using slip stitches.
I then attached the zipper. Don’t worry the little ends were tucked in and finished off screen. Now you might be wondering well what about the sleeves !? Well, I was putting off drafting them and could now do so no longer.
Here is what I came up with. The sleeve is a variation of what is called a “tulip” sleeve and features two overlapping pieces per sleeve.
Here is one of the sleeves cut out and sewn together a the underarm seam. (you’ll see why shortly)
The sleeve (which had a 3/4” hem allowance) was hemmed by machine.
Some more velvet trim was sewn by hand 1/4” up from the bottom of the sleeve. This is why the sleeve was sewn underarm seam first, to make this step easier.
The armscyes of the sleeves were then matched up and attached to bodice. Hopefully this close up will give you a better idea of how the sleeves fold over themselves and attach to the bodice.
The final step was adding a matching fabric belt (not pictured).


