
A 1740s-1770s Petticoat


I needed a new 18th century petticoat to fit over my pocket hoops. Pocket hoops are a skirt structual support garment worn in the middle of the century. They make the hips look wider from the front and present a narrow, enlongated profile when viewed from the side. They were in fashion from roughly between 1740-1776 varying in size. What makes 18th century petticoats such a great beginner project is that they are rectangles, sewn togther and pleated to the waistband. They open at the sides for easy access to the separte tie pockets worn during this period.
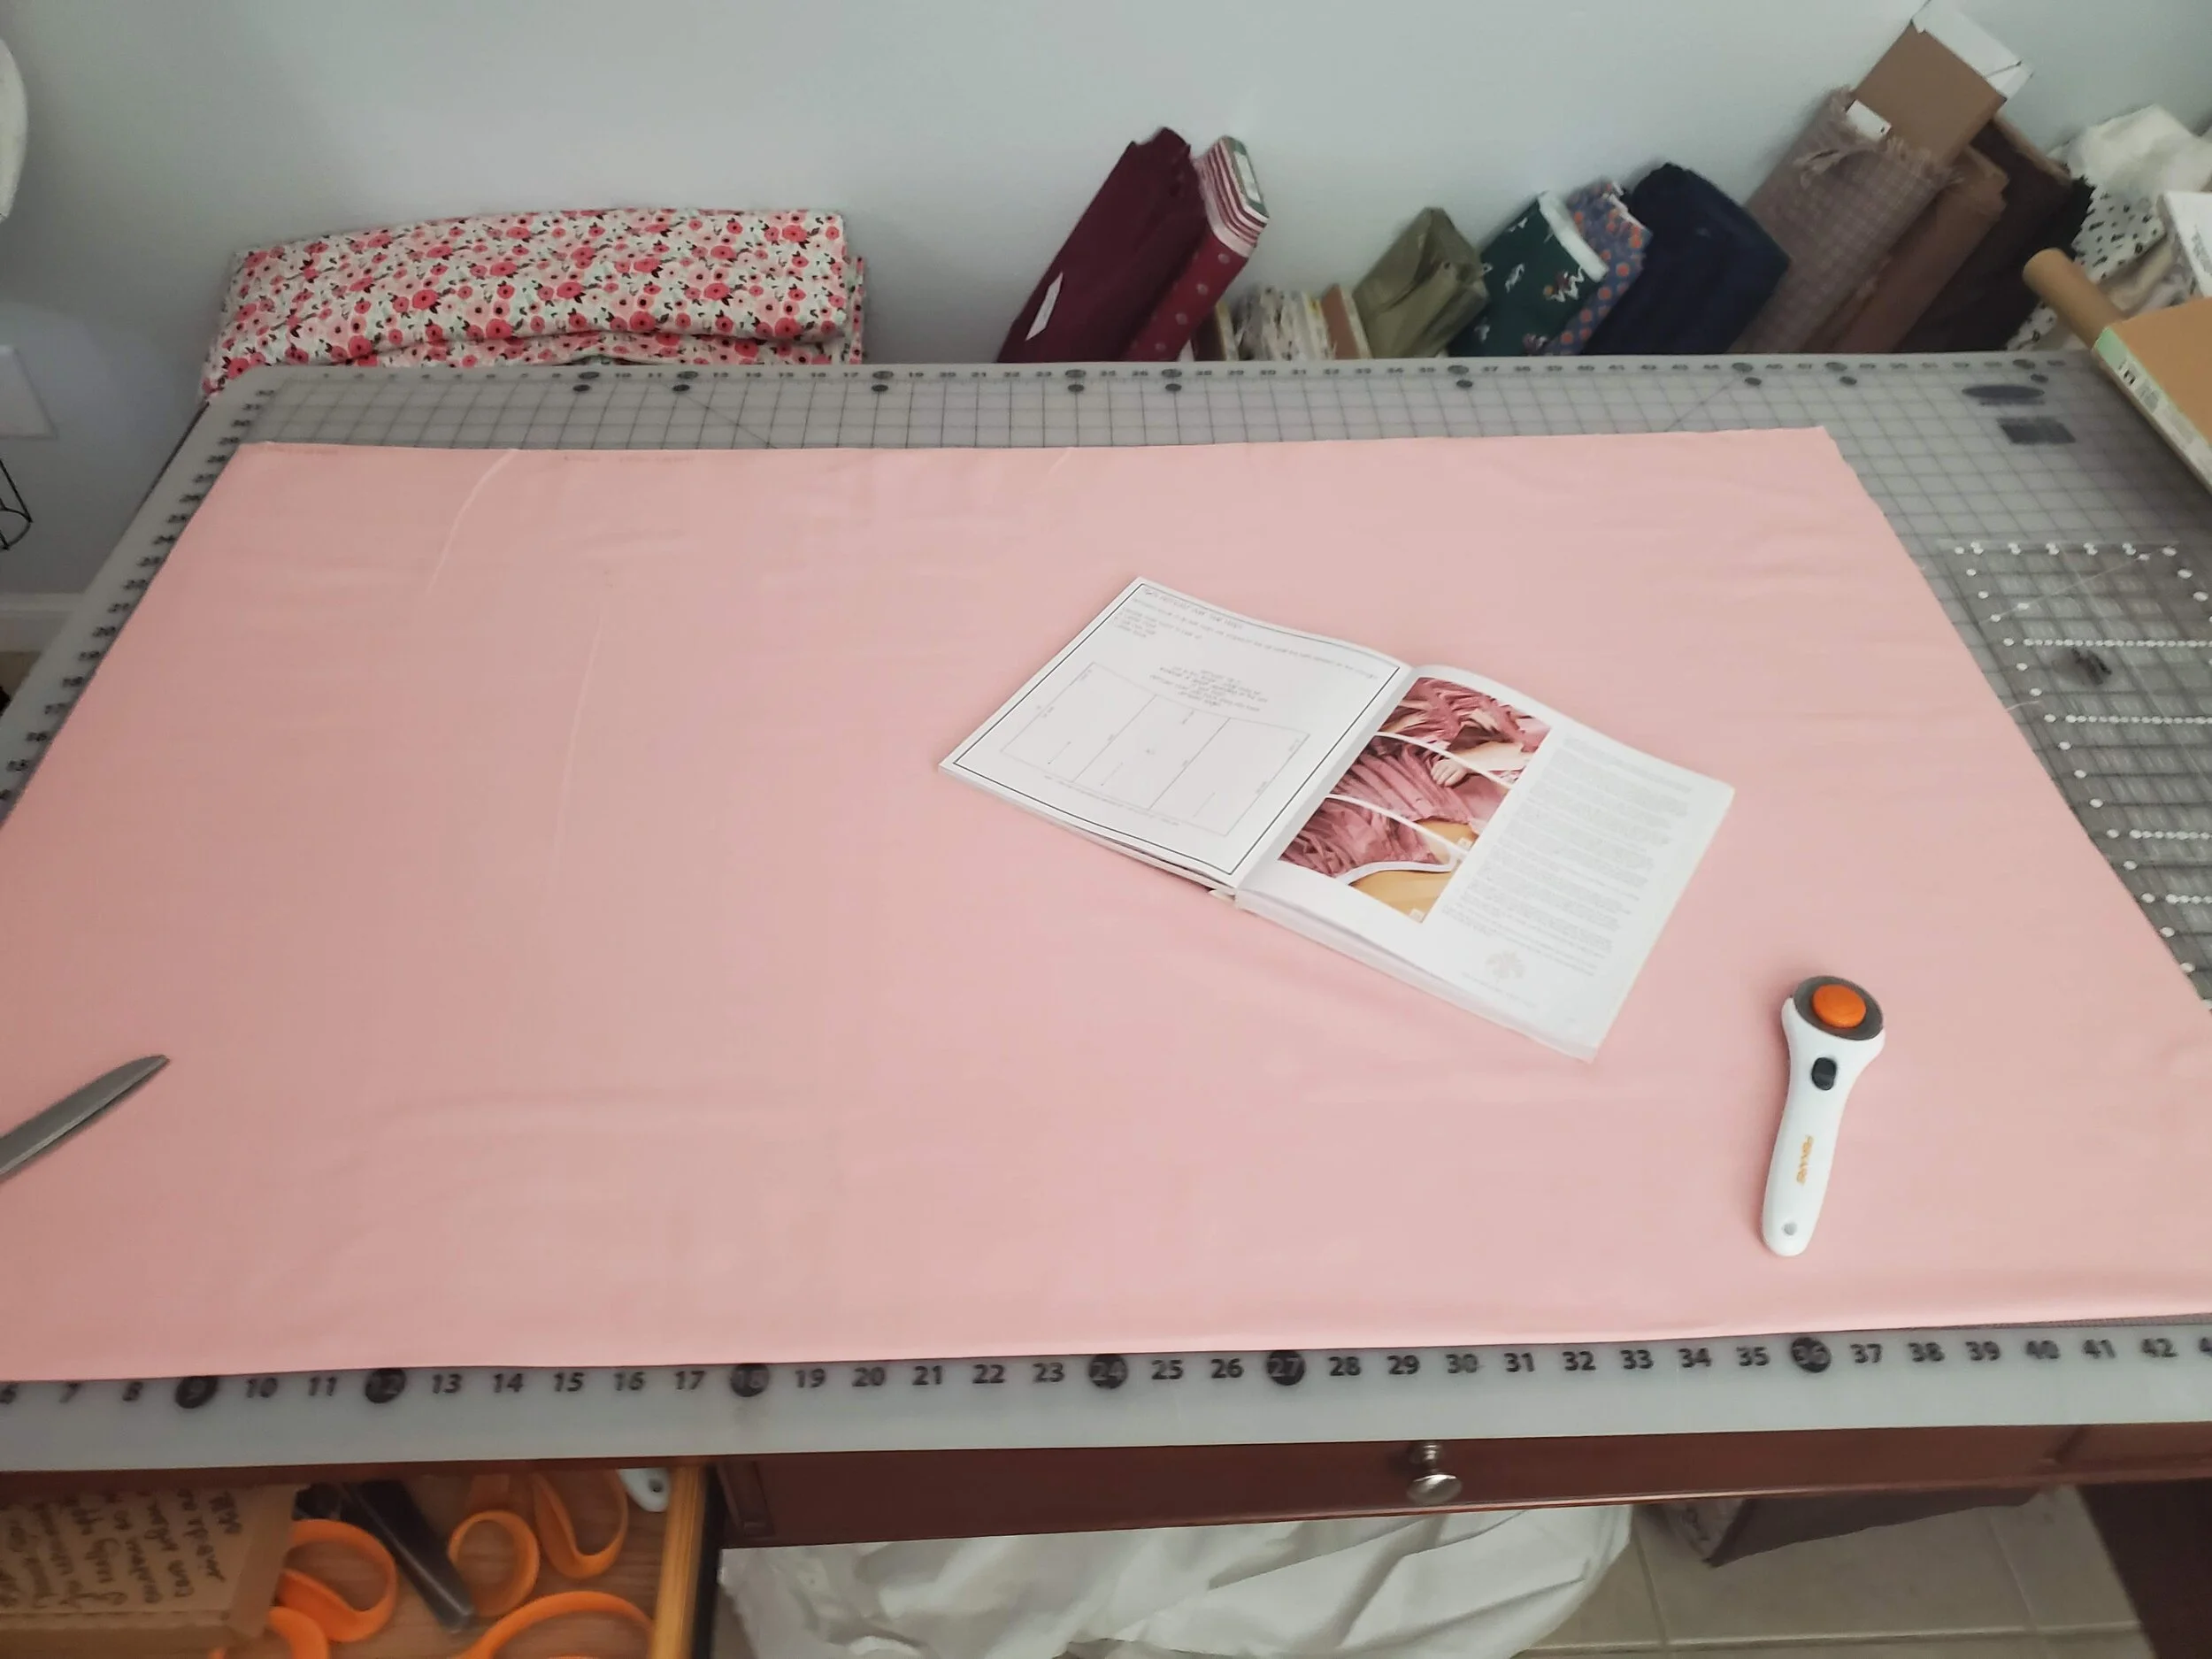
The first step was cutting out my rectangles. I used instructions from The American Duchess Guide to 18th Century Dressmaking for how to measure my pieces. I cut two (one back and one front) 56” (the full width of my fabric) by 46” pieces. This 46” measurement was gotten by measureing over the sides of the pocket hoops and adding some length for a hem.

The fabric you saw above was the “lining” fabric, a pink linen from the Aiea Fabric Mart. On top of it I laid my fashion fabric a pink silk stripe organza. It was cut to the same measurements and treated as one piece moving forward.

I then basted the layers together around all edges. I marked the sides of the pieces 10” done from the top with a pin. This will be finished separately from the side seam. This will form the pocket slit.

I then sewed the two side seam of the petticoat, starting at the pin placed earlier, by hand using back stitches. (You could easily do this by machine I was just being extra.)

I then felled those seams to finish them. Felling seams involves ironing them one side (in my case the back side), trimming away all by the top layer of fabric, turning the top layer inward on itself, and sewing it done using whip stitches.

I then finished the pocket slits by turning them under them under again and sewing them down using whip stitches.

I turn places a little reenforement patch at the natural weak point were the slit meets the side seam. I sewed that down with some more whip stitches.

I then turned my hem by 1/2” then 2” and sewed it down by even more whip stitches.

Now in the 18th century petticoats were hemmed the pleated to a waistband. Therefore after my hem was sewn I found the center front and cener back points of my petticoat and placed pins marking the center front and center back lengthes. They were both 41”. I then drew a diagonal line connecting those points with the side seamss of the petticoat. I then basted across those lines.

After the top of the petticoat was leveled it was time to pleat. The front piece got a box pleat with knife pleats radiating towards the side. While the back piece got knife pleats radiating towards an inverted box pleat at center back. The stripes in my fabric were really helpful in getting the pleats even. You want to pleat you petticoat pieces to a little over half your waist measurement.

I then sewed a piece of twill tape 10” longer than by waist measurement to the right sides of petticoat.
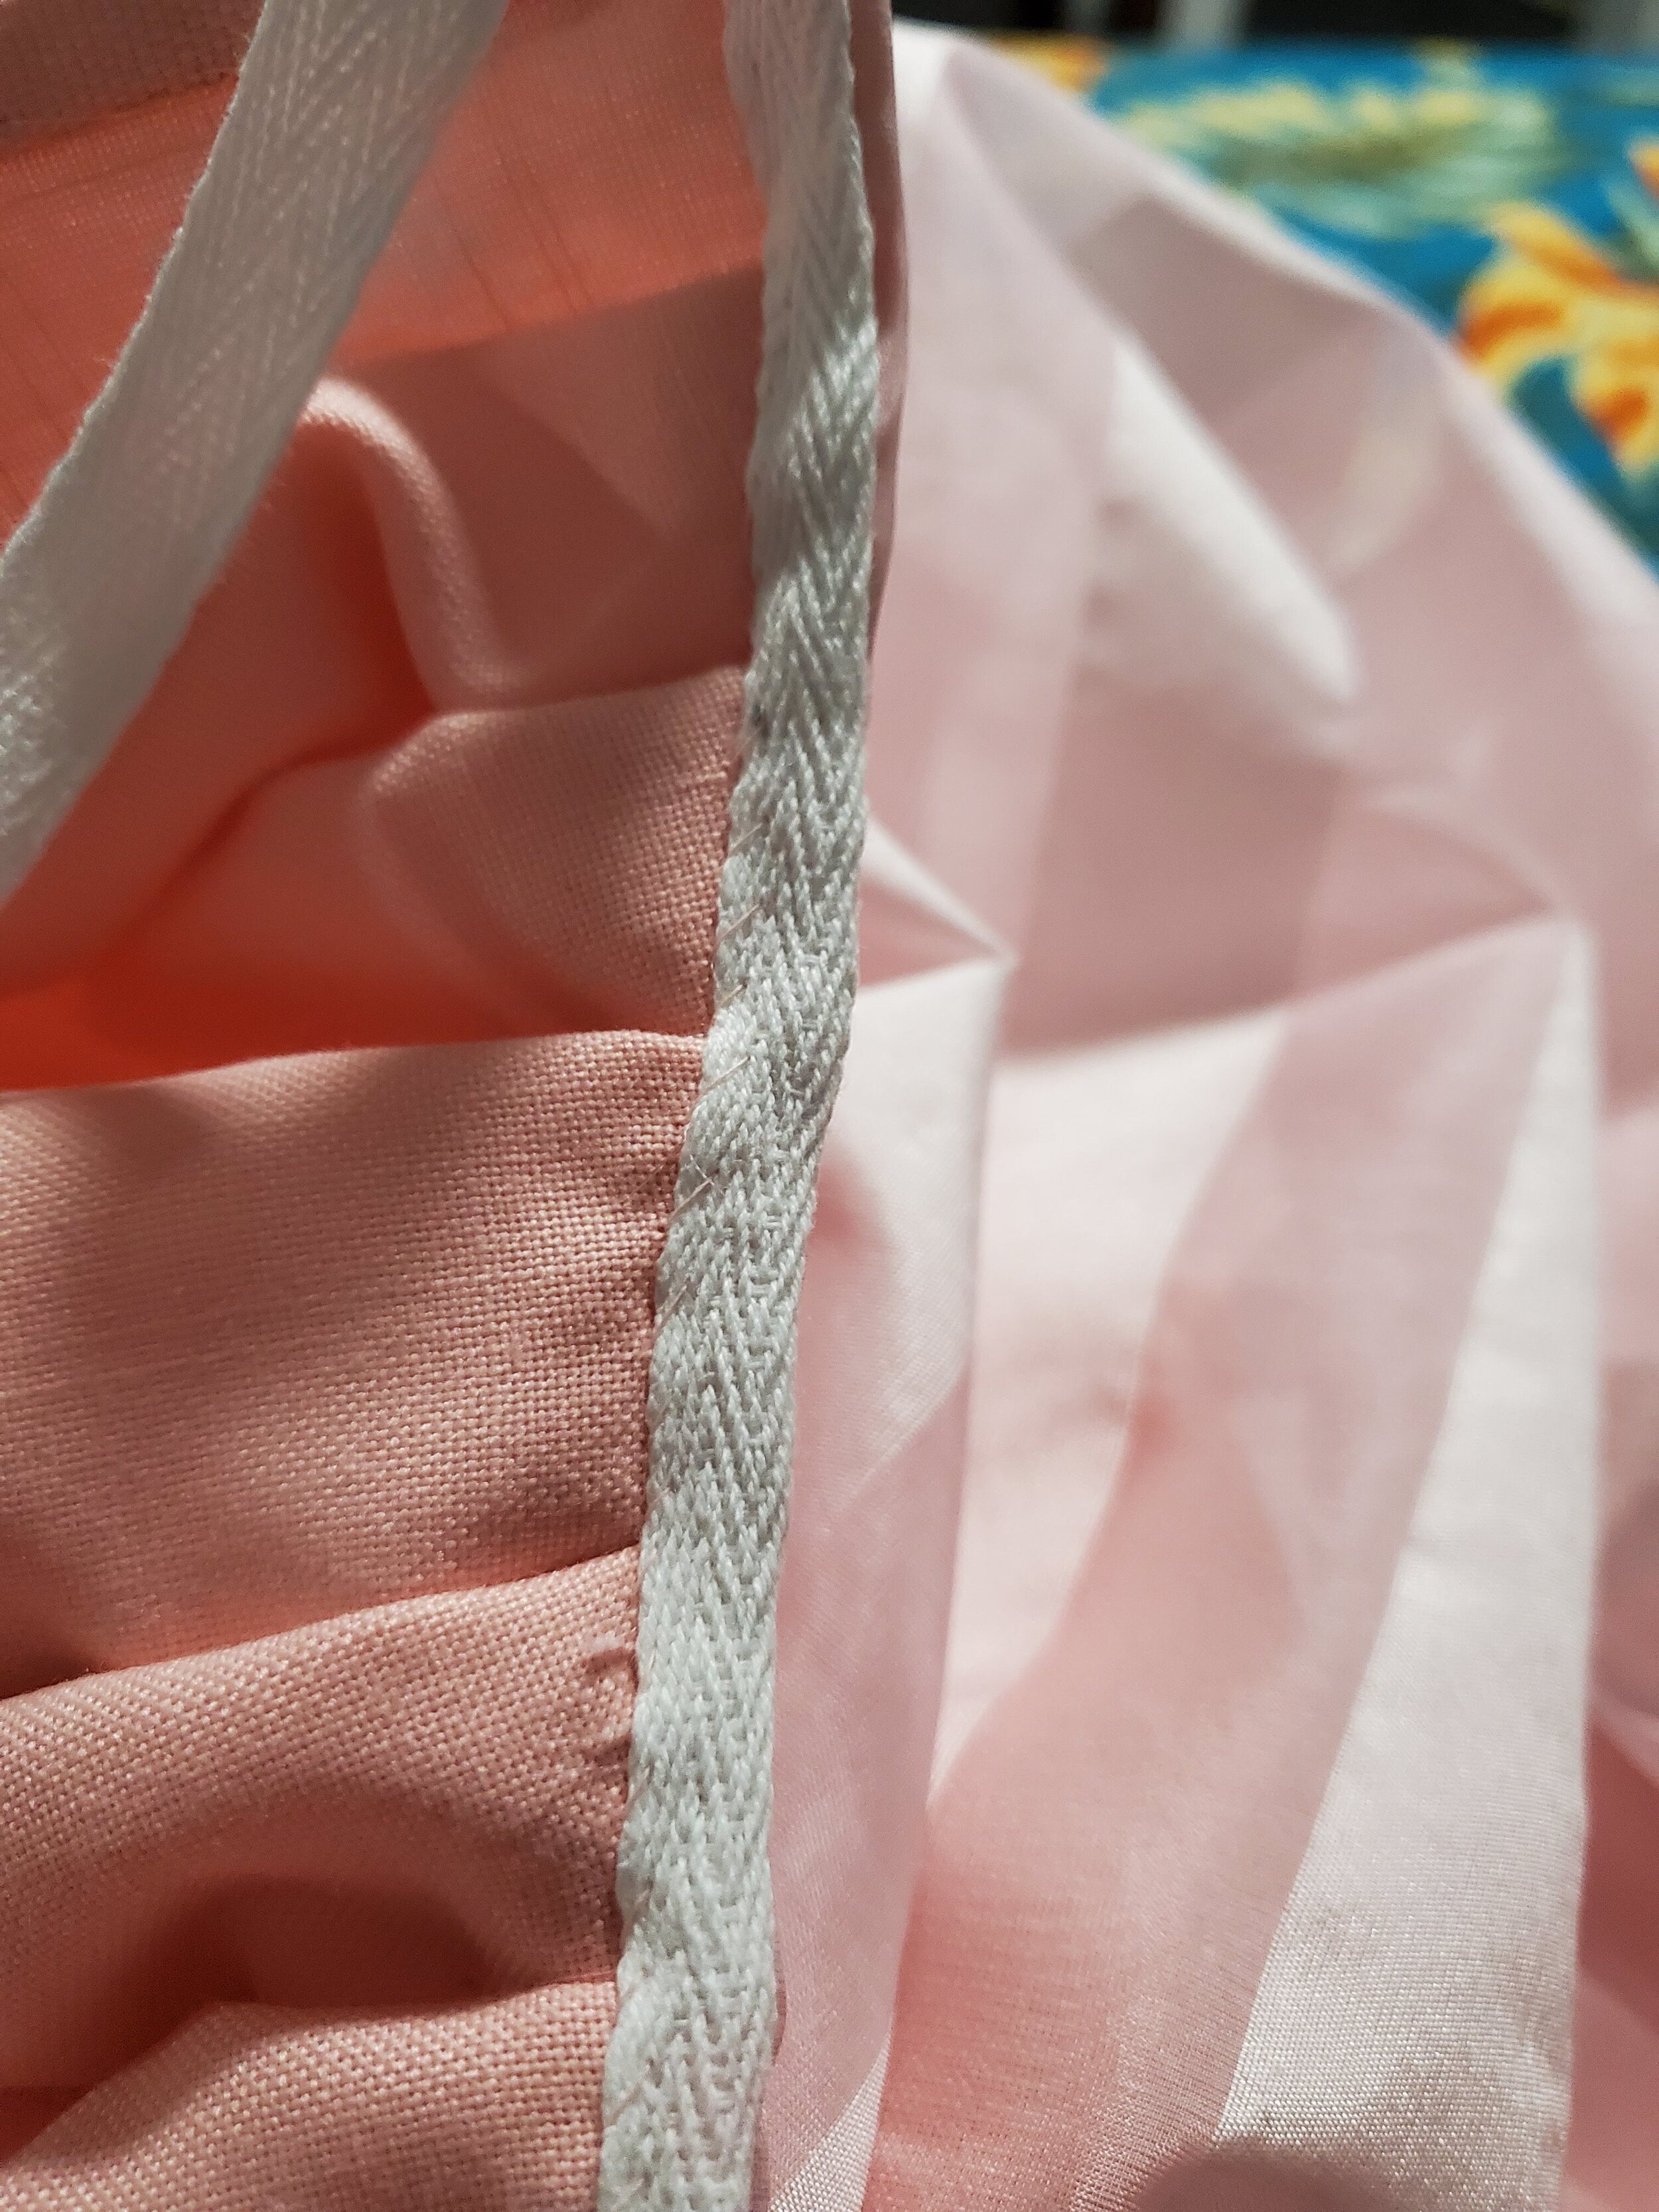
I then turned that twill tape towards the wrong sides of my petticoat and whip stitched it down thus finishing that top edge and my petticoat.